
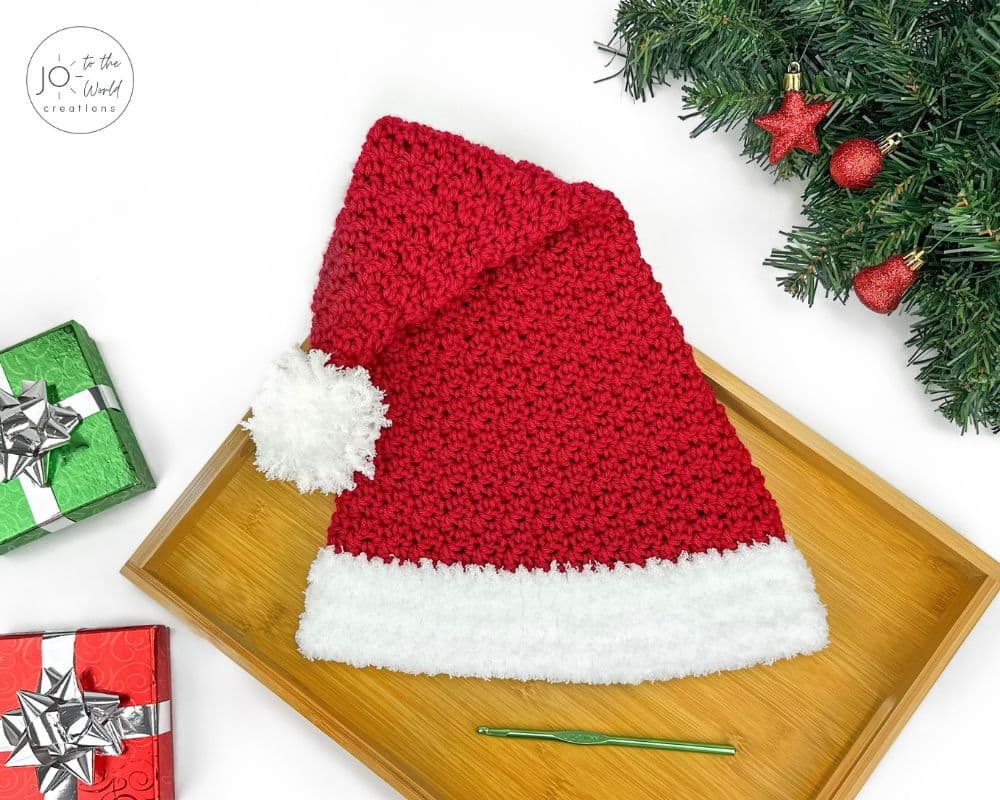
Easy Santa Hat – Free Crochet Pattern
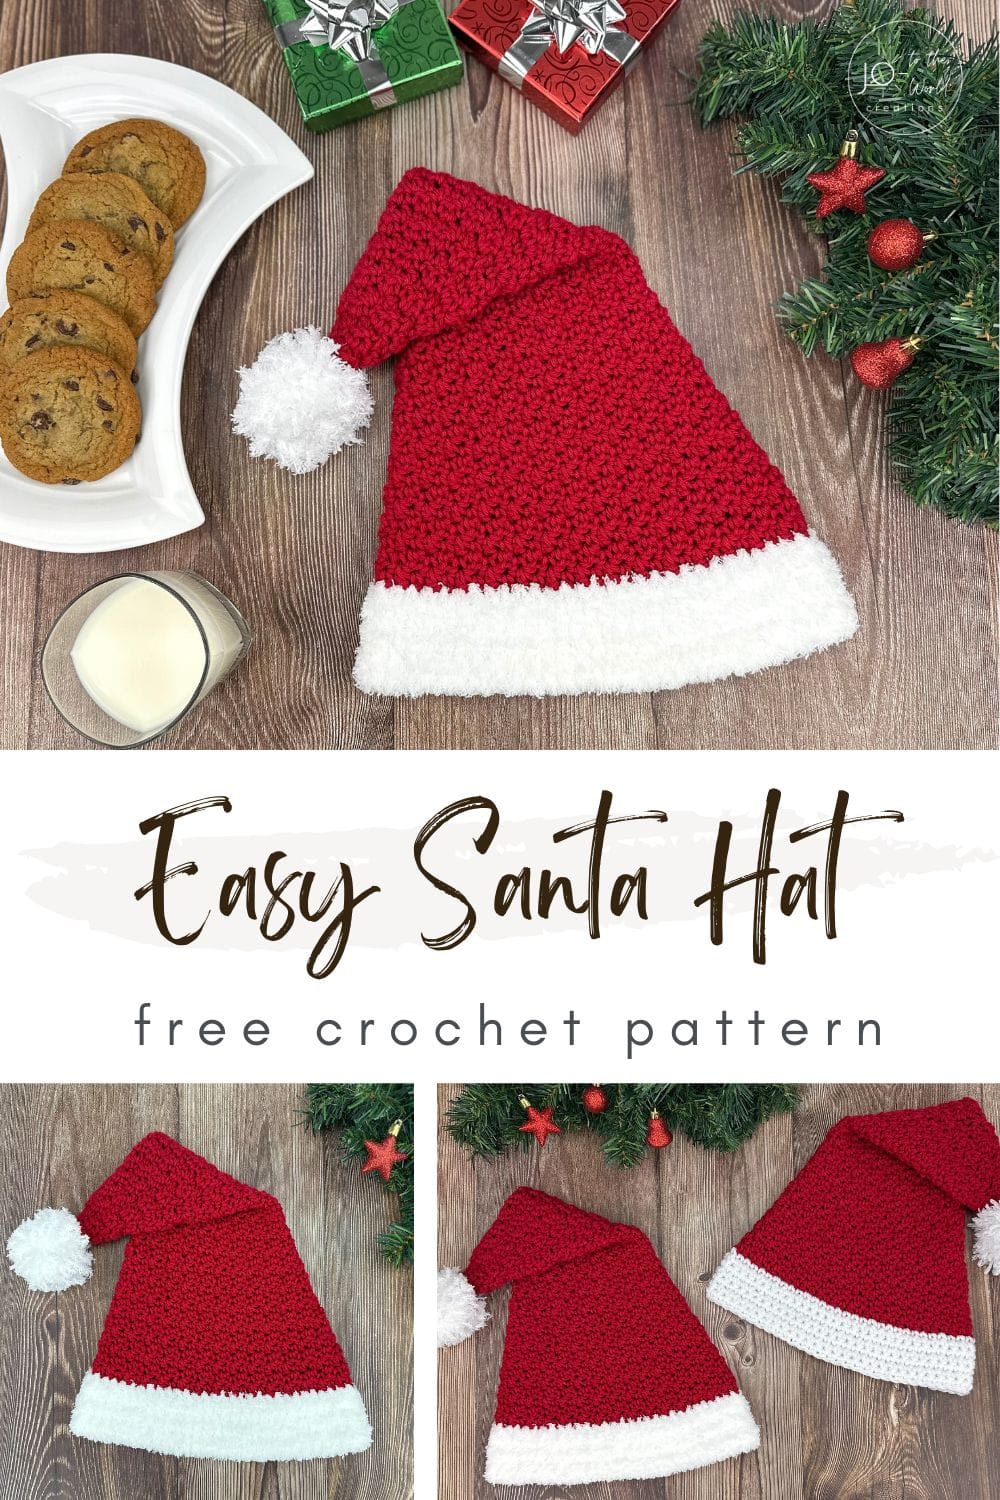
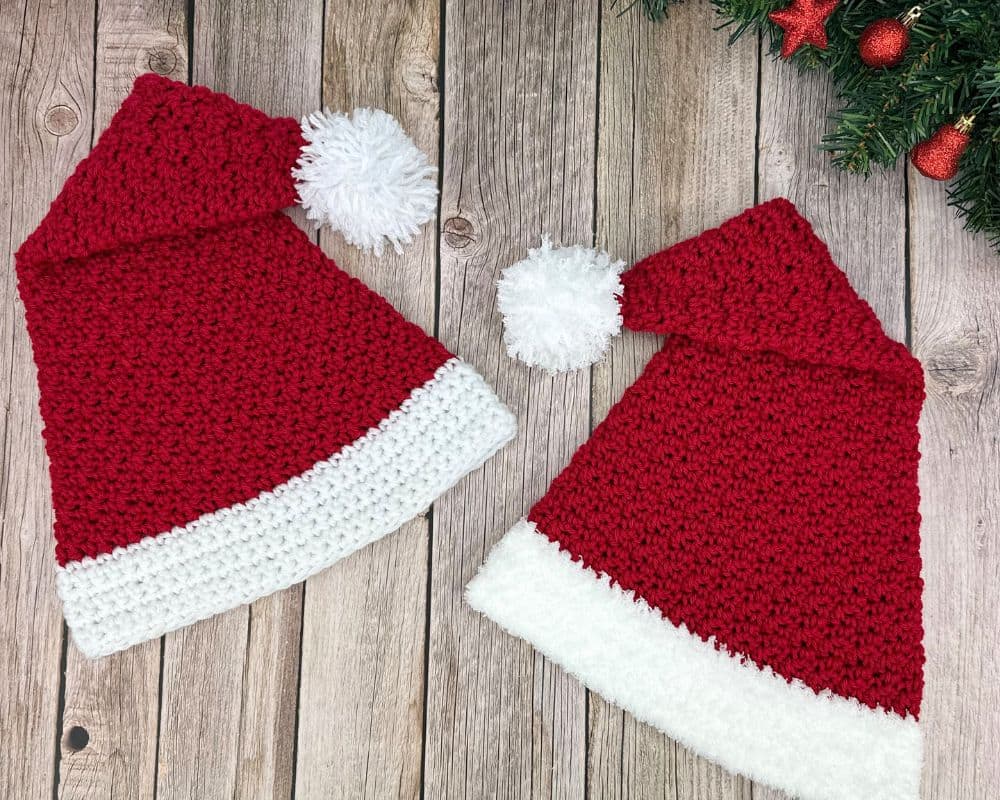
Get festive with this Easy Crochet Santa Hat Free Pattern! It’s the perfect classic crochet Santa hat for beginners or experienced crocheters. With step-by-step and easy-to-follow instructions, you’ll be able to crochet a Santa hat like a pro!
Before we begin, I would like to thank you for visiting Jo to the World Creations, a site dedicated to helping you give the gift of crochet.
More free patterns (that make incredible crochet gifts) are on the way! Sign up for my emails using the form below and never wonder “What should I make for…” again!
Free Email Series
GET 3 FREE PDF CROCHET PATTERNS
Subscribe to my emails and get a free printable PDF crochet pattern emailed to you every day for the next 3 days!
You’ll also receive new crochet patterns and helpful resources to help you make the best crochet gifts for everyone in your life.
Easy Crochet Santa Hat
Get into the Christmas spirit with this delightful Easy Crochet Santa Hat Pattern! Perfect for holiday celebrations and cozy winter days, this festive crochet Christmas hat is a must-have for anyone looking to add a touch of handmade cheer to their holiday wardrobe or decor.
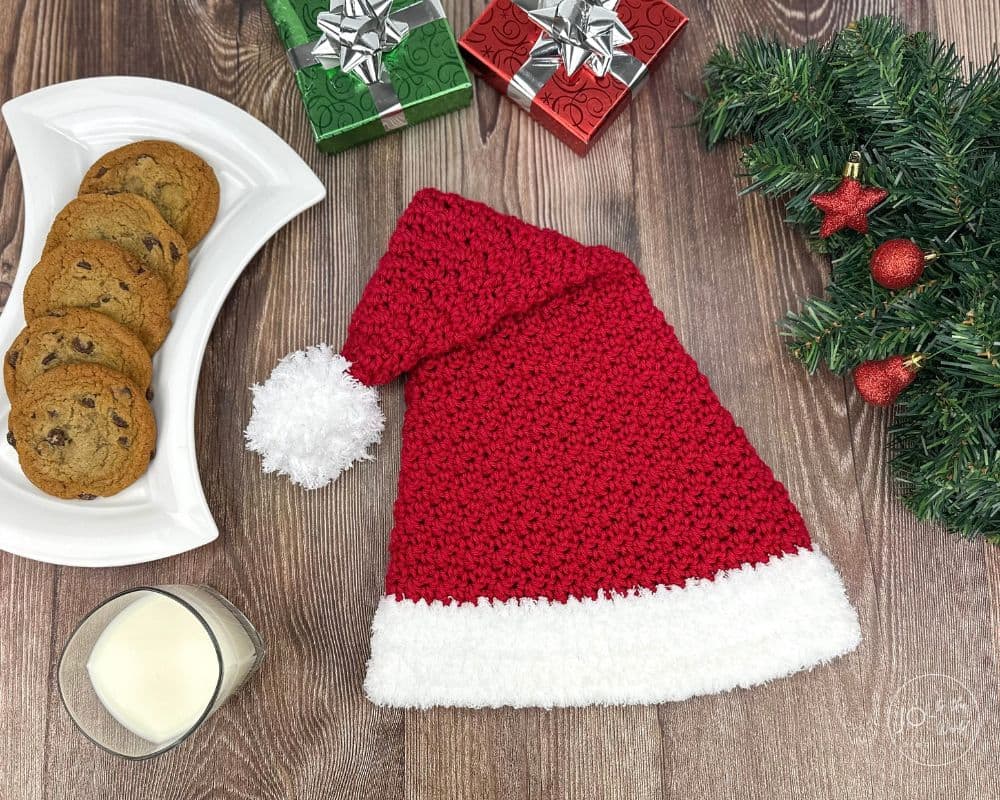
This step-by-step Santa hat crochet pattern is perfect for beginners or experienced crocheters. It’s made with only basic, beginner-friendly crochet stitches and the hat body consists of repeating two simple rounds.
Whether you’re an experienced crocheter or a beginner looking for a fun Christmas crochet project, you’ll love this quick and easy-to-follow Santa hat pattern. Happy Christmas crocheting!
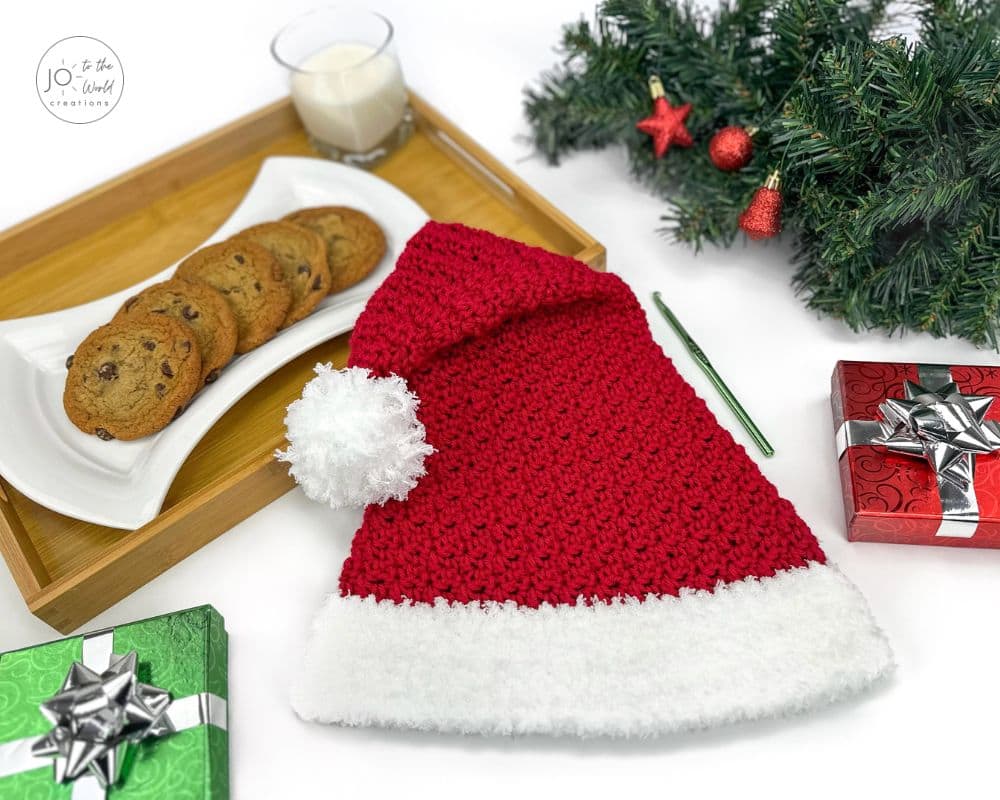
Use the Table of Contents below to jump to any section or keep scrolling down for all the details and the written instructions.
Get the PDF!
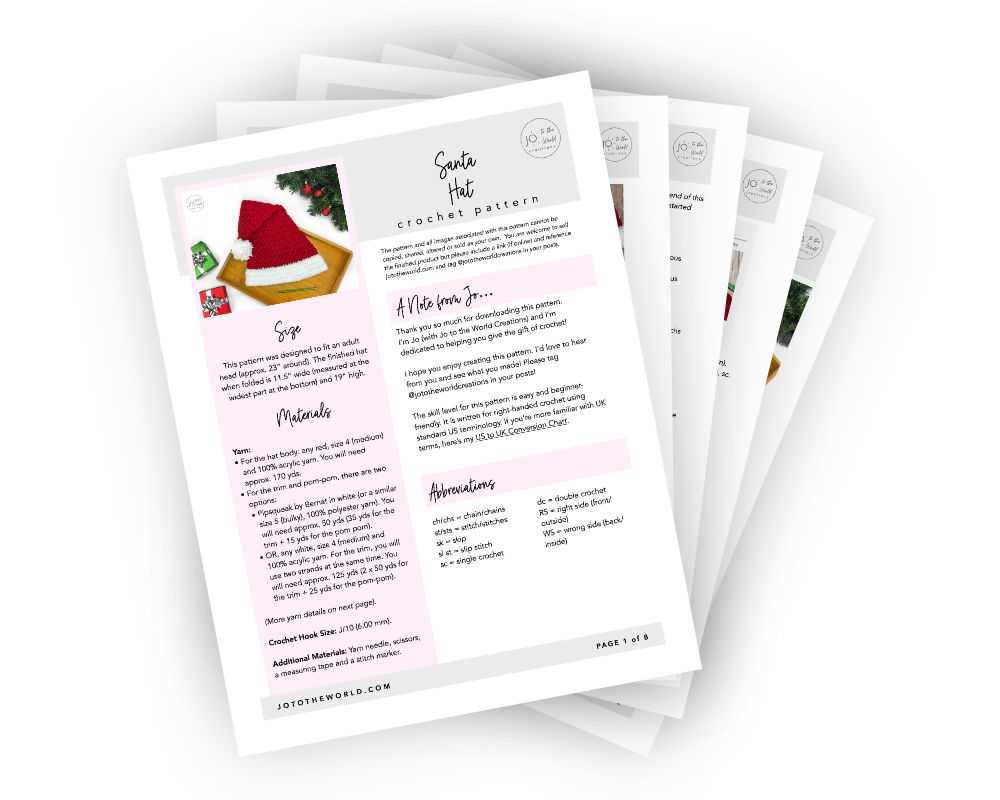
Purchase the printer-friendly, ad-free PDF of this pattern that you can instantly download! It includes everything from this free pattern but you can easily save, print and access it anytime!
All-Access Membership
For only $0.14 a day, you can get this pattern as a PDF and my entire library of 180+ print-ready, ad-free PDF crochet patterns!
Pattern Details
Skill Level
Easy & Beginner-Friendly
Size
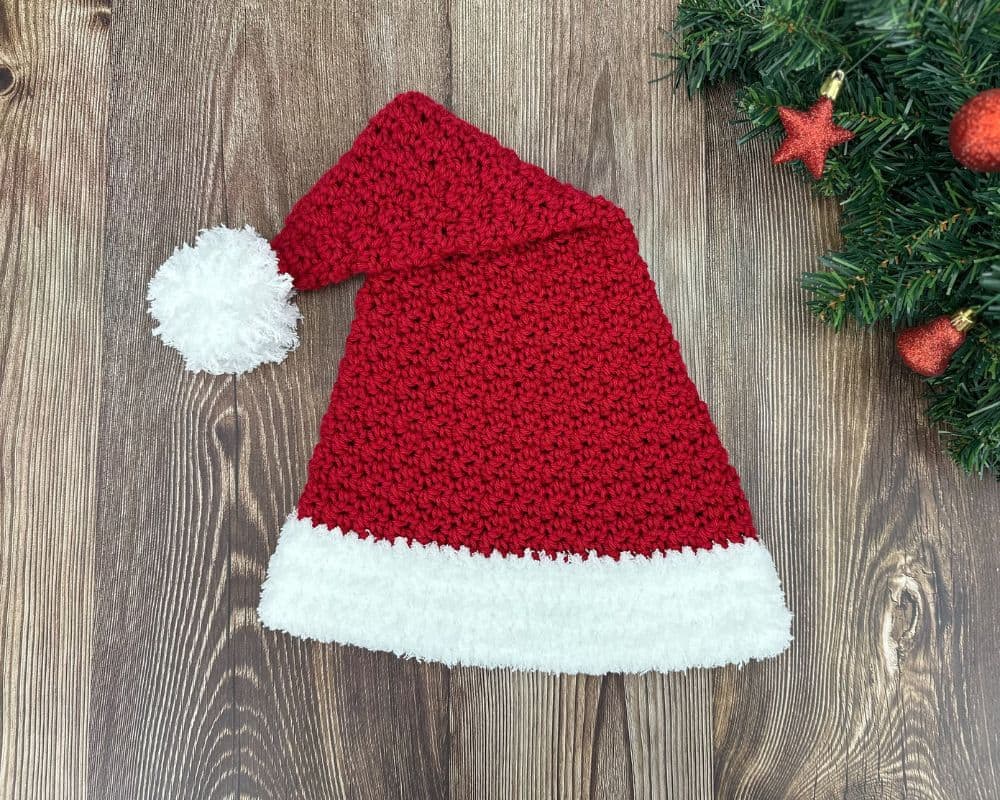
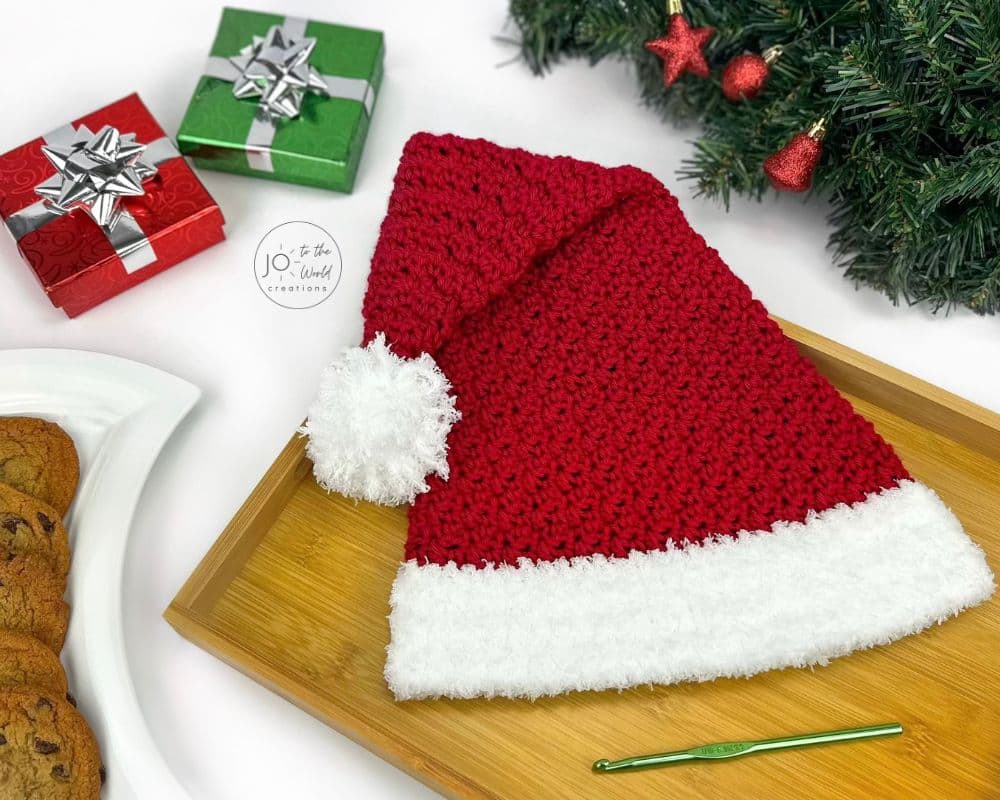
This pattern was designed to fit an adult head (approx. 23” around). The finished hat when folded is 11.5” wide (measured at the widest part at the bottom) and 19” high.
Yarn
For the Hat Body:
You can use any red, size 4 (medium) and 100% acrylic yarn. You will need approx. 170 yds.
I used Impeccable yarn by Loops & Threads in the color “Cherry.” This yarn is size 4 (medium) and 100% acrylic. A skein is 285 yds / 260 m and 4.5 oz / 127.5 g. I used less than 3/4 of one skein.
For the Trim and Pom Pom:
There are two options:
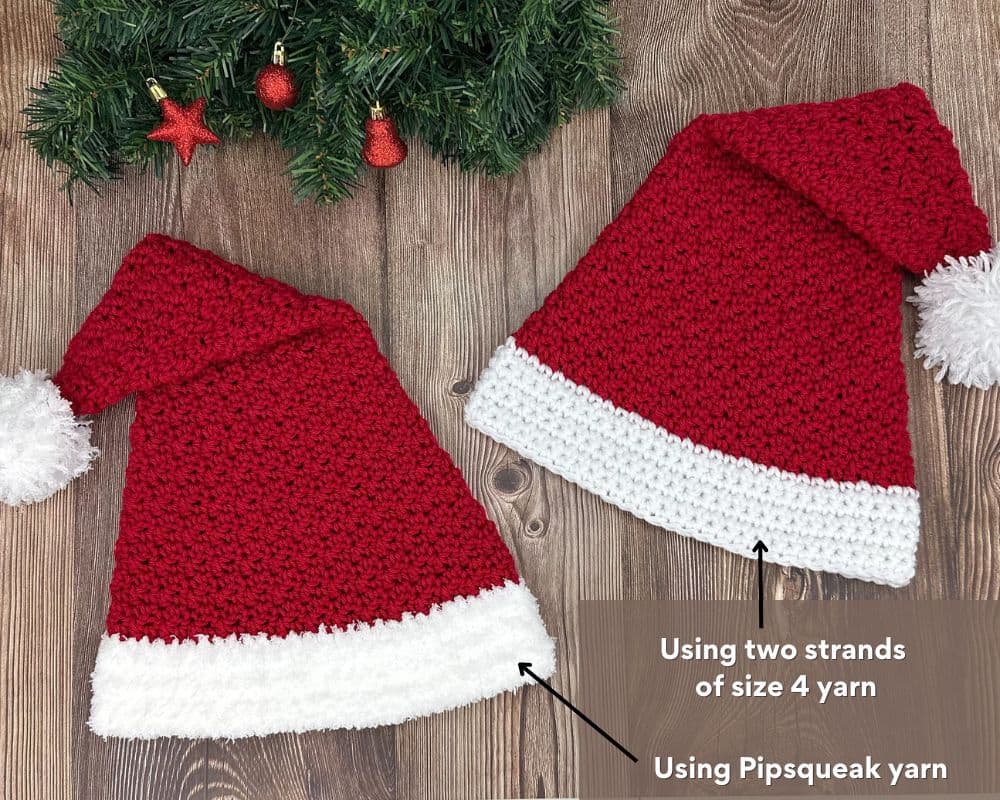
You can use Pipsqueak by Bernat in white (or a similar size 5 (bulky), 100% polyester yarn). For this option, you will need approx. 50 yds in total (35 yds for the trim + 15 yds for the pom-pom).
I used Pipsqueak yarn by Bernat. This yarn is size 5 (bulky) and 100% polyester. A skein is 101 yds / 92 m and 3.5 oz / 100 g. I used 1/2 of one skein.
OR, you can use any white, size 4 (medium) and 100% acrylic yarn. You will need approx. 125 yds in total. For this option:
- For the trim, you will use two strands at the same time, treating them as one and crocheting normally. You can either separate your yarn manually or use two skeins. You will need approx. 2 x 50 yds = 100 yds for the trim. (To separate your yarn manually from the skein, set aside 50 yds before starting).
- For the pom-pom, you will use one strand. You will need approx. 25 yds for the pom-pom.
I used Impeccable yarn by Loops & Threads in the color “White.” I used 1/2 of one skein.
Other Materials
Crochet Hook Size: J/10 (6.00 mm).
Additional Materials: Yarn needle, scissors, a measuring tape and a stitch marker.
Terminology
This pattern is written for right-handed crochet using standard US terminology. If you’re more familiar with UK terms, here’s my US to UK Conversion Chart.
Abbreviations
- ch/chs = chain/chains
- st/sts = stitch/stitches
- sk = skip
- sl st = slip stitch
- sc = single crochet
- dc = double crochet
- RS = right side (front/outside)
- WS = wrong side (back/inside)
Gauge
To ensure your hat fits properly, please make a gauge swatch before starting the pattern and match the gauge provided below. Learn more about gauge.
4” x 4” = 10 sts (counting sc and dc sts) and 11 rows made as a flat swatch. Pattern for gauge swatch:
Ch 17. Row 1: In the second ch from hook, sc. In the next ch, dc. *In the next ch, sc. In the next ch, dc.* Repeat from * to * across. Row 2: Ch 1 and turn. In the first st, sc. In the next st, dc. *In the next st, sc. In the next st, dc.* Repeat from * to * across. Row 3 and on: Repeat Row 2 until your swatch is 6” high. Measure sts and rows within 4” x 4.” (The number of sts is more important than the number of rows).
Pattern Notes
- This pattern is worked from the top down.
- Chains never count as stitches.
- Place a stitch marker in the top of the first stitch made in every round. At the end of the round, before working into that first stitch, remove the stitch marker.
- Starting on Round 2, you will chain 1 and turn at the beginning of each round.
- The stitch attached to the chain is a slip stitch from the previous round. This slip stitch does not count as a stitch and never gets worked into. You will always work into the next stitch.

- On right side rounds, the front/outside of your hat will be facing you. On wrong side rounds, the back/inside of your hat will be facing you.
- The hat is meant to curve slightly. The curve helps the Santa hat flop nicely.
Just a Reminder!
This pattern is also available as a PDF, which includes everything listed here but as a printer-friendly, ad-free PDF that you can instantly download, save, print, make notes on and keep forever.
Get ALL my PDF Patterns!
Only $0.14 a day!
Join the All-Access Membership and instantly download the printable version of this pattern and ALL my 180+ easy-to-follow PDF crochet patterns.
Pattern Instructions
Santa Hat Body
Use red yarn for this entire section.
Start: Make a Magic Circle.
Round 1 (RS): Work the following sts into the Magic Circle in the order listed below:
Sc. (Reminder: always place a stitch marker in the first stitch made in a round).
Dc.
Sc.
Dc.
Sc.
Dc.
Pull the Magic Circle tight to close.
(6 sts).
Sl st into the top of the first sc to join (reminder: this joining sl st never counts as a st or gets worked into).
Note: Round 2 is an increase round. At the end of this round, you will have two more sts than you started with.
Round 2 (WS): Ch 1 and turn.
Sk the st attached to the ch.
In the next st (the top of the dc from the previous round), (sc, dc) in the same st.
In the next st (the top of the sc from the previous round), (sc, dc) in the same st.
*In the next st, sc.
In the next st, dc.*
Repeat from * to * around.
(The stitch count for Round 2 is 8 sts. Reminder: chs never count as sts. Any repeats of Round 2 will indicate the corresponding stitch count for that round).
Sl st into the top of the first sc to join.
Note: Round 3 is not an increase round. You will have the same number of sts that you started with.
Round 3 (RS): Ch 1 and turn.
Sk the st attached to the ch.
In the next st (the top of the dc from the previous round), sc.
In the next st (the top of the sc from the previous round), dc.
*In the next st, sc.
In the next st, dc.*
Repeat from * to * around.
(The stitch count for Round 3 is 8 sts. Any repeats of Round 3 will indicate the corresponding stitch count for that round).
Sl st into the top of the first sc to join.
Round 4 (WS): Repeat Round 2. (10 sts).
Round 5 (RS): Repeat Round 2. (12 sts).
Round 6 (WS): Repeat Round 3. (12 sts).
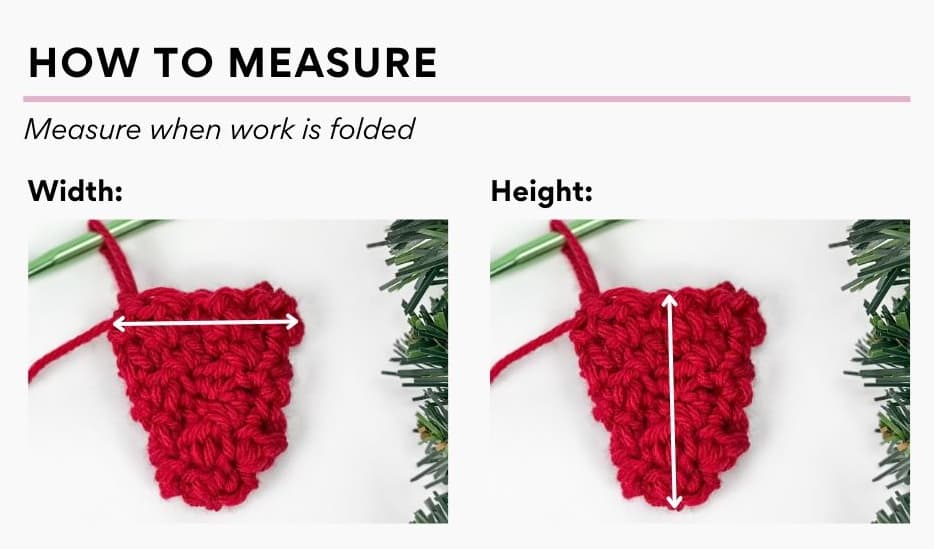
After Round 6, work should measure 2” wide and 2.5” high. (Measurements are always taken when the hat is folded. The width is always measured at the widest part of the triangle). If your work measures differently (at this point or at other measurement checkpoints throughout the pattern), start again with a different hook size. The width is more important than the height.
Weave in the starting tail.
Round 7 (RS): Repeat Round 2. (14 sts).
Round 8 (WS): Repeat Round 2. (16 sts).
Round 9 (RS): Repeat Round 3. (16 sts).
Round 10 (WS): Repeat Round 2. (18 sts).
Round 11 (RS): Repeat Round 2. (20 sts).
Round 12 (WS): Repeat Round 3. (20 sts).
After Round 12, work should measure 3.5” wide and 5” high.
Round 13 (RS): Repeat Round 2. (22 sts).
Round 14 (WS): Repeat Round 2. (24 sts).
Round 15 (RS): Repeat Round 3. (24 sts).
Round 16 (WS): Repeat Round 2. (26 sts).
Round 17 (RS): Repeat Round 2. (28 sts).
Round 18 (WS): Repeat Round 3. (28 sts).
After Round 12, work should measure 5” wide and 7.5” high.
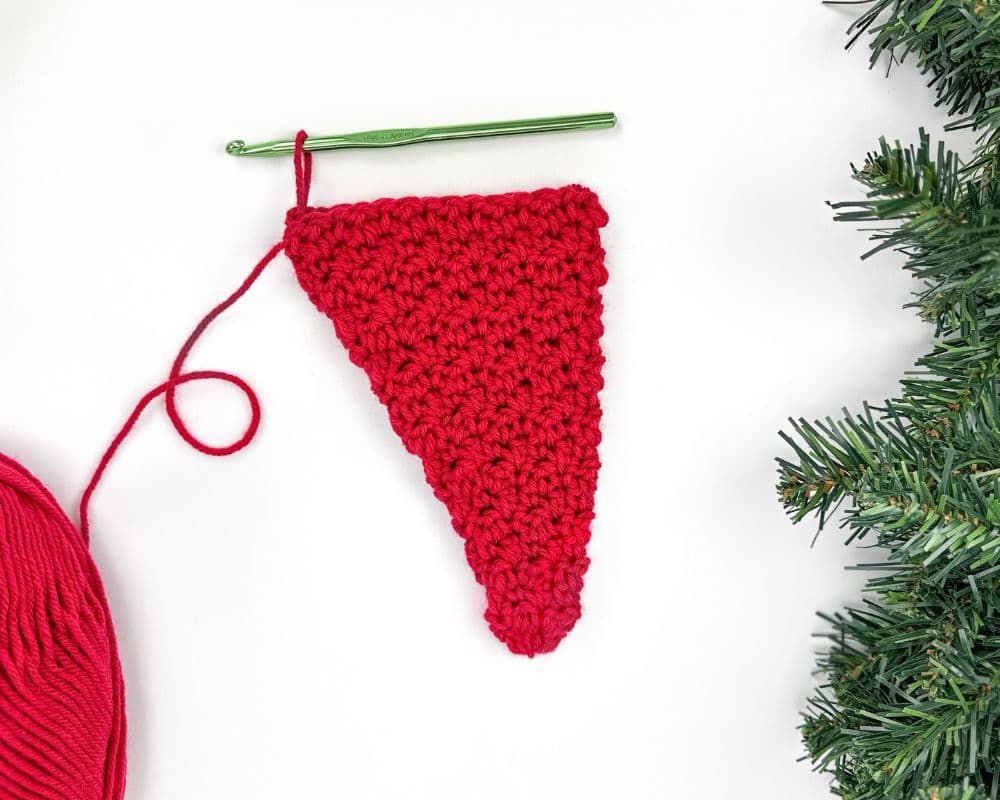
Reminder: the hat was designed to curve slightly.
Round 19 (RS): Repeat Round 2. (30 sts).
Round 20 (WS): Repeat Round 2. (32 sts).
Round 21 (RS): Repeat Round 3. (32 sts).
Round 22 (WS): Repeat Round 2. (34 sts).
Round 23 (RS): Repeat Round 2. (36 sts).
Round 24 (WS): Repeat Round 3. (36 sts).
After Round 24, work should measure 6.5” wide and 9.5” high.
Round 25 (RS): Repeat Round 2. (38 sts).
Round 26 (WS): Repeat Round 2. (40 sts).
Round 27 (RS): Repeat Round 3. (40 sts).
Round 28 (WS): Repeat Round 2. (42 sts).
Round 29 (RS): Repeat Round 2. (44 sts).
Round 30 (WS): Repeat Round 3. (44 sts).
After Round 30, work should measure 8” wide and 12” high.
Round 31 (RS): Repeat Round 2. (46 sts).
Round 32 (WS): Repeat Round 2. (48 sts).
Round 33 (RS): Repeat Round 3. (48 sts).
Round 34 (WS): Repeat Round 2. (50 sts).
Round 35 (RS): Repeat Round 2. (52 sts).
Round 36 (WS): Repeat Round 3. (52 sts).
After Round 36, work should measure 9.5” wide and 14” high.
Round 37 (RS): Repeat Round 2. (54 sts).
Round 38 (WS): Repeat Round 2. (56 sts).
Round 39 (RS): Repeat Round 3. (56 sts).
Round 40 (WS): Repeat Round 2. (58 sts).
Round 41 (RS): Repeat Round 2. (60 sts).
Round 42 (WS): Repeat Round 3. (60 sts).
After Round 42, work should measure 11” wide and 17” high.
Round 43 (RS): Repeat Round 3. (60 sts). Do not fasten off.

Santa Hat Trim
Trim Section Notes:
- You can either use Pipsqueak by Bernat in white (or a similar size 5 (bulky), 100% polyester yarn) or two strands of any white, size 4 (medium) and 100% acrylic yarn.
- If you are using Pipsqueak yarn, it can be quite difficult to see your stitches. It’s best to count as you work to ensure you have the correct stitch count. You can use stitch markers to help keep track of rounds.
- If you are using two strands of size 4 (medium) yarn, you will use two strands at the same time, treating them as one and crocheting normally. You can either separate your yarn manually or use two skeins. To separate your yarn manually from the skein, set aside 50 yds before starting the trim. You will follow the instructions for the trim exactly using your two strands of yarn. It’s okay if they overlap or twist.
- All the pattern notes for the hat body are still applicable (place a stitch marker in the first stitch, the joining slip stitch does not count as a stitch and starting on Round 2, you will chain 1 and turn).
- Important: To adjust the size of the trim, you can use a smaller hook to make it tighter or a larger hook to make it looser. (I used a J/10 (6.00 mm) hook). To further adjust the size, you can make more or less stitches in Round 2.
Trim Instructions:
Do not turn. You will be working in the same direction as you did in the last round of the hat body. The RS (front/outside) of the hat should be facing you.
Attach white yarn by placing it on your hook and pulling it through the loop of red that is currently on your hook. Fasten off red (meaning to cut the red yarn attached to your skein). Use white for the entire trim.
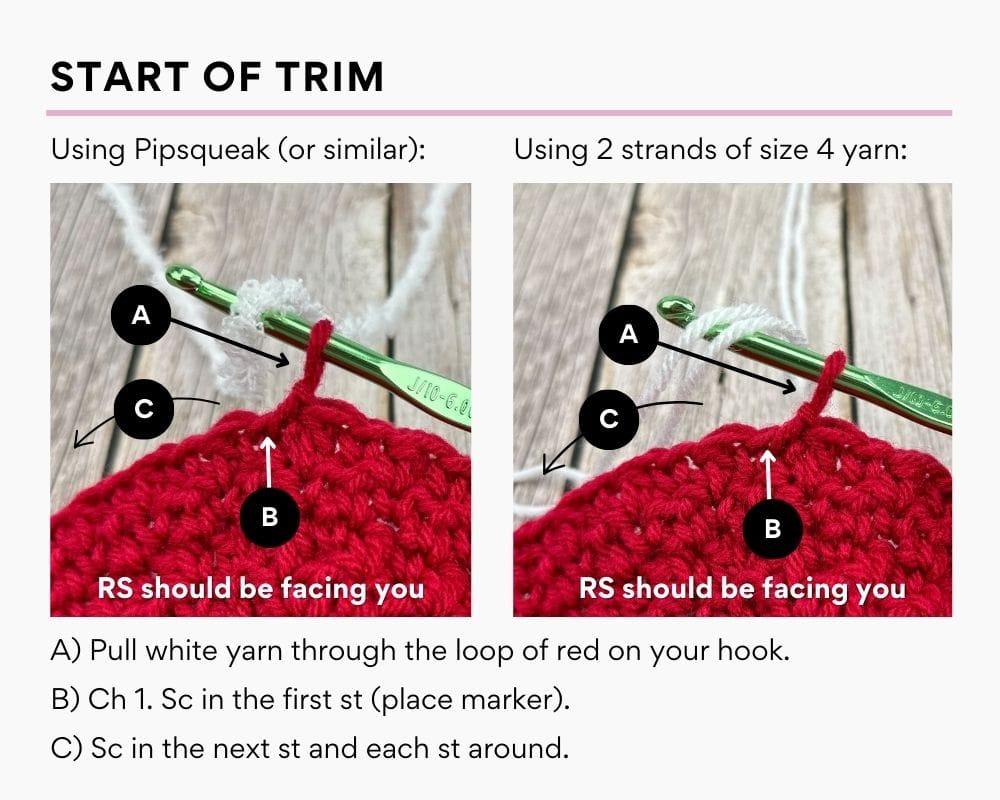
Trim – Round 1 (RS): Ch 1. (Reminder: don’t turn).
In the first st (the same st as the ch and the sl st), sc.
Sc in the next st and each st around.
(60 sts).
Sl st into the top of the first sc to join.
Trim – Round 2 (WS): Ch 1 and turn.
Sk the st attached to the ch.
Sc in the next st and each st around.
(60 sts).
Sl st into the top of the first sc to join.
Trim – Round 3 (RS): Repeat Round 2.
Trim – Round 4 (WS): Repeat Round 2.
Trim – Round 5 (RS): Repeat Round 2.
Trim – Round 6 (WS): Repeat Round 2.
Trim – Round 7 (RS): Repeat Round 2.
After Round 7, trim should measure 11.5” wide and 2.5” high.
Fasten off (meaning to cut the yarn that’s attached to the skein and pull the tail through the loop that was on your hook). With your yarn needle, weave in all loose ends.
Santa Hat Pom-Pom
You can use your favorite method to create a pom-pom or follow the directions below, which creates an approx. 3″ x 3″ pom-pom. You can either use Pipsqueak by Bernat in white (or a similar size 5 (bulky), 100% polyester yarn) or any white, size 4 (medium) and 100% acrylic yarn (you only need one strand for the pom-pom).
POM-POM MAKING METHOD
I used the rectangular cardboard method in which I wrap my yarn around a rectangular piece of cardboard that has a slit in.
POM-POM MAKING SET UP
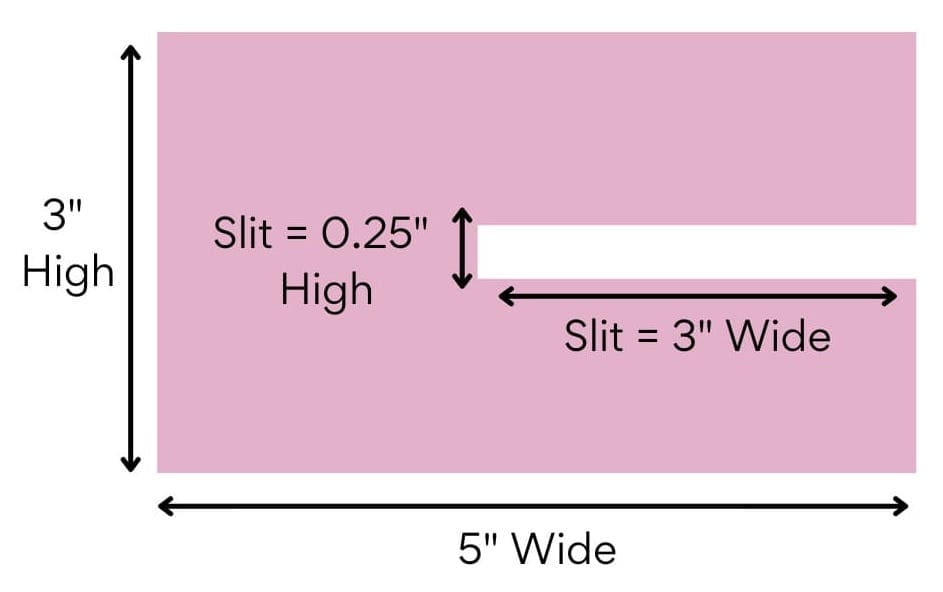
Cut a piece of cardboard (the thicker the better) that is 5″ long and 3″ high. The height determines the size of the pom pom. To adjust the size, make the height of the cardboard shorter or taller.
On the side, in the middle (at approximately 1.5″ high), cut a slit that is 3″ long. The slit should be approximately 0.25″ wide.
POM-POM MAKING INSTRUCTIONS
With the slit of the cardboard on your right side, leave a 12” tail and wrap the yarn vertically around the top and bottom of the cardboard piece, being careful not to wrap past where the slit ends (as you will need that opening after your yarn in wrapped).
- If using Pipsqueak yarn (or a similar size 5 (bulky) yarn: wrap your yarn around the cardboard approx. 60 times.
- If using size 4 (medium) yarn: wrap your yarn around the cardboard approx. 100 times.
After wrapping, cut yarn leaving a 24″ end. Use the tail to wrap around the wrapped yarn horizontally a few times going through the slit opening. Using both tails, tie tightly.
Slide the pom-pom off the cardboard and turn it over. Using the both tails, tie tightly again on the opposite side.
Using scissors, cut the looped ends all the way around. Do not cut the 24″ end. Trim your pom-pom around to make it even. Using the 24″ end and your yarn needle, attach the pom-pom to the top of the hat. Weave in loose ends.
Frequently Asked Questions
How Can I Make This Hat a Different Size?
I really wish I could help but at this time, I’ve only designed, made and tested this pattern to be the size listed in the pattern and I wouldn’t want to give you inaccurate information. You are welcome to try experimenting with different hook sizes, more or less rounds of the hat body and/or adding or skipping stitches on Round 2 of the trim.
I Can’t Find the Yarn Listed in the Pattern
You can use this Yarn Substitution Tool to find an alternative.
Can I Use a Different Yarn Weight?
I really wish I could help and tell you how to make the pattern with a different yarn weight and/or hook size but at this time, I’ve only designed, made and tested the pattern with the yarn weight and hook size listed and I wouldn’t want to give you inaccurate information.
Why Do I Turn at the Start of Each Round?
Turning after each round creates a nearly invisible seam.
What is the Stitch Called?
The stitch used in the hat body is often called the Lemon Peel stitch, which is made by alternating single crochet and double crochet stitches.
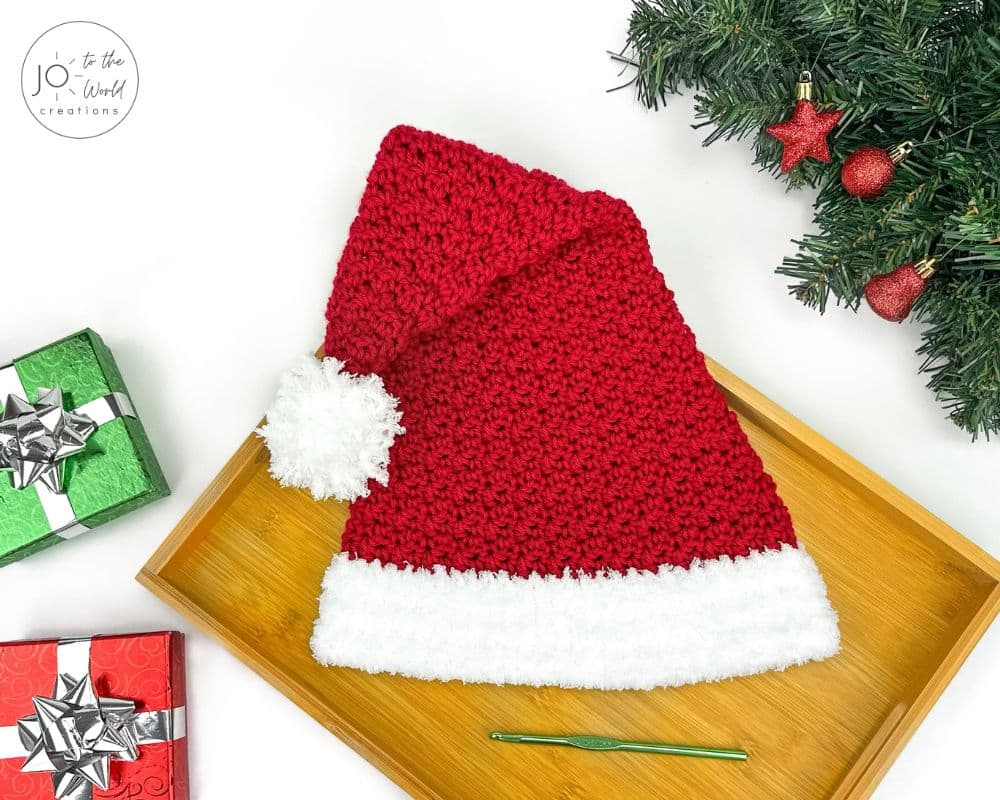
And now you have a new Santa hat!
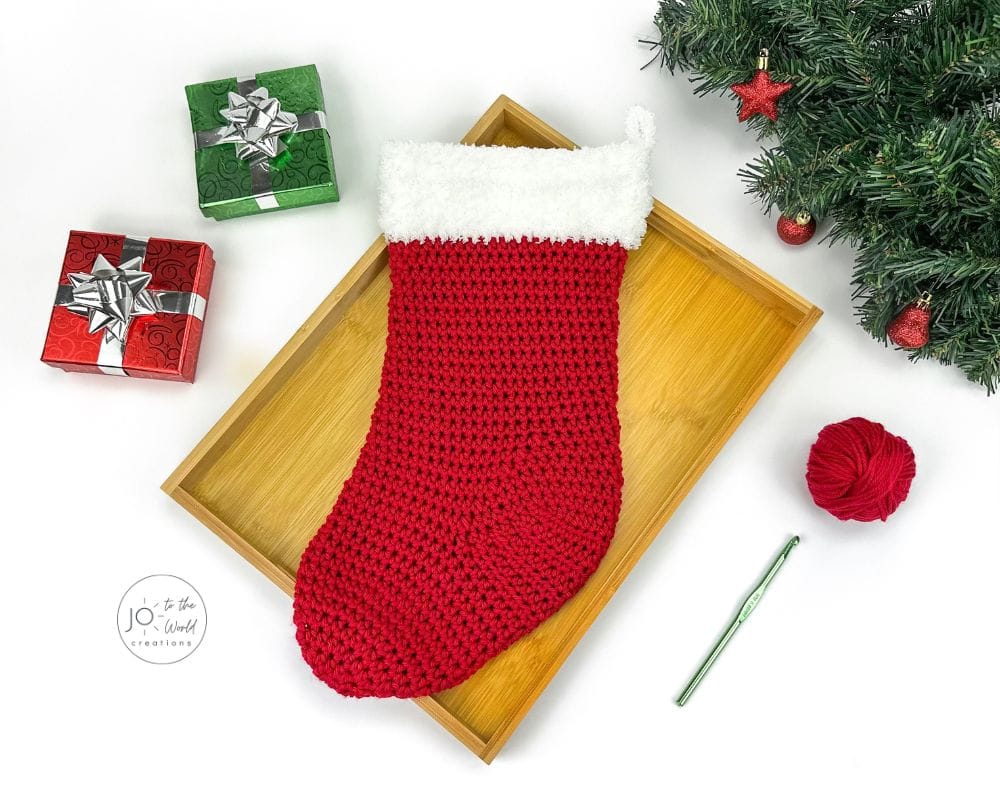
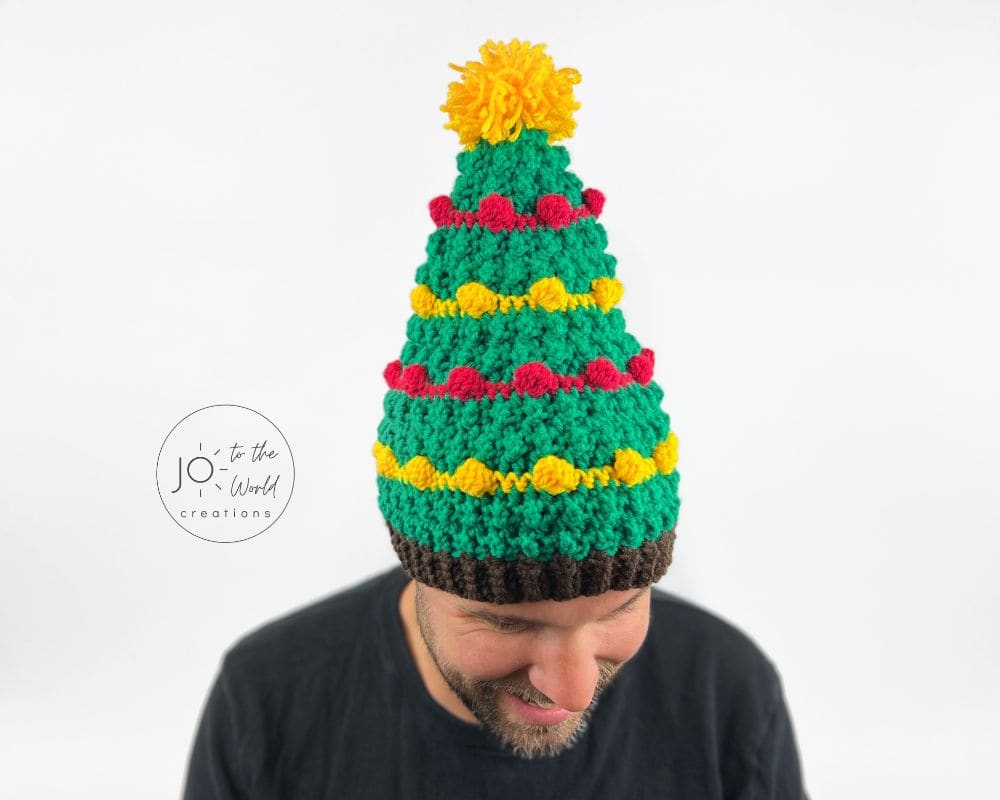
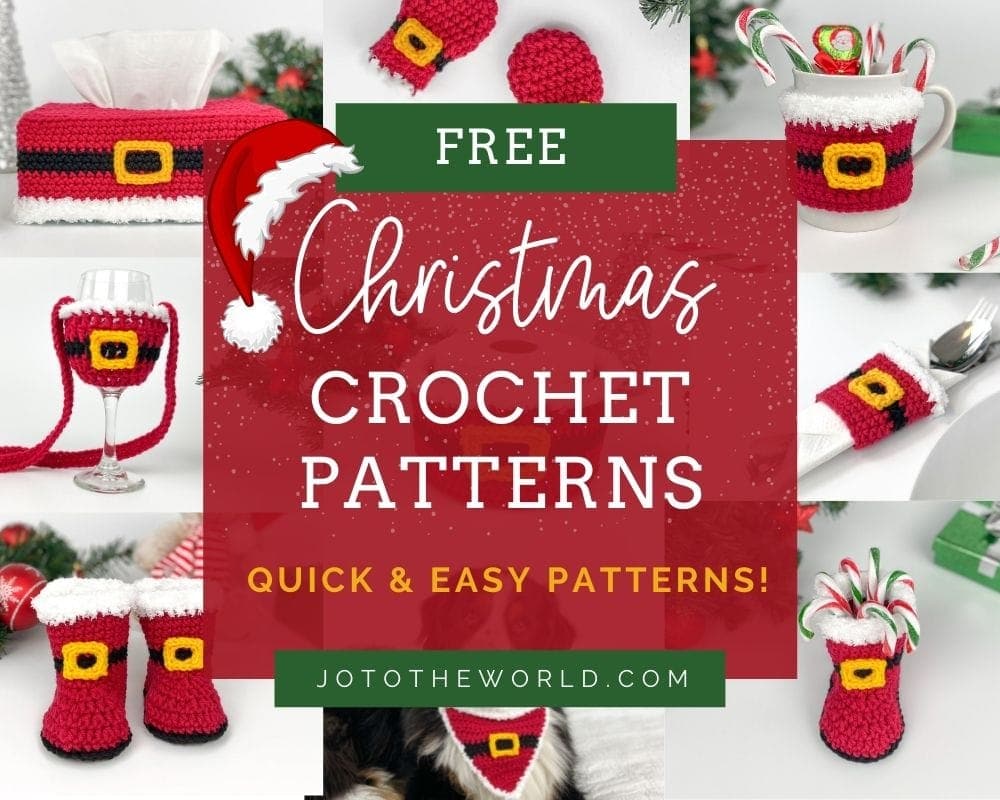
More Crochet Christmas Patterns


I’m Jo, the designer behind Jo to the World Creations, and I’m dedicated to helping you make the perfect crochet gift! I love designing and sharing free crochet patterns that you can make for every gift occasion.
About →Let’s Connect
Download. Print. Keep.
Get Instant Access to ALL Printable Patterns
Make your crocheting more enjoyable, relaxing and productive with printable PDF patterns.
- 180+ premium crochet patterns.
- Download, save and print from any device.
- No ads or popups!
Not sure yet? Take a look at the Pattern Library and see all the patterns you can download once you’re a member.
Save with Pattern Bundles
For a limited time, I’ve grouped some of my most popular crochet patterns and I’m offering them as pattern bundles where you can get the printable versions for one low, discounted price. Check out these incredible Crochet Pattern Bundles.
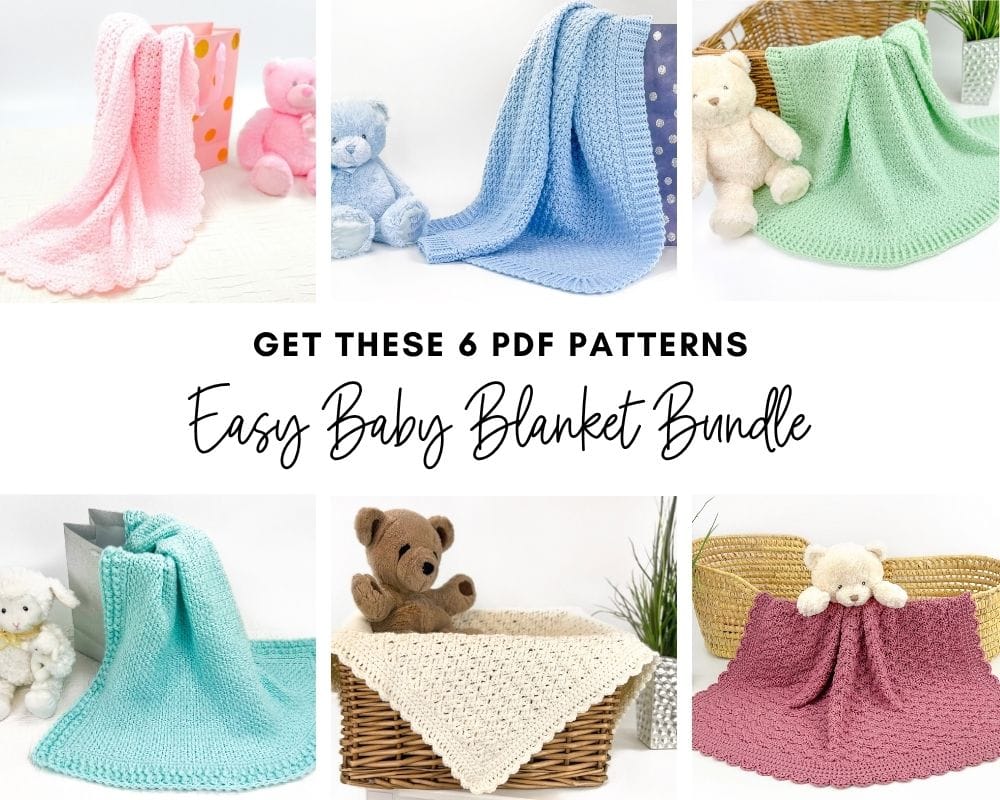
Easy Baby Blanket Bundle
With this Easy Baby Blanket Bundle, you’ll get SIX easy crochet baby blankets as printable downloads. Each pattern includes step-by-step instructions and a full video tutorial.
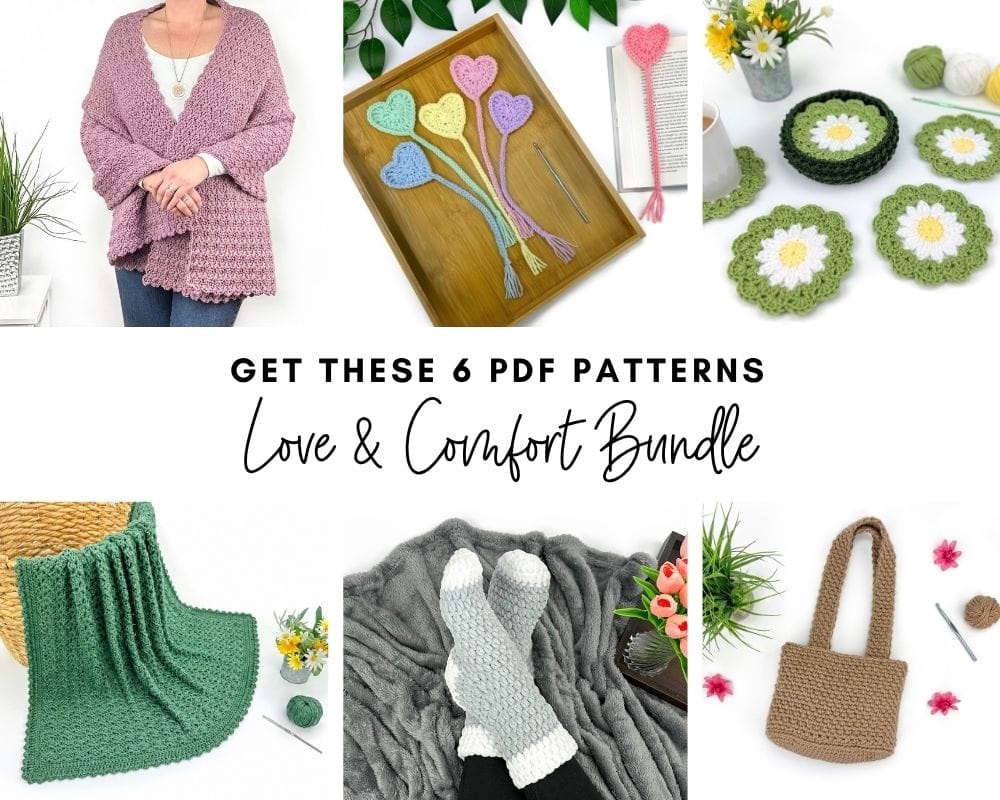
Love and Comfort Bundle
The Love and Comfort Bundle includes SIX meaningful patterns designed to comfort a loved one, brighten someone’s day or simply remind someone they’re loved.
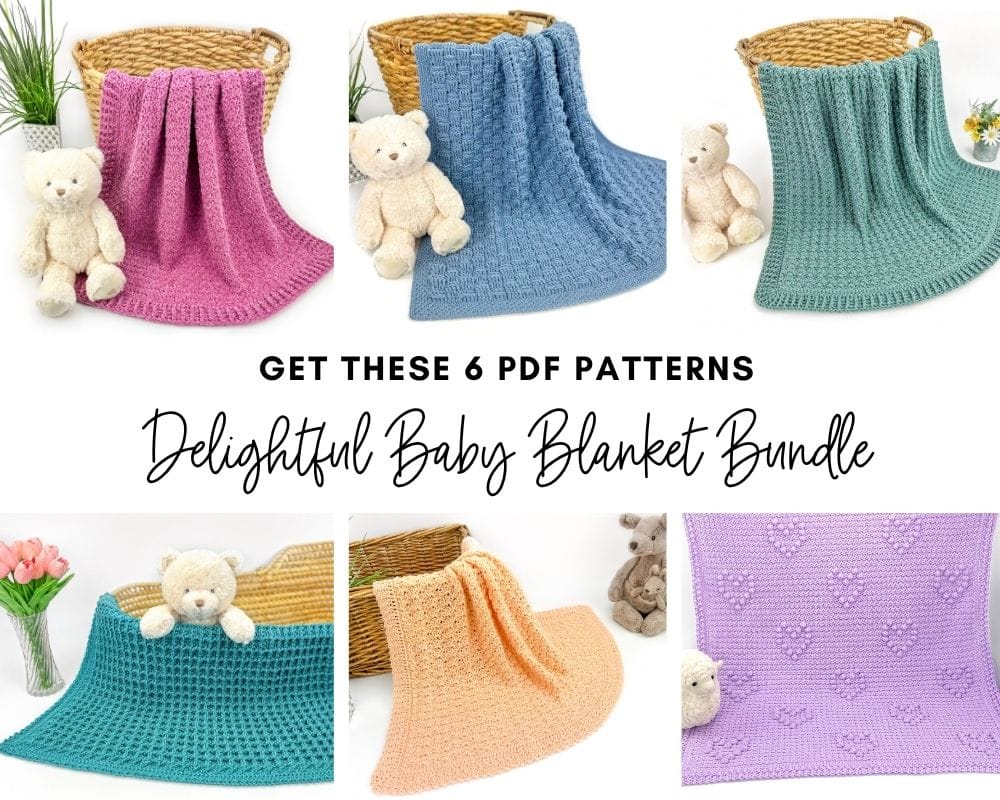
Delightful baby blanket Bundle
All your favorite baby blanket patterns in one bundle! This collection features SIX blankets (all with video tutorials) that are a delight to crochet and will be cherished forever.
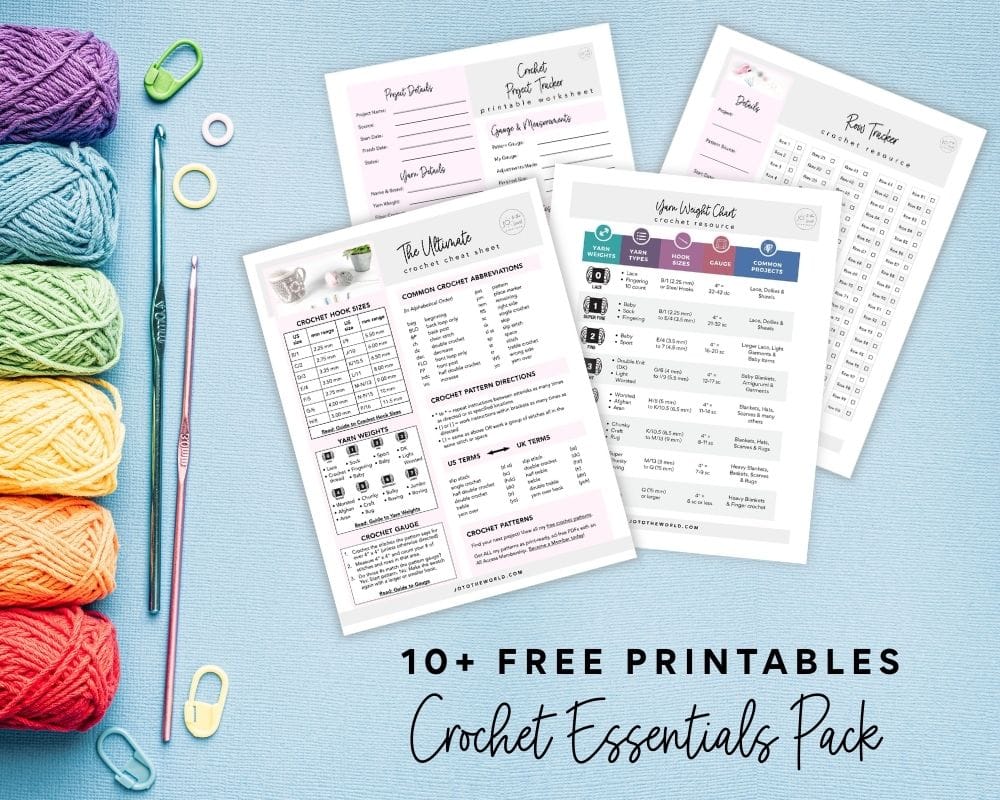
Free Crochet Printables
Subscribe to my emails and get 3 free printable crochet patterns as well as 10+ free printable crochet cheat sheets, guides and progress trackers.
Plus, you’ll receive free patterns for crochet gifts delivered right to your inbox!
Featured Crochet Patterns
Pattern Collections
Free Patterns for Crochet Gifts
Never miss a pattern! Get all my secrets to making incredible crochet gifts as well as new free crochet patterns and exclusive deals when you sign up for my newsletter (it’s free!).