
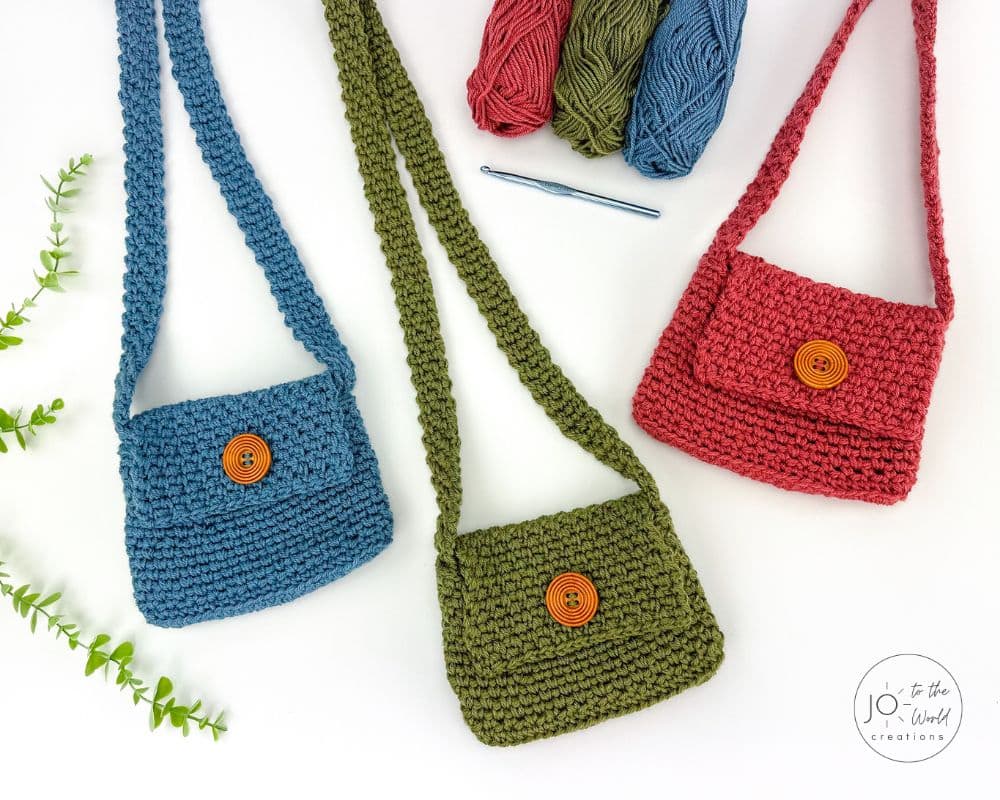
Moss Stitch Purse – Free Crochet Pattern
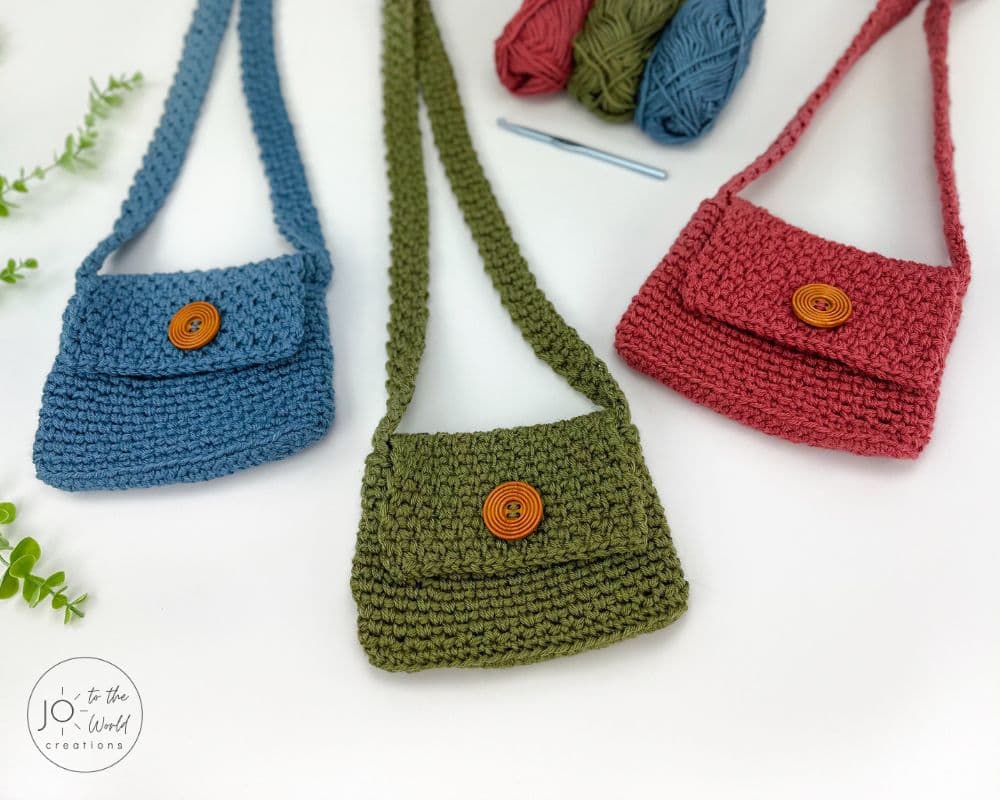
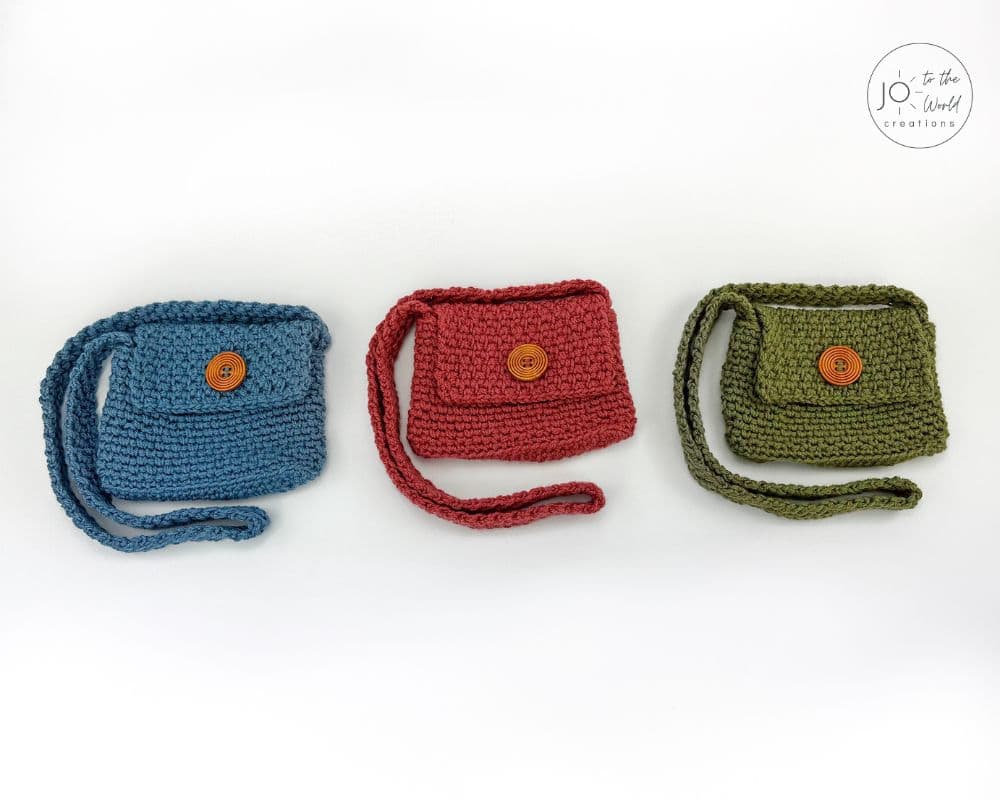
Learn how to crochet a purse and make this fabulous Moss Stitch Purse. It’s a quick, easy and free crochet purse pattern that makes a modern, stylish and useful crochet bag.
Before we begin, I would like to thank you for visiting Jo to the World Creations, a site dedicated to helping you give the gift of crochet.
More free patterns (that make incredible crochet gifts) are on the way! Sign up for my emails using the form below and never wonder “What should I make for…” again!
Free Email Series
GET 3 FREE PDF CROCHET PATTERNS
Subscribe to my emails and get a free printable PDF crochet pattern emailed to you every day for the next 3 days!
You’ll also receive new crochet patterns and helpful resources to help you make the best crochet gifts for everyone in your life.
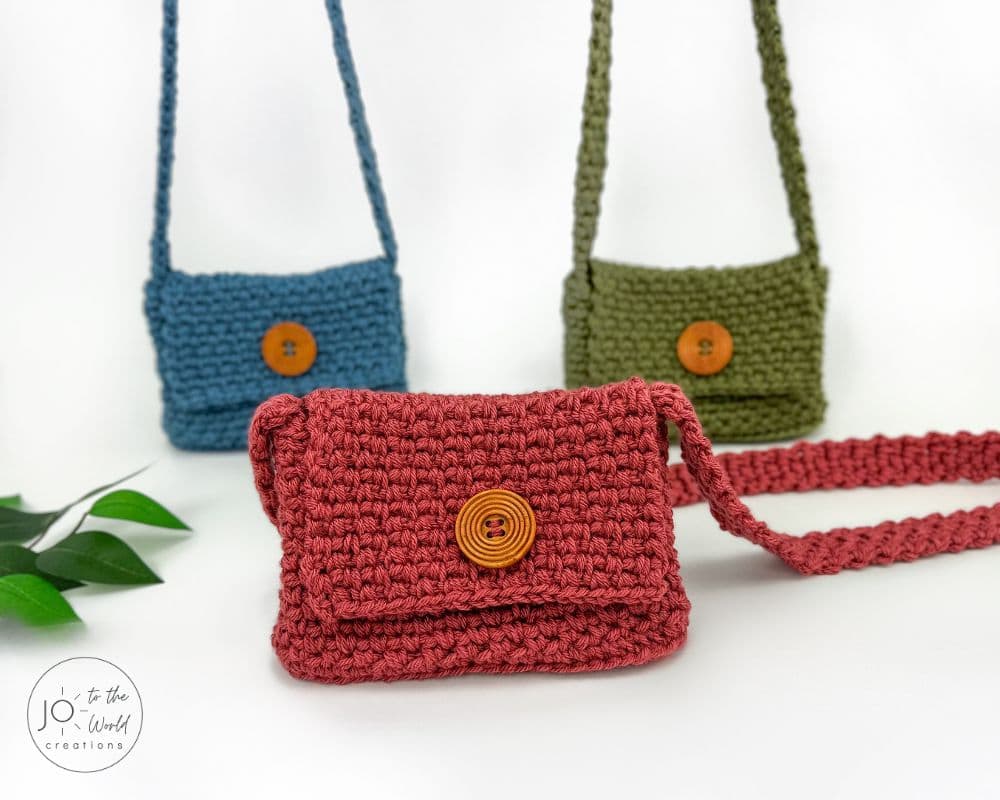
Easy Crochet Purse
I absolutely love making crochet purses and bags. They are practical projects that enhance your wardrobe and actually get used. Crochet bags also make wonderful gifts and sell well at craft shows.
You can make crochet purses for adults and kids. My girls are obsessed with purses and wear the bags I’ve made for them all the time.
If you want to learn how to crochet a purse or searching for an easy crochet purse pattern, you’ve come to the right place! In this pattern, which creates a Moss Stitch Purse, you will learn how to make a crochet purse from start to finish.
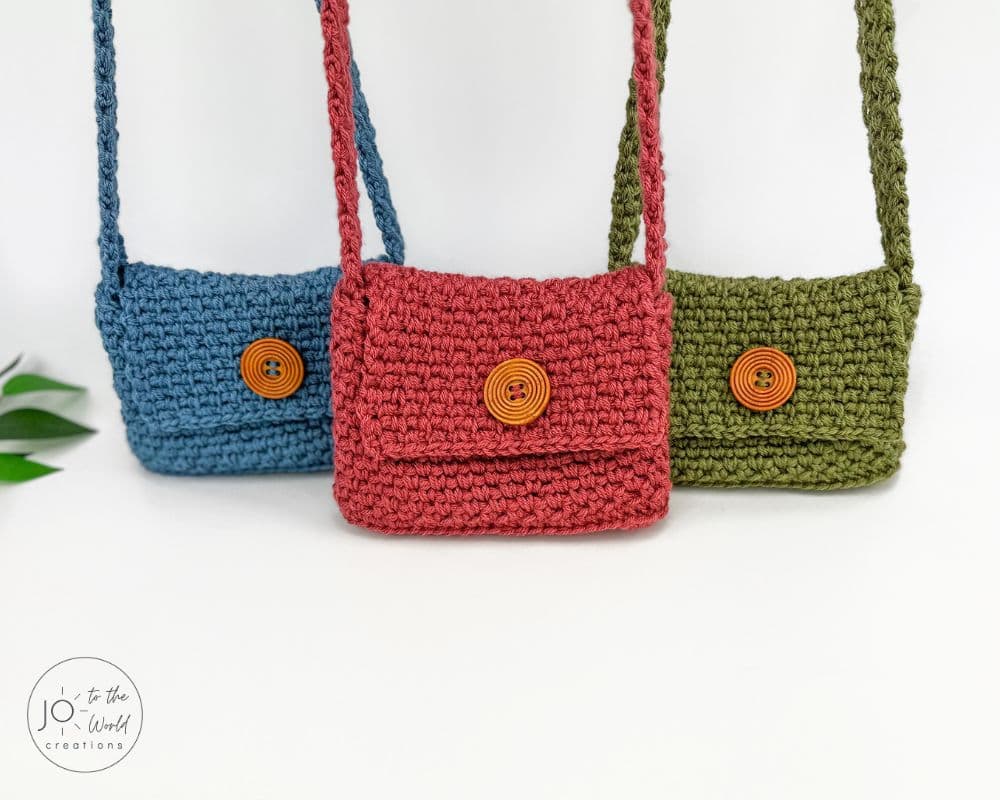
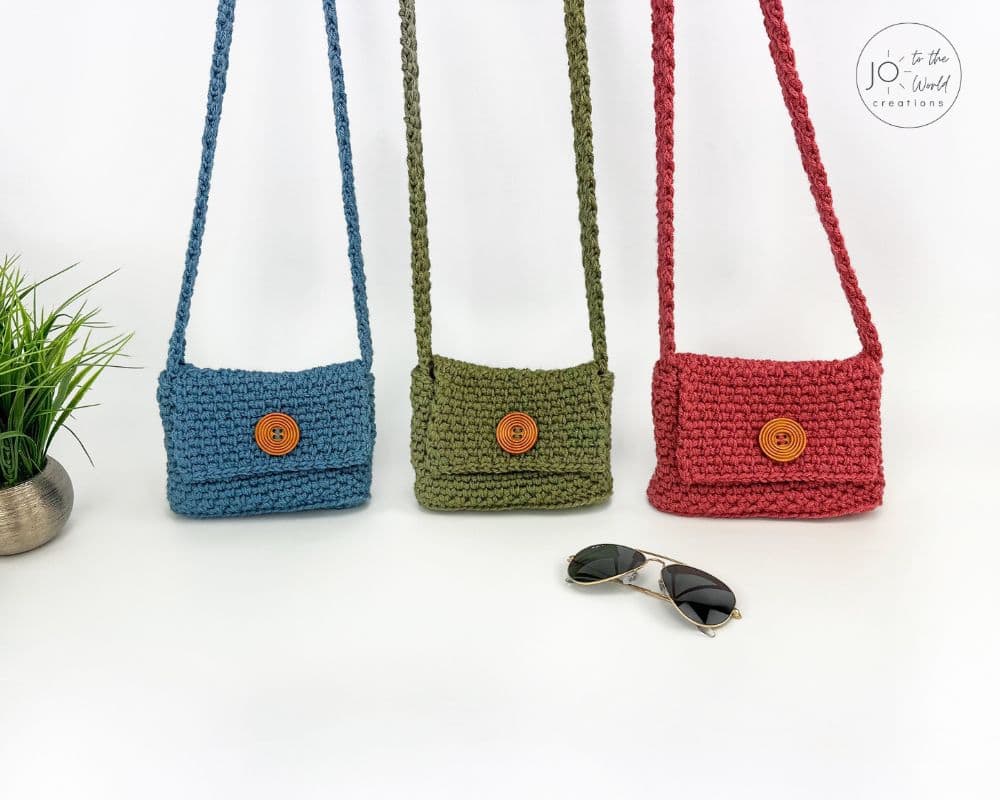
This Moss Stitch Crochet Purse Pattern is very easy and quick to make so you can make many crochet purses in a short period of time. You can make this purse in different colors to match any outfit in your wardrobe.
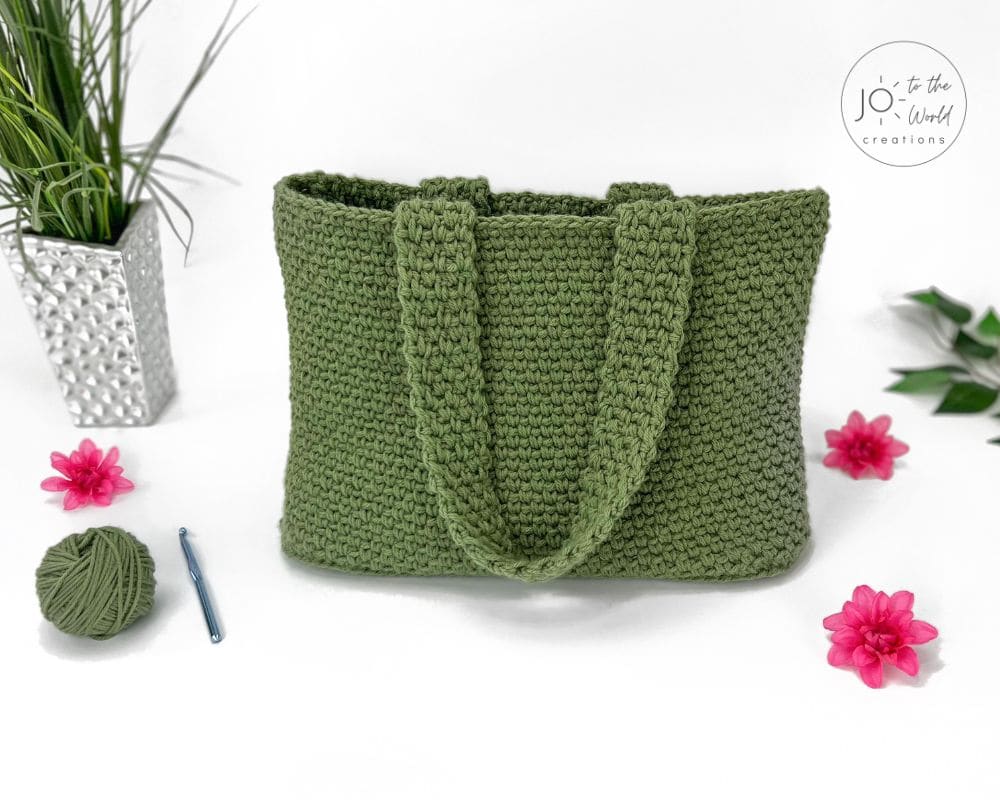
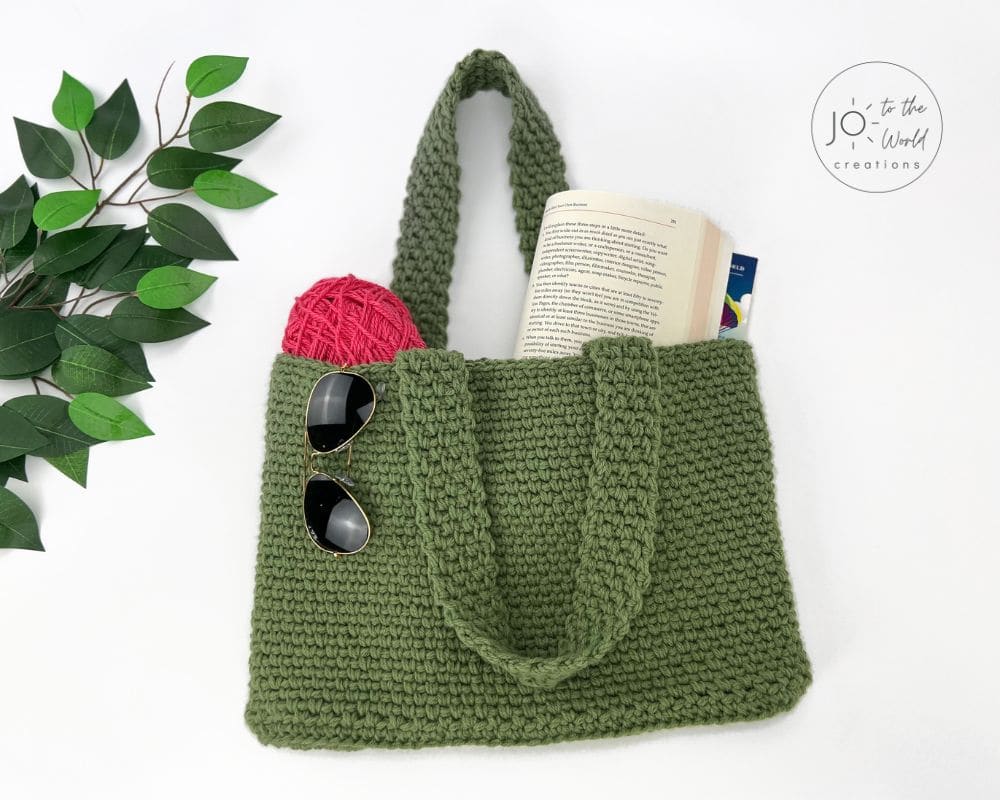
This Moss Stitch Purse Pattern is quite similar to my Crochet Tote Bag Pattern except that it’s much smaller and has a flap. Both patterns use the Moss Stitch, which is a very easy stitch that combines single crochet and chain stitches.
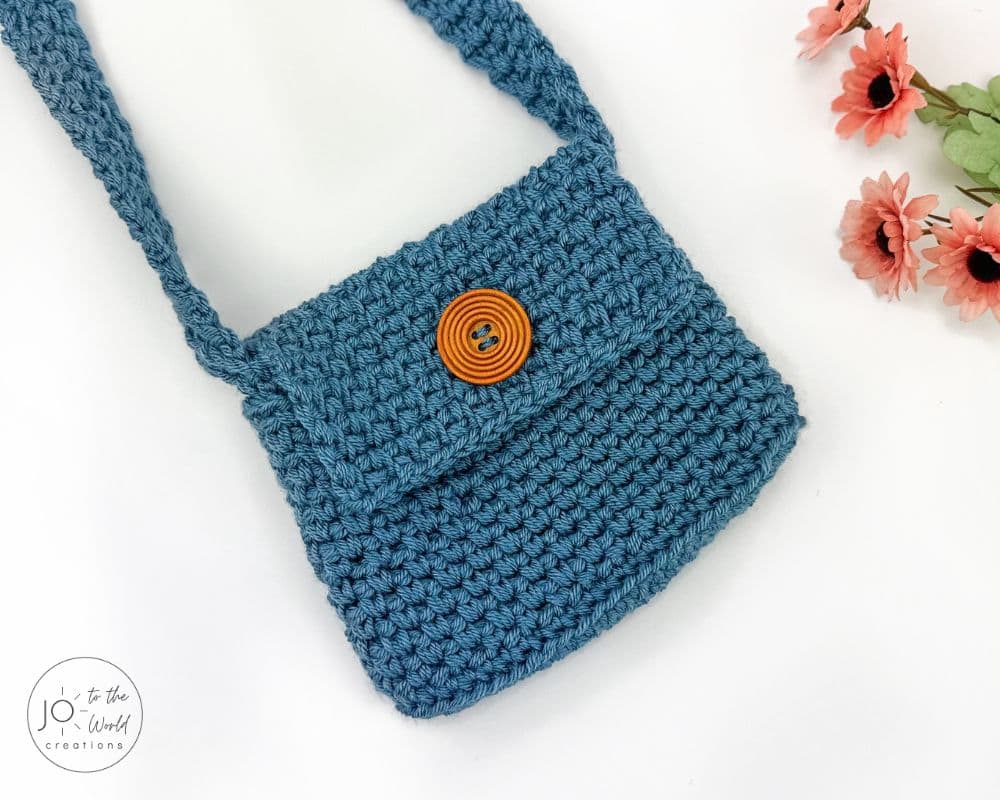
The Moss Stitch works up really quickly and looks beautiful when complete. I especially like this stitch for the purse strap as I find it stretches less than other stitches. I’ve used 100% acrylic yarn but if you want the strap to stretch even less, you could use cotton yarn.
The pattern is made with two strands of yarn held together the entire time. If you haven’t done this before, don’t be intimidated! Simply hold two strands at once, treat them as one strand and crochet normally. It’s okay if they twist around each other. Using two strands at once creates a sturdy, dense fabric, which is perfect for a purse.
Use the Table of Contents below to jump to any section of the pattern or keep scrolling down to view all the details, the video tutorial and the written pattern.
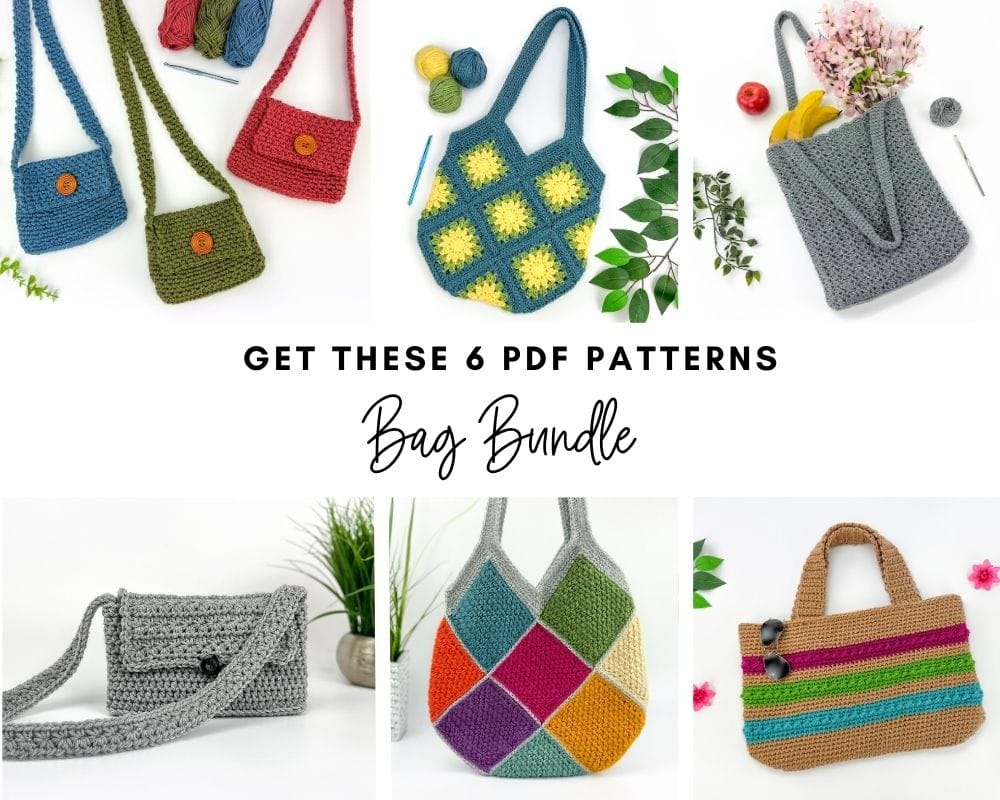
This pattern is included in the Bag Bundle! For a limited time, get SIX fabulous bag patterns as printable PDFs for only $9.97.
Get the Bag Bundle Today!
Get the PDF!
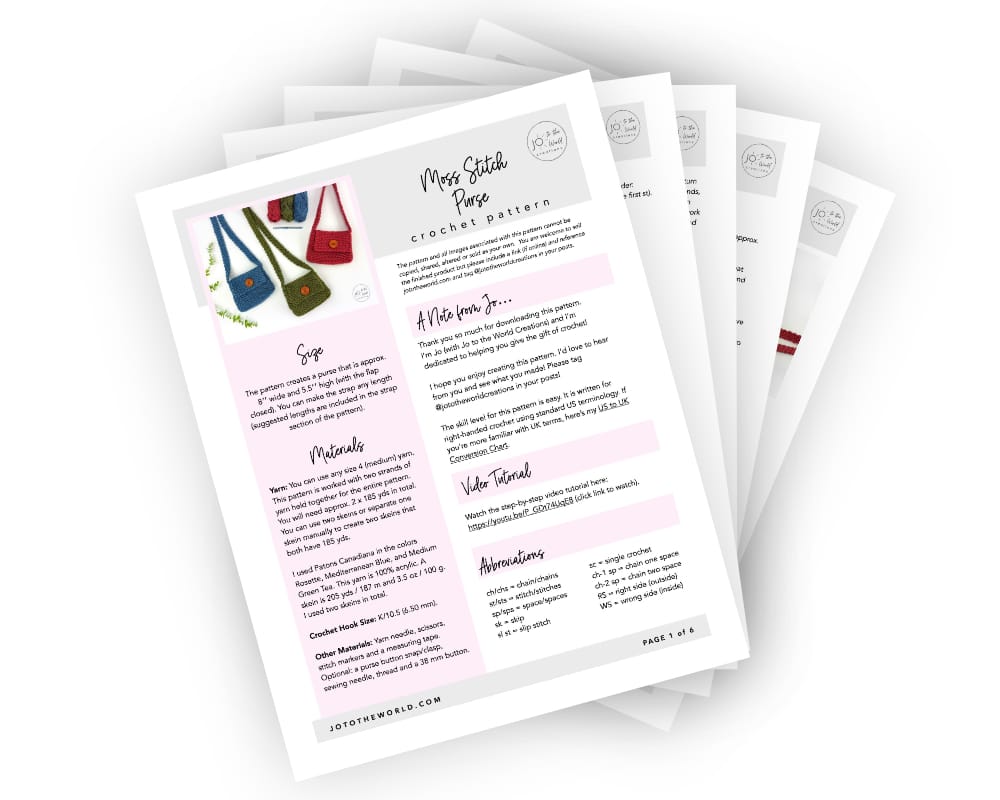
Purchase the printer-friendly, ad-free PDF of this pattern that you can instantly download! It includes everything from this free pattern but you can easily save, print and access it anytime!
All-Access Membership
For only $0.14 a day, you can get this pattern as a PDF and my entire library of 180+ print-ready, ad-free PDF crochet patterns!

Pattern Details (Size, Yarn, Hook & Notes)
Skill Level
Easy
Size
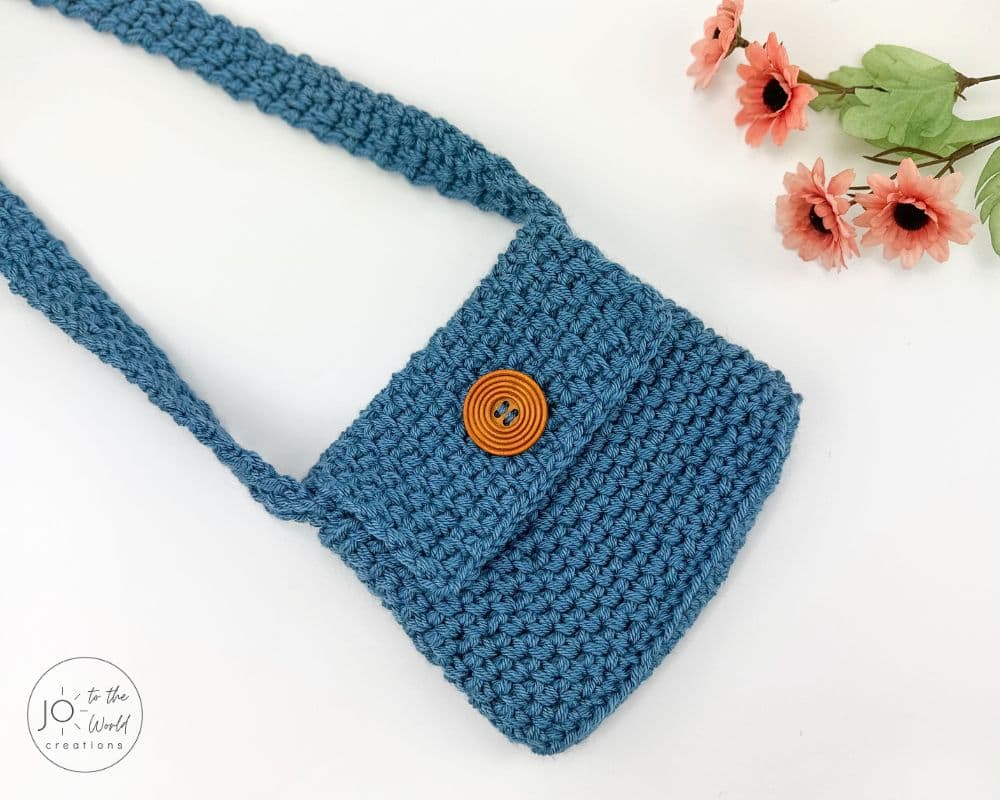
The pattern creates a purse that is approx. 8″ wide and 5.5″ high (with the flap closed). You can make the strap any length (suggested lengths are included in the strap section of the pattern).
Materials
Yarn: You can use any size 4 (medium) yarn. This pattern is worked with two strands of yarn held together for the entire pattern. You will need approx. 2 x 185 yds in total. You can use two skeins or separate one skein manually to create two skeins that both have 185 yds.
I used Patons Canadiana in the colors Rosette, Mediterranean Blue, and Medium Green Tea. This yarn is 100% acrylic. A skein is 205 yds / 187 m and 3.5 oz / 100 g. I used two skeins in total.
Crochet Hook Size: K/10.5 (6.50 mm)
Other Materials: Yarn needle, scissors, stitch markers and a measuring tape. Optional: a purse button snap/clasp, sewing needle, thread and a 38 mm button.
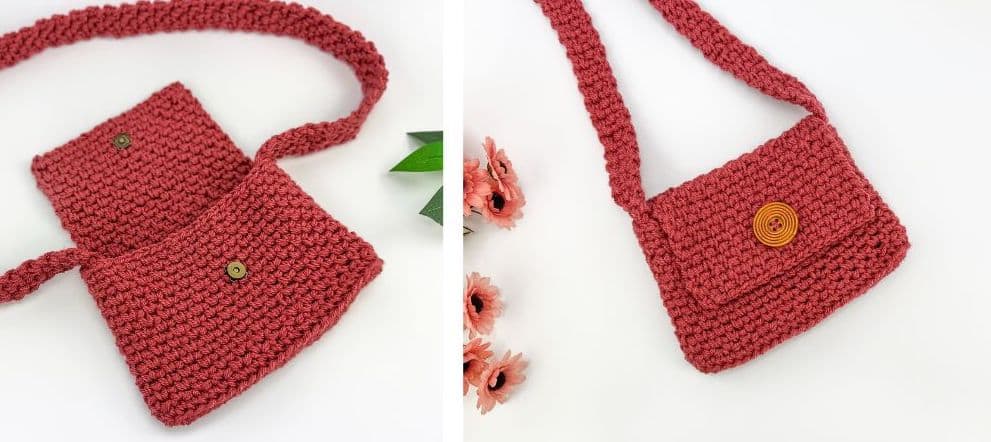
For this Moss Stitch Purse, I chose to add a snap to keep it secure and ensure nothing falls out. I also added a decorative button to the front.
Terminology
This pattern is written for right-handed crochet using standard US terminology. If you’re more familiar with UK terms, here’s my US to UK Conversion Chart.
Abbreviations
- ch/chs = chain/chains
- st/sts = stitch/stitches
- sp/sps = space/spaces
- sk = skip
- sl st = slip stitch
- sc = single crochet
- ch-1 sp = chain one space
- ch-2 sp = chain two space
- RS = right side (outside)
- WS = wrong side (inside)
Gauge
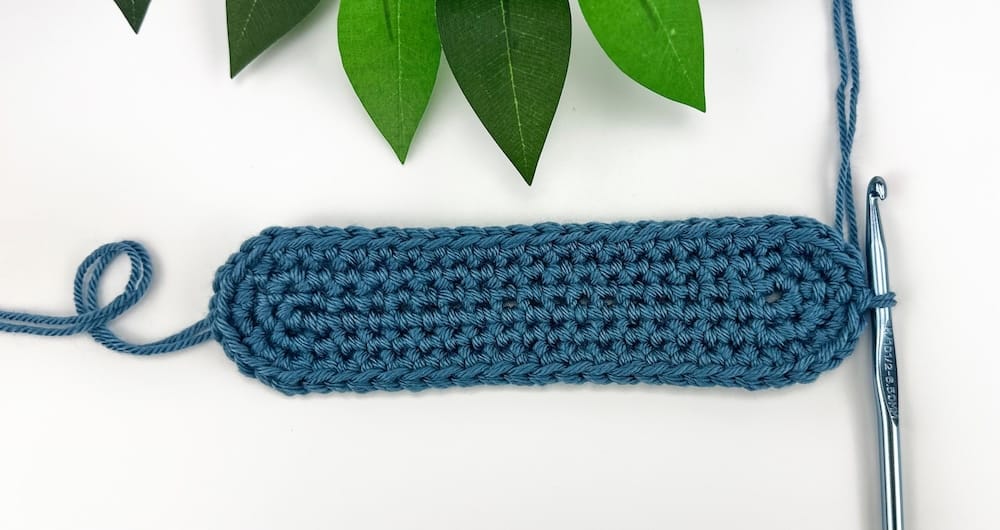
Exact sizing is not important. For reference, after Round 3, work should measure 8” long and 2” wide.
Pattern Notes
- Use two strands of yarn held together for the entire pattern, treating them as one strand and crocheting normally.
- Always put a stitch marker in the top of the first single crochet stitch of every round to help ensure you start and end in the right place and you have the correct number of stitches.
- Chains never count as stitches.
Frequently Asked Questions
Can I make this purse with only one strand of yarn?
This purse pattern was designed to be made with two strands of size 4 (medium) yarn held together the entire time. If you use only one strand, the size, look and feel as well as the amount of yarn required may be different. The purse will be smaller and might also be more flimsy and less sturdy.
Can I make this purse pattern in a different size?
At this time, I’ve only designed, made and tested this purse to be approx. 8′′ wide and 5.5′′ high (with the flap closed). You can make the strap any length (suggested lengths are included in the strap section of the pattern). If you are looking for patterns for bags/purses in other sizes, check out my other crochet bag patterns.
Can I use a different yarn weight or hook size?
This purse was designed to be made with size 4 (medium) yarn and a K/10.5 (6.50 mm) hook. You are welcome to try something else but the size, overall look and feel of your finished purse as well as the amount of yarn required may be different.
I really wish I could help and tell you how to make it with a different yarn weight and/or hook size but I’ve only designed, made and tested this pattern with the yarn weight and hook size listed and I wouldn’t want to give you inaccurate information.
Video Tutorial
Watch the step-by-step video tutorial below or keep scrolling down for the written instructions.

Just a Reminder!
This pattern is also available as a PDF, which includes everything listed here but as a printer-friendly, ad-free PDF that you can instantly download, save, print, make notes on and keep forever.
Get ALL my PDF Patterns!
Only $0.14 a day!
Join the All-Access Membership and instantly download the printable version of this pattern and ALL my 180+ easy-to-follow PDF crochet patterns.
How to Crochet the Moss Stitch Purse – Pattern Instructions
Purse Bottom
With two strands of yarn held together, leave a 30” starting tail (you can use this tail to fix any gaps along the bottom). Use two strands of yarn held together for the entire pattern.
Purse Bottom – Start: Ch 19.
Purse Bottom – Round 1:
In the second ch from the hook, 2 sc (reminder: always place a stitch marker in the top of the first st).
Sc in the next 16 chs.
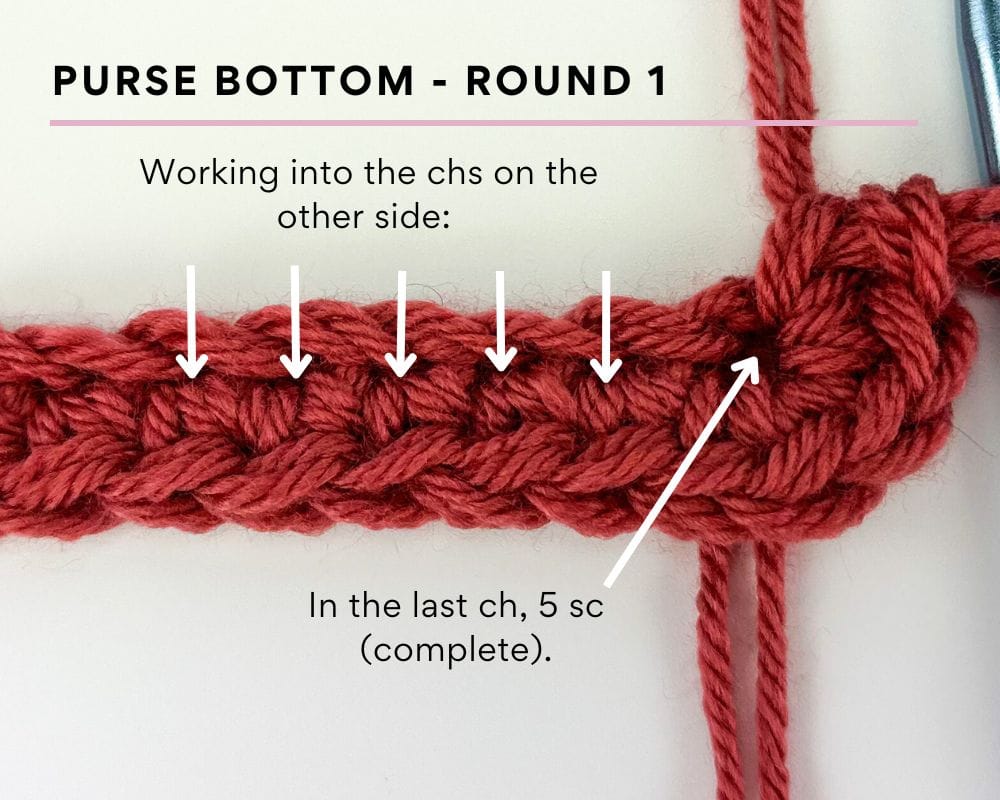
In the last ch, 5 sc.
Working into the chs on the other side:
Sc in the next 16 chs.
In the last ch, 2 sc.
(41 sc sts).
Sl st into the top of the first sc to join.
Purse Bottom – Round 2: Ch 1. Do not turn.
In the first st, 2 sc.
Sc in the next 18 sts.
2 sc in the next 3 sts.
Sc in the next 17 sts.
2 sc in the next 2 sts.
(47 sc sts. Reminder: chains never count as sts).
Sl st into the top of the first sc to join.
Purse Bottom – Round 3: Ch 1. Do not turn.
In the first st, 2 sc.
In the next st, 2 sc.
Sc in the next 19 sts.
2 sc in the next 5 sts.
Sc in the next 19 sts.
2 sc in the next 2 sts.
(56 sc sts).
Sl st into the top of the first sc to join.
Do not fasten off.
After Purse Bottom – Round 3, my work measured 8” long and 2” wide. Exact sizing is not important.
Purse Body
The round numbers will now reset to make it easier to count rounds from the bottom up.
Note: As you work on the purse body, you will notice that the RS (the top) of the bottom you just completed will be facing down and will be on the outside of the bottom.
Purse Body – Round 1 (RS): Ch 1. Do not turn.
In the first st, sc in the back loops only (the loops farthest away from you).
Sc in the back loops only of each st around.
(56 sc sts).
Sl st into the top of both loops of the first sc to join.
(Work in both loops from now on).
Purse Body – Round 2 (RS): Ch 1. Do not turn.
Sc in the first st. Ch 1. Sk the next st.
*Sc in the next st. Ch 1. Sk the next st.*
Repeat from * to * around.
(28 sc sts).
Sl st into the top of the first sc to join.
Note: every time you ch 1 and sk a st, you are creating a “chain one space” (ch-1 sp) that you will work into on the next round.
For the rest of the purse body, you will ch 1 and turn at the start of each round. On odd numbered rounds, the WS (inside) of your work will be facing you. On even numbered rounds, the RS (outside) of your work will be facing you. Turning at the start of each round makes the seam straight.
Purse Body – Round 3 (WS): Ch 1 and turn.
In the first ch-1 sp, sc. Ch 1.
*In the next ch-1 sp, sc. Ch 1.*
Repeat from * to * around.
(28 sc sts).
Sl st into the top of the first sc to join.
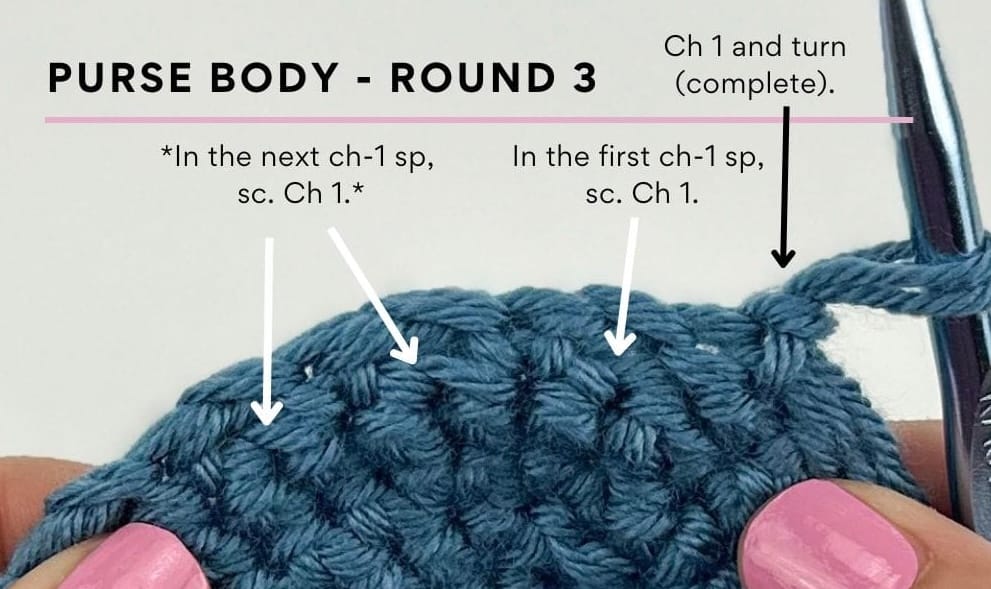
Note: every time you ch 1 and sc into a ch-1 sp, you are creating a new ch-1 sp that you will work into on the next round. (When you ch 1 and turn at the start of the round, that does not create a ch-1 sp).
Purse Body – Rounds 4 – 16:
Repeat Purse Body – Round 3.
After Round 16, my work measured approx. 5” high.
If you want to adjust the height, you can repeat Round 3 more or less times. Ensure you end after completing a RS (even numbered) round.

Purse Flap
Ensure you’ve finished the purse body after a RS round.
Purse Flap – Row 1 (RS): Ch 2. Do not turn. Continue working in the same direction as the last round of the purse body.
Sc in the first ch-1 sp (the sp between the ch-2 and the sc creates a ch-2 sp, which you will work into on the next row).
*Ch 1. Sc in the next ch-1 sp (new ch-1 sp created).*
Repeat from * to * a total of 11 times.
(12 sc sts).
Leave the rest of the sts in the round unworked.
Purse Flap – Row 2 (WS): Ch 2 and turn.
Sc in the first ch-1 sp (new ch-2 sp created).
*Ch 1. In the next ch-1 sp, sc (new ch-1 sp created).*
Repeat from * to * across until the last (ch-2) sp.
Ch 1. In the last (ch-2) sp (the sp between the two starting chains and the last sc from the previous row), sc.
(12 sc sts).
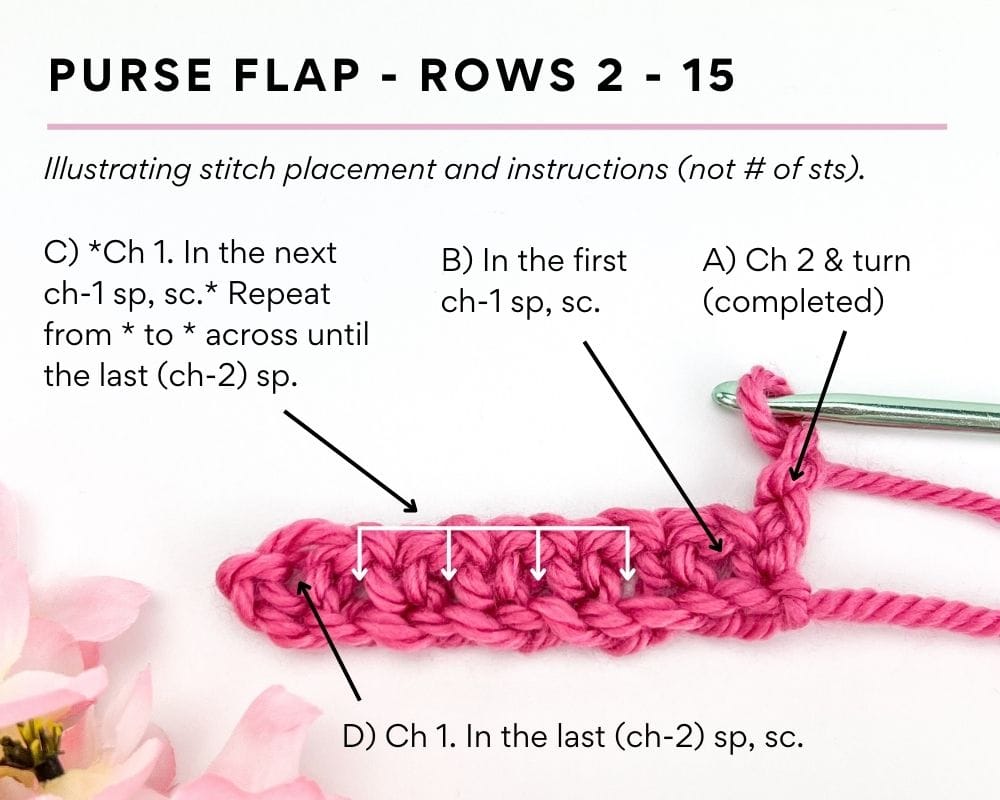
Purse Flap – Rows 3 – 15: Repeat Purse Flap – Row 2.
After Purse Flap – Row 15, my flap measured approx. 5” from the purse body.
If you want to adjust the height of the flap, repeat Purse Flap – Row 2 more or less times. You can end after any row.
After completing Purse Flap – Row 15 (or after reaching your desired flap size), fasten off and weave in all loose ends. If you have unwanted gaps/holes along the bottom, you can use the 30” starting tail to fix/tighten any gaps.
Purse Strap
You can make the strap any length. Here are some suggested strap lengths:
- Kids Shoulder Bag = 33″
- Adult Shoulder Bag = 44″
- Adult Cross-Body Bag = 55″
Purse Strap – Start: (Use two strands of yarn held together). Leave a 12” starting tail and ch 5.
Purse Strap – Row 1:
In the third ch from the hook, sc (ch-2 sp created).
Ch 1. Sk the next ch. In the last ch, sc (ch-1 sp created).
(2 sc sts).
Purse Strap – Row 2: Ch 2 and turn.
In the first ch-1 sp, sc (new ch-2 sp created).
Ch 1. Sc in the ch-2 sp (new ch-1 sp created).
(2 sc sts).
Purse Strap – Row 3 and on: Repeat Purse Strap – Row 2 until you reach your desired strap length.
After reaching your desired strap length, fasten off, leaving a 12” ending tail.
Attaching the Straps
The straps go on the inside of the purse, on the sides, 2” below the top of the purse body. Using the tails and yarn needle, attach the strap ends to the inside of the purse, only working into the backs of sts to ensure the yarn does not show through the front. Attach all around. Weave in loose ends.
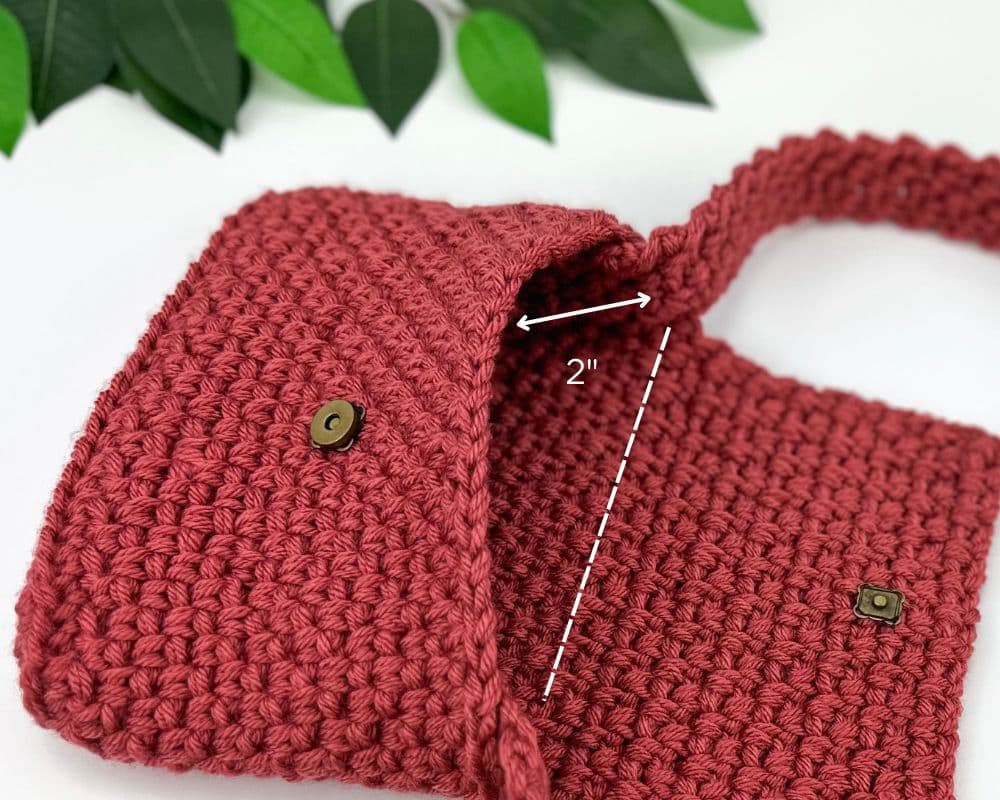
Purse Finishing (Optional)
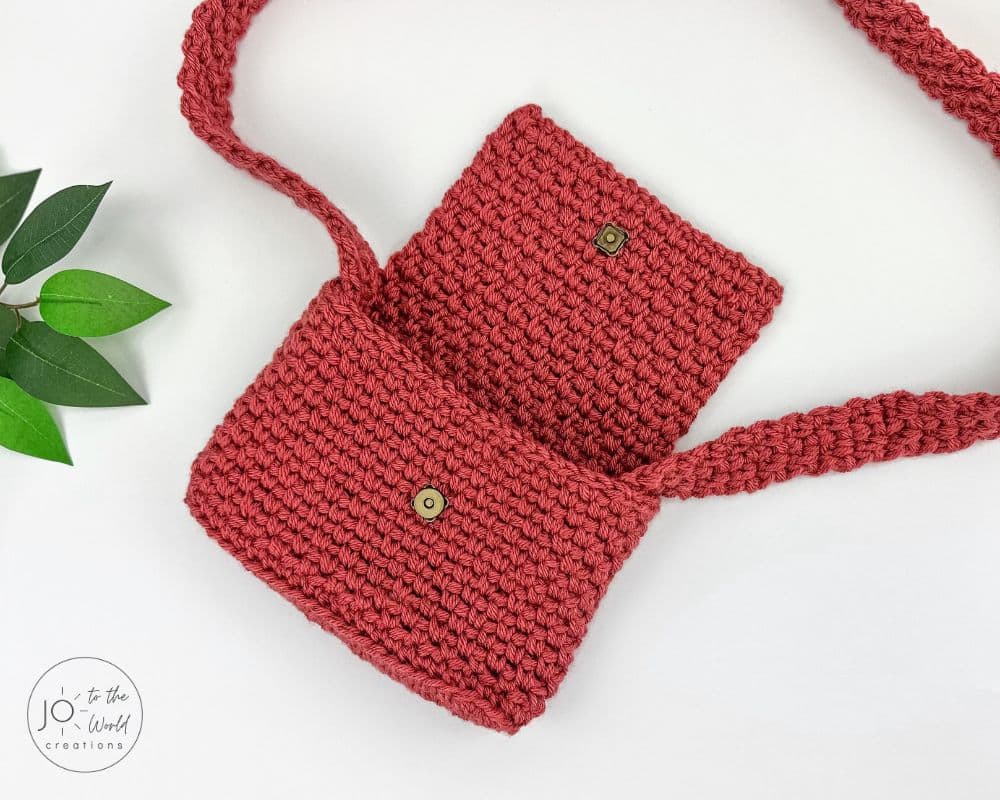
Using a sewing needle and thread, attach a purse snap/clasp to the bag with one piece on the inside of the flap and the other on the outside of the bag body.
For an added touch, sew a decorative large (38 mm) button to the front center of the flap.
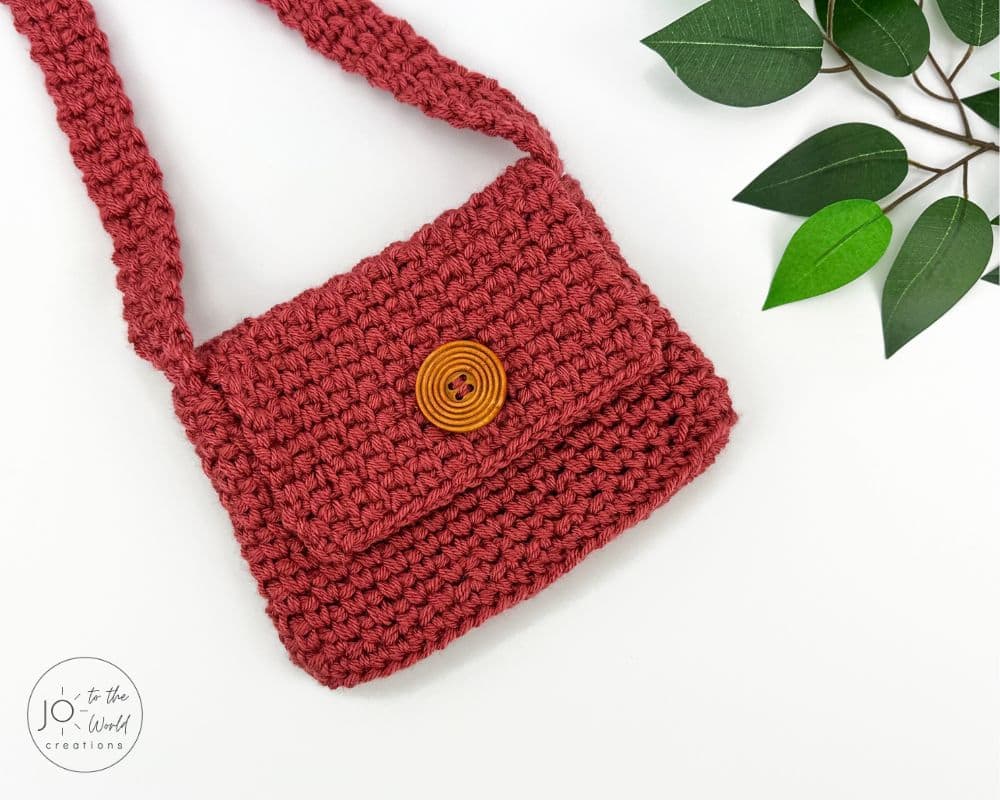
And now you have a new purse!
More Crochet Purses & Bags
View more crochet bag patterns

I’m Jo, the designer behind Jo to the World Creations, and I’m dedicated to helping you make the perfect crochet gift! I love designing and sharing free crochet patterns that you can make for every gift occasion.
About →Let’s Connect
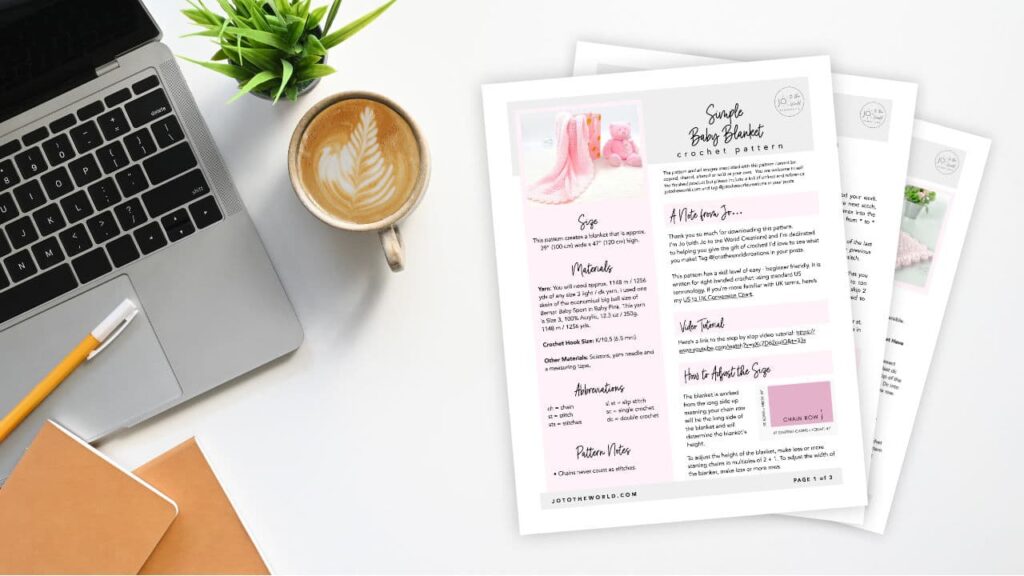
Download. Print. Keep.
Get Instant Access to ALL Printable Patterns
Make your crocheting more enjoyable, relaxing and productive with printable PDF patterns.
- 180+ premium crochet patterns.
- Download, save and print from any device.
- No ads or popups!
Not sure yet? Take a look at the Pattern Library and see all the patterns you can download once you’re a member.
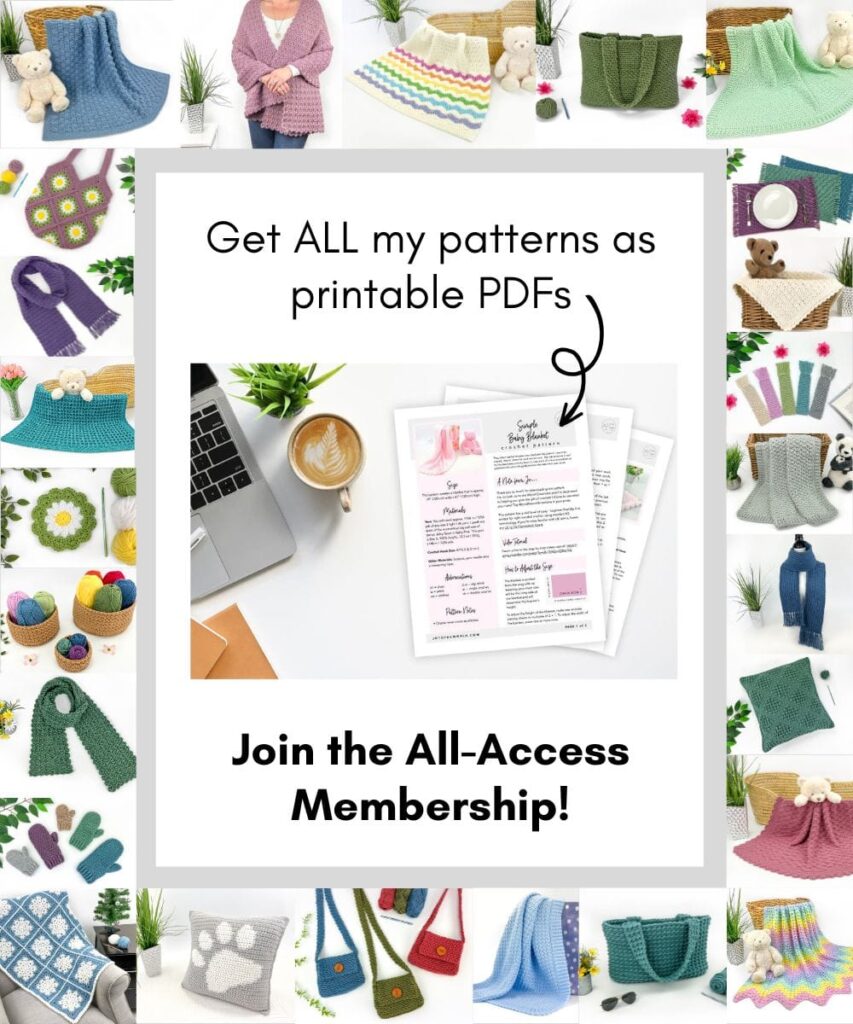
Save with Pattern Bundles
For a limited time, I’ve grouped some of my most popular crochet patterns and I’m offering them as pattern bundles where you can get the printable versions for one low, discounted price. Check out these incredible Crochet Pattern Bundles.
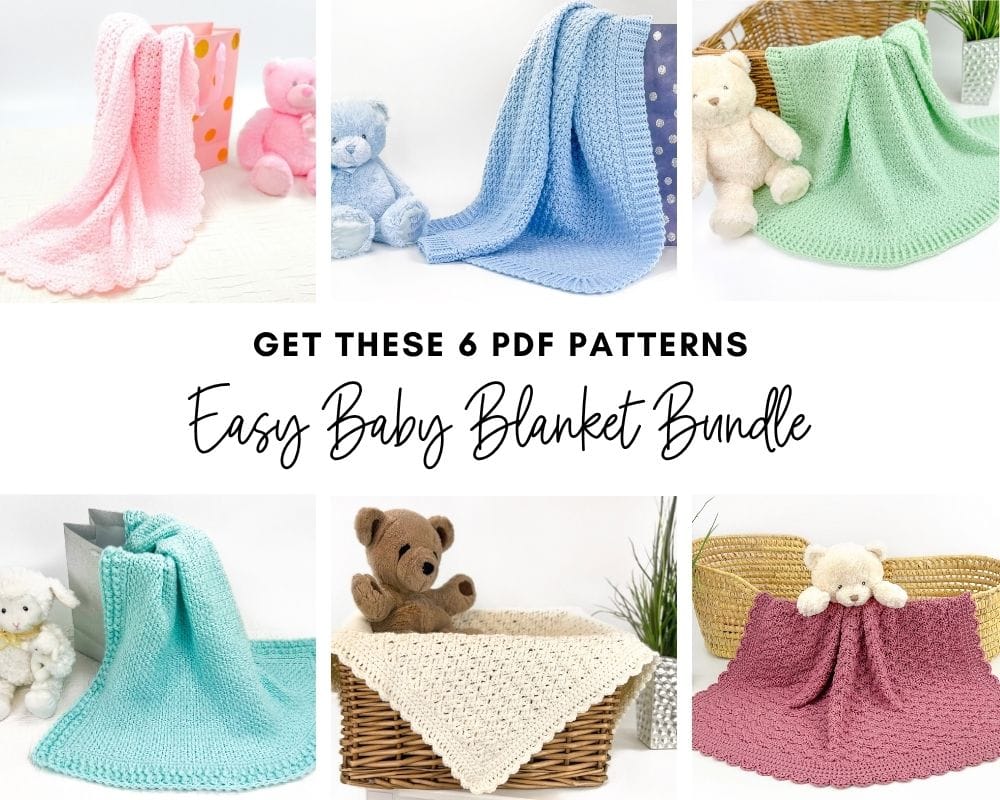
Easy Baby Blanket Bundle
With this Easy Baby Blanket Bundle, you’ll get SIX easy crochet baby blankets as printable downloads. Each pattern includes step-by-step instructions and a full video tutorial.
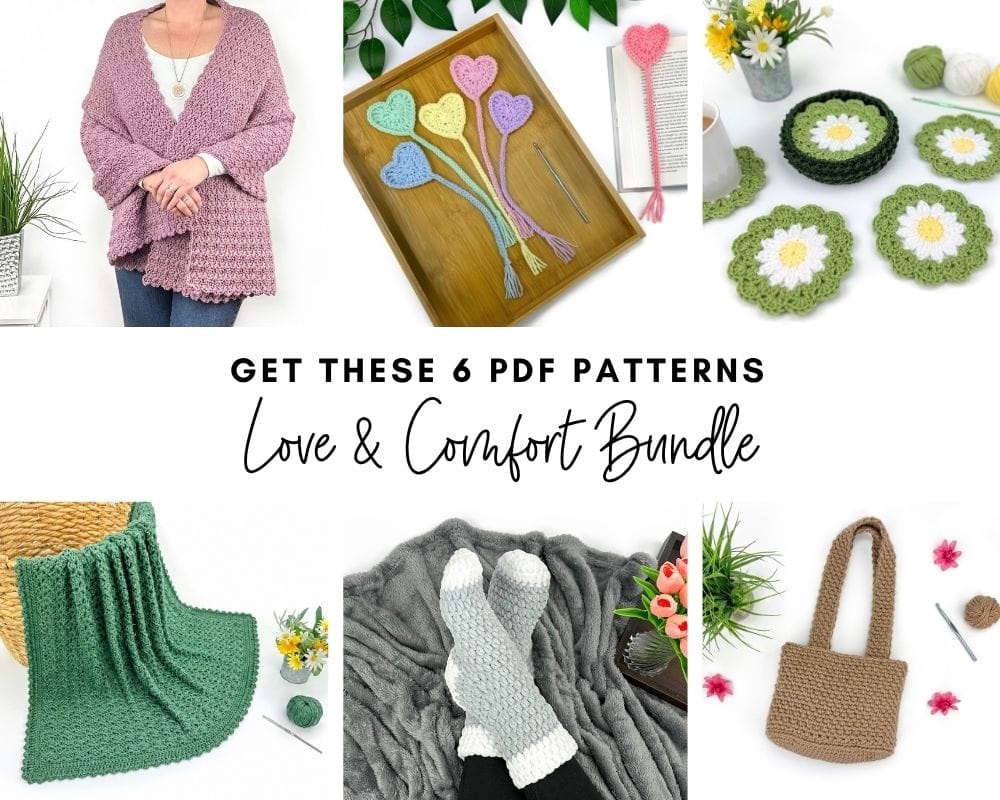
Love and Comfort Bundle
The Love and Comfort Bundle includes SIX meaningful patterns designed to comfort a loved one, brighten someone’s day or simply remind someone they’re loved.
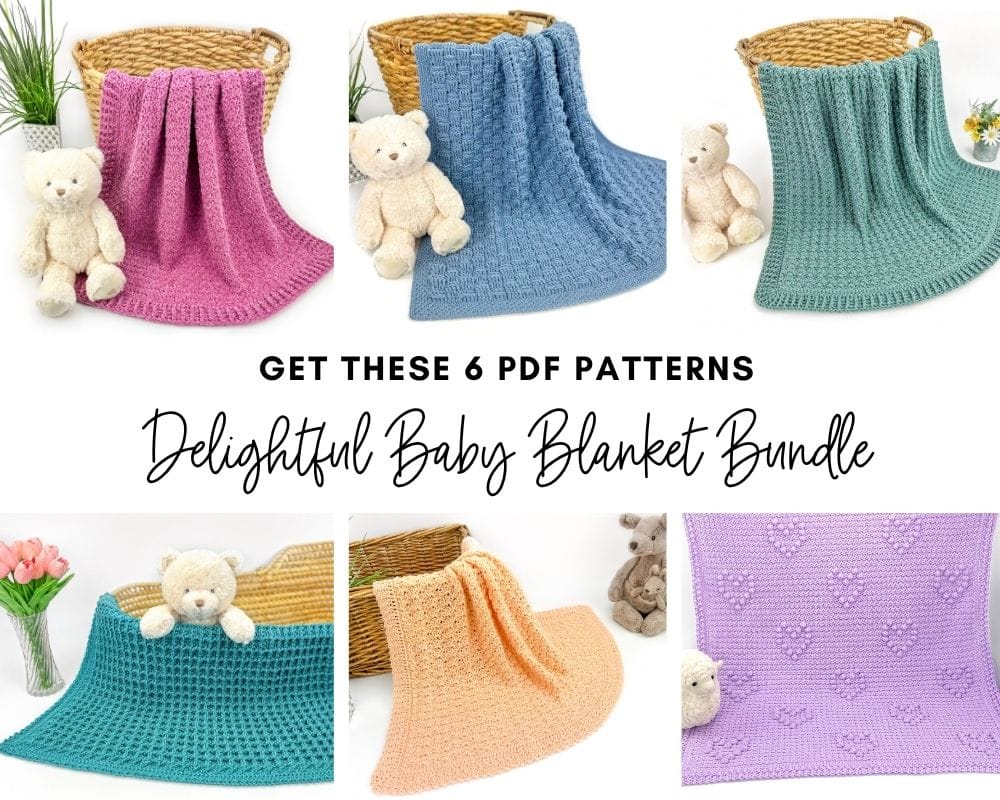
Delightful baby blanket Bundle
All your favorite baby blanket patterns in one bundle! This collection features SIX blankets (all with video tutorials) that are a delight to crochet and will be cherished forever.
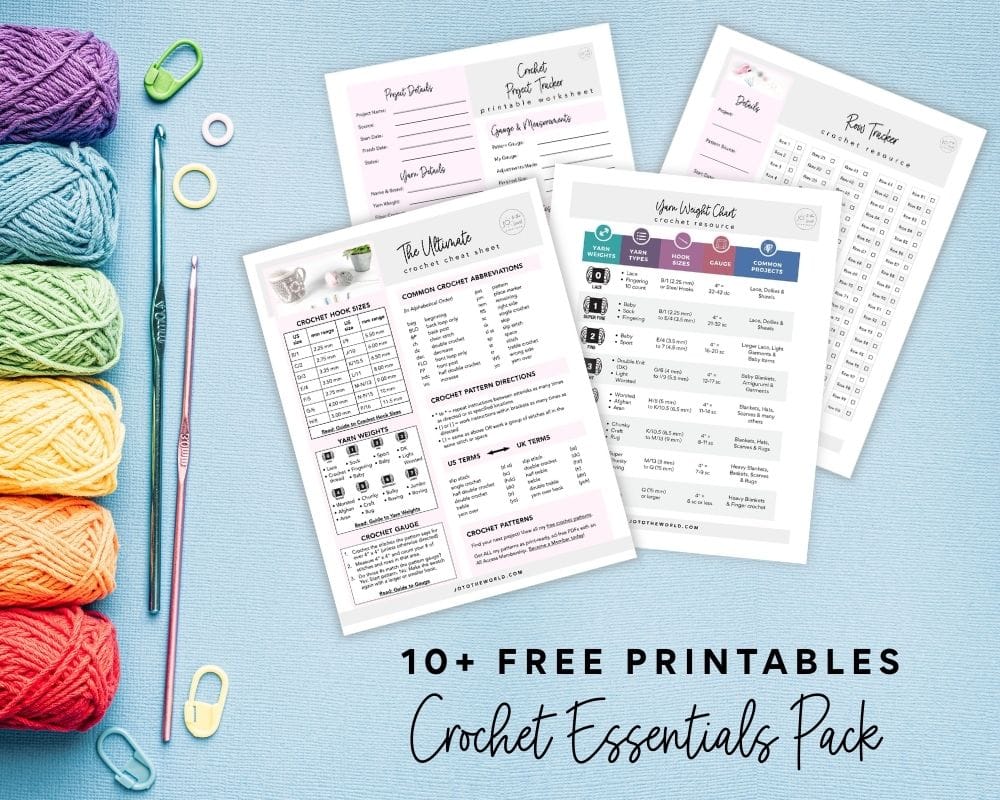
Free Crochet Printables
Subscribe to my emails and get 3 free printable crochet patterns as well as 10+ free printable crochet cheat sheets, guides and progress trackers.
Plus, you’ll receive free patterns for crochet gifts delivered right to your inbox!
Featured Crochet Patterns
Pattern Collections
Free Patterns for Crochet Gifts
Never miss a pattern! Get all my secrets to making incredible crochet gifts as well as new free crochet patterns and exclusive deals when you sign up for my newsletter (it’s free!).