
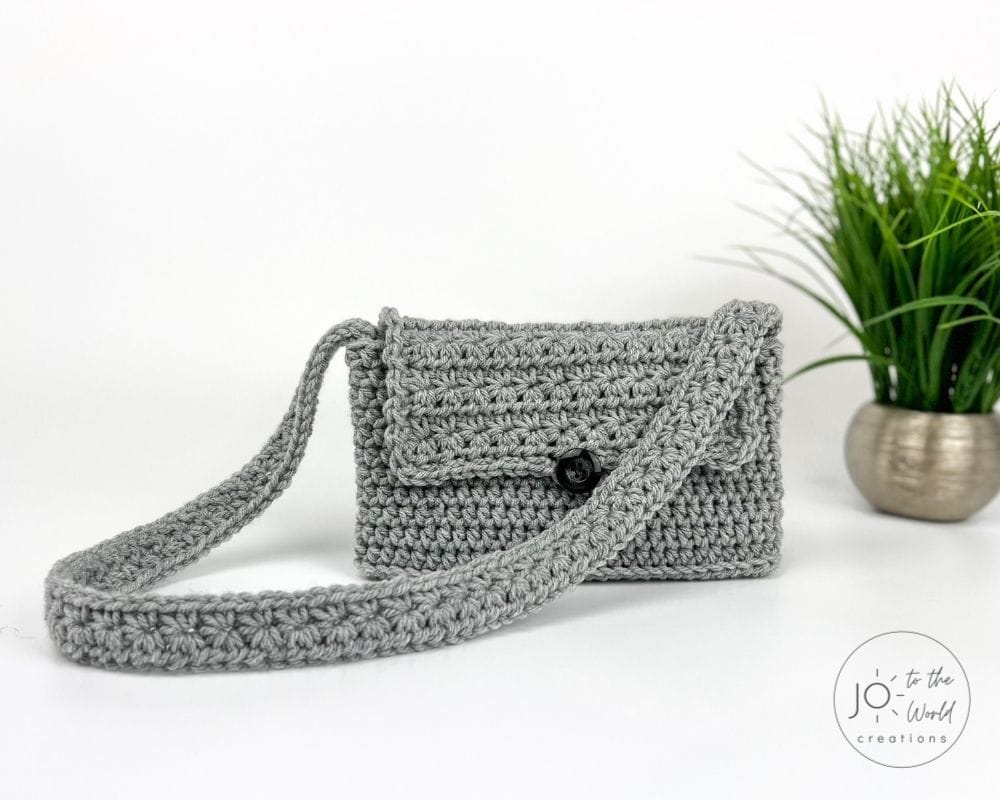
Star Flap Purse – Free Crochet Pattern
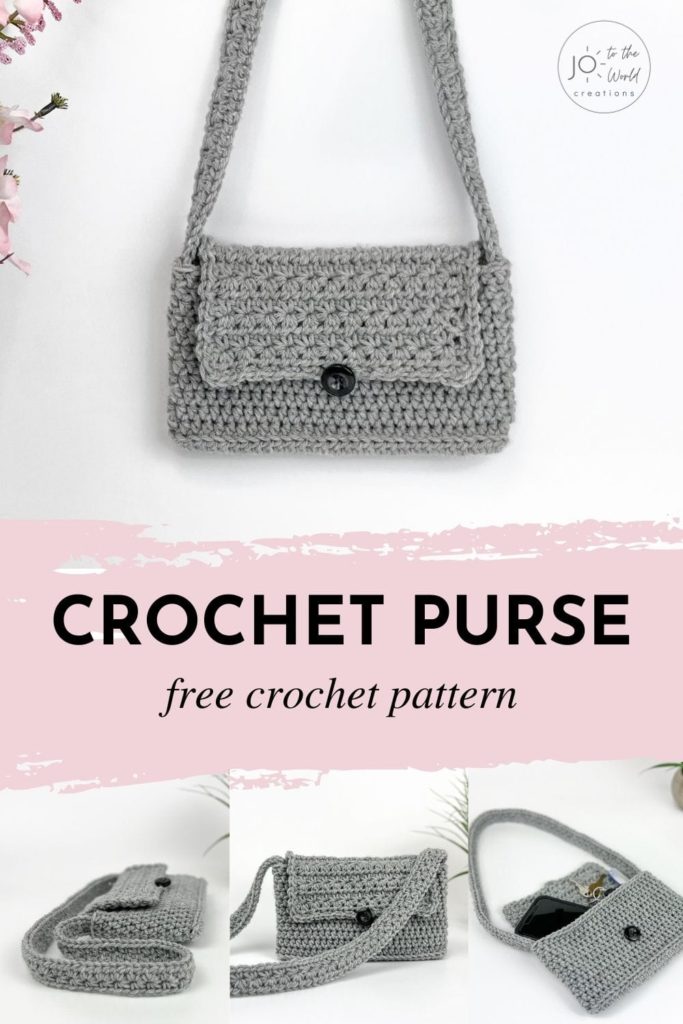
This Star Flap Crochet Purse Pattern is made with the beautiful star stitch. The crochet purse strap is completely customizable so you can make it for children or adults and in any style (cross body, shoulder or clutch).
Before we begin, I would like to thank you for visiting Jo to the World Creations, a site dedicated to helping you give the gift of crochet.
More free patterns (that make incredible crochet gifts) are on the way! Sign up for my emails using the form below and never wonder “What should I make for…” again!
Free Email Series
GET 3 FREE PDF CROCHET PATTERNS
Subscribe to my emails and get a free printable PDF crochet pattern emailed to you every day for the next 3 days!
You’ll also receive new crochet patterns and helpful resources to help you make the best crochet gifts for everyone in your life.
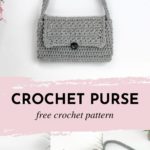
Crochet Purse
Both my girls absolutely love wearing purses! I made a basic crochet handbag for them years ago but I felt it was time to step up my game and design a pattern that I would love to wear and be proud to give as a gift to either children or to an adult.
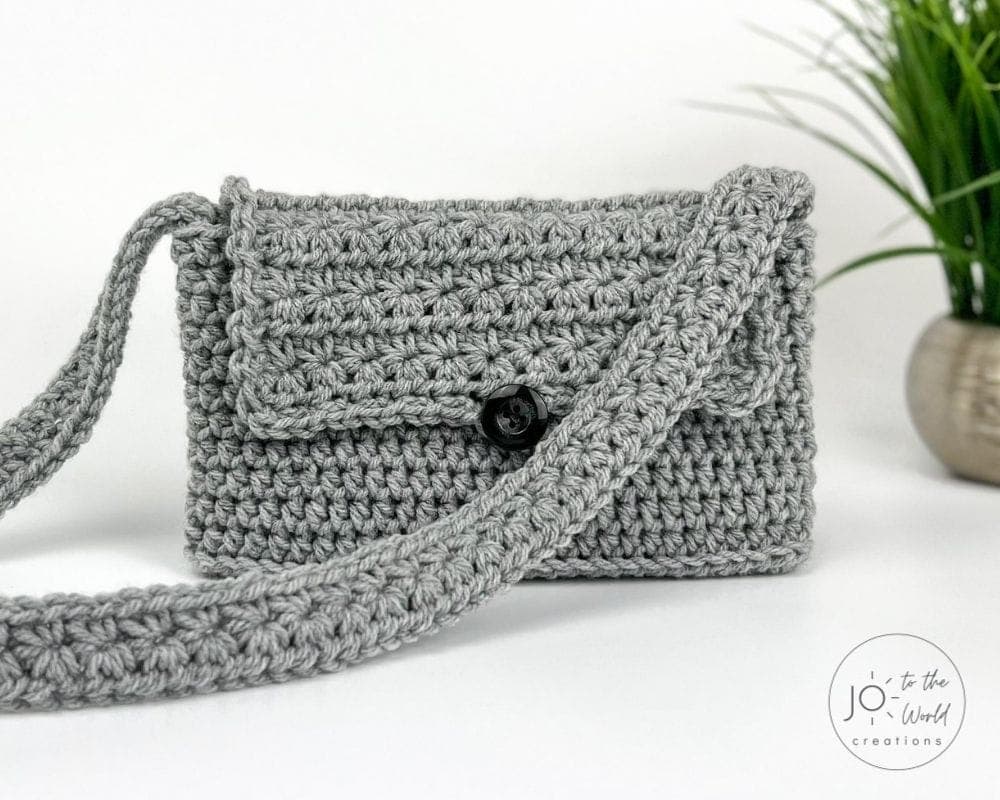
This crochet purse is the perfect everyday size. It comfortably fits a phone (tested with an iPhone 11), keys, a small wallet, lip gloss, and a few extras. The body is worked in half double crochet stitches for a clean, sturdy finish, and the buttoned flap helps keep everything secure so nothing slips out.
One of my favorite details is the strap. It’s made using the beautiful star stitch, which gives the purse a lovely textured touch and really completes the overall look.
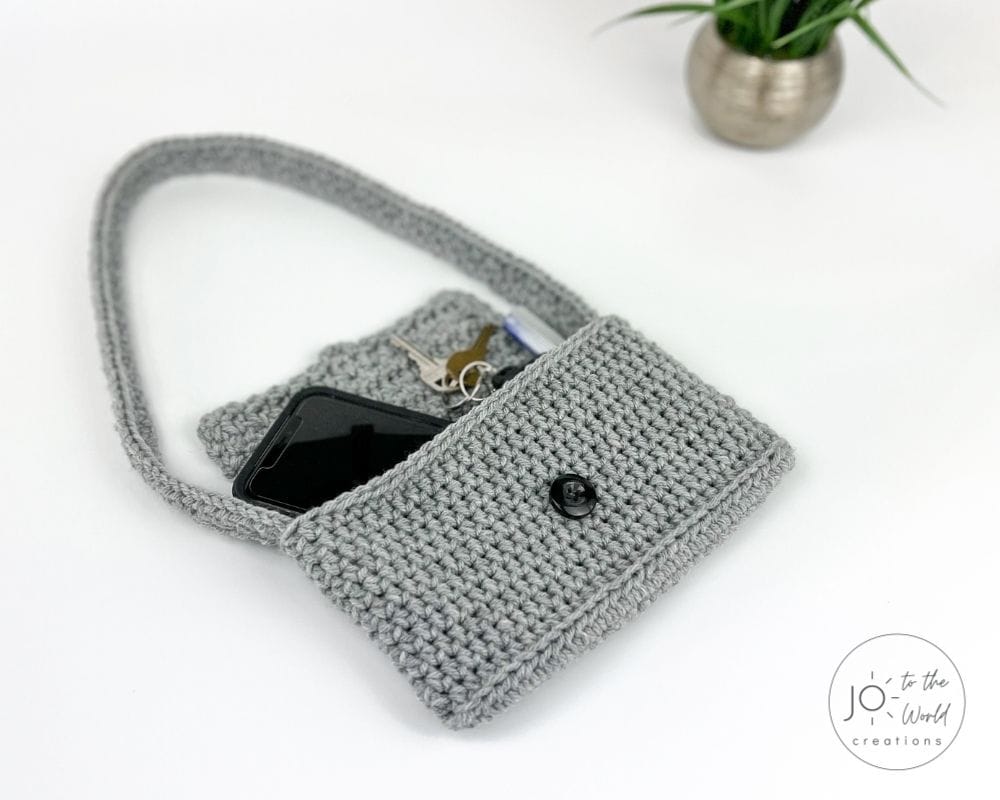
This pattern also includes instructions for adjusting the strap length so you can customize it for any age or style — wear it crossbody, over the shoulder, or even skip the strap entirely and turn it into a clutch. You’ll also find clear guidance on how to attach the straps securely so your bag is both stylish and durable
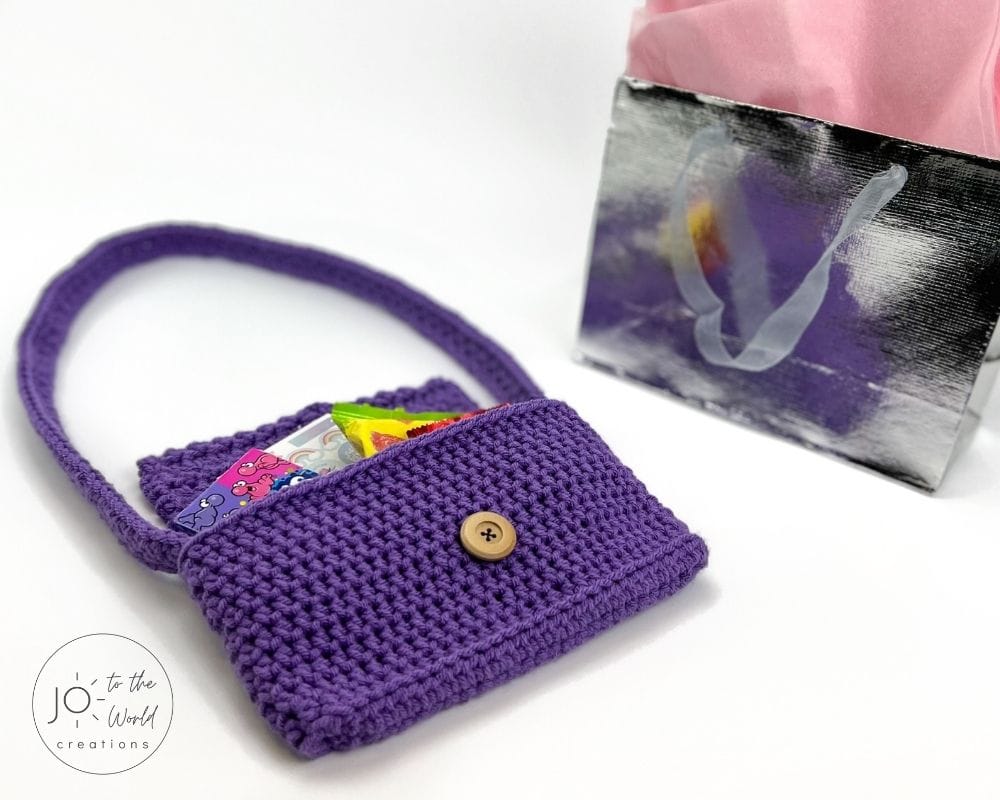
For my daughter’s sixth birthday, I made a purse for her in her favorite color and filled it with goodies! To make it for a child/kid, simply follow the child-size strap instructions. The rest of the pattern is the same. I used the same yarn as the grey purse pictured throughout this post but in the color Lavender.
Use the Table of Contents below to jump to any section of this pattern or keep scrolling down for all the details and the written instructions.
Get the PDF!
Purchase the printer-friendly PDF of this pattern that you can instantly download! It includes everything from this free pattern but you can easily save, print and access it anytime!
All-Access Membership
For only $0.14 a day, you can get this pattern as a PDF and my entire library of 180+ print-ready, ad-free PDF crochet patterns!
Pattern Details
Skill Level
Intermediate
Size
Finished purse, using the yarn listed below and a H/8 (5.00 mm) hook, is 8.75″ wide and 5.5″ high. You can adjust the strap to make it a shoulder bag, cross-body bag or leave off the strap all together to make it a clutch. You can also make it for children or adults. Sizes for the strap are included in the strap section of the pattern.
Gauge
4″ x 4″ of hdc stitches (made as a flat swatch – not in the round) = 14 hdc and 10 rows
Materials
Yarn: 285 yds. / 260 m of any worsted weight (4) yarn.
I used Loops & Threads Impeccable Yarn, Solid in Pale Gray. This yarn is medium (4) weight and 100% acrylic. The size is 4.5 oz / 127.5 g. A skein is 285 yd./260m and you only need one skein.
Crochet Hook Size: H/8 (5.00mm) or size needed to obtain gauge.
Other Materials: yarn needle, 2 stitch markers, scissors, measuring tape, thread, sewing needle and one 1″ / 25mm button.
Terminology
This Star Flap Purse Crochet Pattern is written in English for right-handed crochet using standard US crochet terminology. If you’re more familiar with UK terminology, check out my US to UK Conversion Chart.
Abbreviations
st = stitch
sts = stitches
ch = chain
sl st = slip stitch
sc = single crochet
hdc = half double crochet
YO = yarn over
BLO = back loops only
Pattern Notes
- The strap is made separately and then sewn onto the purse.
- The purse is made from the bottom up.
- Always start a row or a round in the same stitch as the chain (unless instructed not to).
- Chains never count as stitches.
- On the flap, if you find there is an unwanted gap between the first star and the chain sts, you can mend it after the flap is completed using a yarn needle and yarn to make the gap less noticeable.
This pattern is included in the Bag Bundle! For a limited time, get SIX fabulous bag patterns as printable PDFs for only $9.97.
Get the Bag Bundle Today!
Just a Reminder!
This pattern is also available as a PDF, which includes everything listed here but as a printer-friendly PDF that you can instantly download, save, print, make notes on and keep forever.
Get ALL my PDF Patterns!
Only $0.14 a day!
Join the All-Access Membership and instantly download the printable version of this pattern and ALL my 180+ easy-to-follow PDF crochet patterns.
Pattern Instructions
Purse Body
Start: With H/8 (5.00 mm) hook, ch 30.
For the first part of Row 1, you will work into the top loops of the chain stitches.
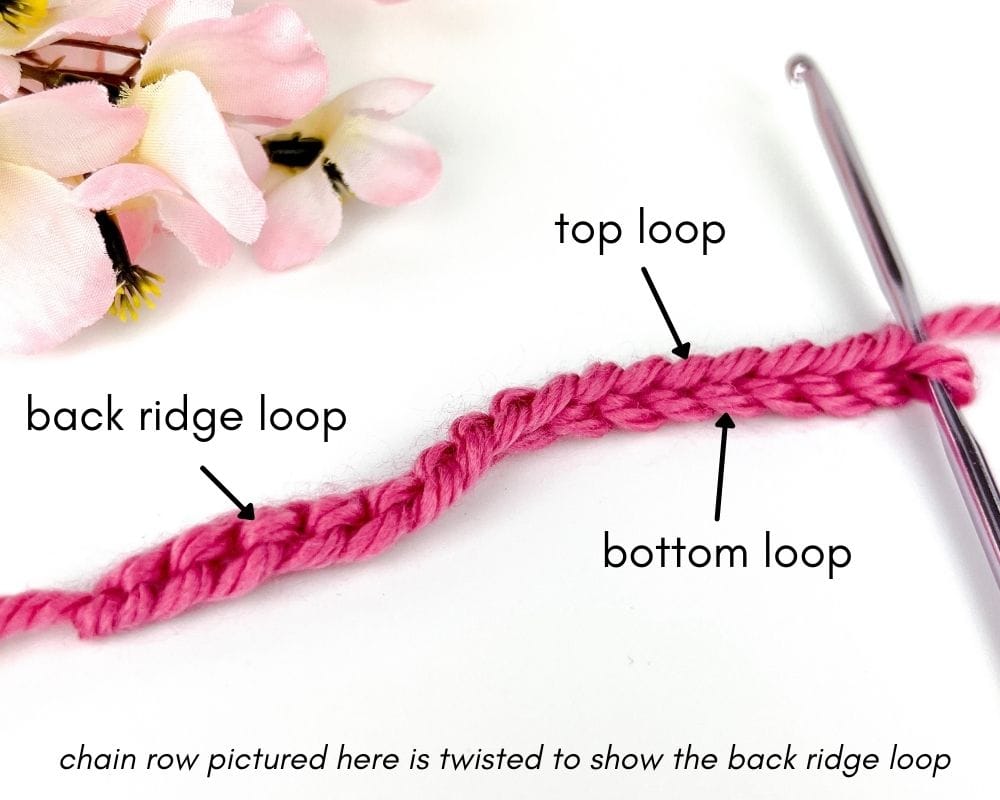
Round 1: In 3rd ch from hook, hdc in top loop of the ch. Hdc in top loop of next 26 chains. In last ch, 3 hdc into same ch. Continue working along the other side. Working along the other side, hdc in the next 26 gaps.
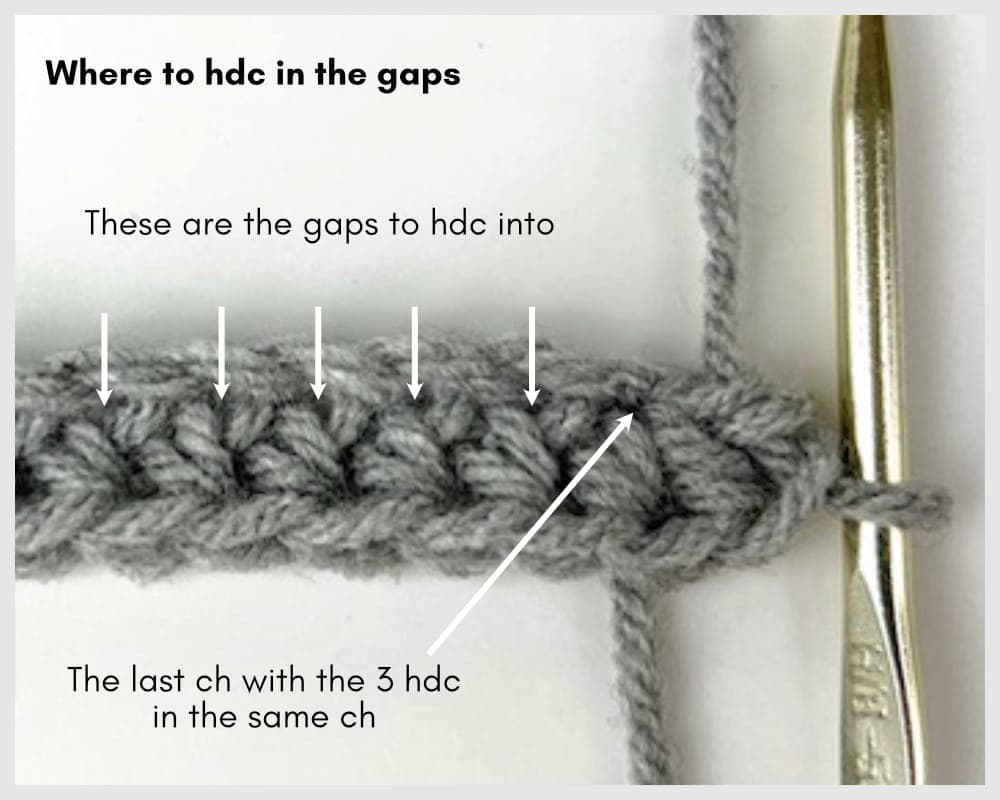
In the last gap, 3 hdc into same gap. (59 sts). Sk the 2 chain sts and sl st into top of 1st hdc.
Round 2: Ch 1 and turn. Hdc in the BLO (the loop furthest away from you) of each st around (60 sts – an extra st will be made). Sl st into both loops of the top of 1st hdc to join. (Work in both loops from now on).
Round 3: Ch 2. Do not turn. Hdc in each st around. (60 sts). Sl st into top of 1st hdc to join.
Round 4: Ch 1. Do not turn. Sk 1st st (the st attached to ch). Hdc in next st and in each st around. Hdc into the st that was skipped at the beginning of the round by working over the chain. If you need help understanding how to work over the chain, here’s a video showing how (at the 1:20 mark). (60 sts). Sl st into top of 1st hdc to join.
Rounds 5, 7, 9 & 11: Repeat Round 3.
Rounds: 6, 8, 10 & 12: Repeat Round 4.
Purse Flap
*Note: you will be turning and making 26 hdc sts across the most centered sts across the row (the back of the purse body). Use stitch markers to note where those 26 most centered sts start and end to ensure they are centered. The goal is to find out where you should start the 1st hdc. You can sl st in either direction to arrive at that 1st hdc. If you need to sl st left (continuing in your current direction before turning), sl st as needed then ch 1 and turn and begin your hdcs. If you need to sl st right (the opposite from your current direction), ch 1 and turn, sl st as needed then ch 1 and begin your hdcs. If no sl sts are needed, ch 1 and turn and begin your hdcs.
Row 1: See note above. Hdc into the next 26 sts (26 sts)
Row 2:
Starting Star: Ch 3 and turn. Insert hook in 2nd ch from hook and pull through loop (2 loops on hook). Insert hook into next ch and pull through loop (3 loops on hook). Insert hook into 1st st and pull through loop (4 loops on hook). Insert hook into next st and pull through loop (5 loops on hook). Insert hook into next st and pull through loop (6 loops on hook). YO and pull yarn through all 6 loops. Ch 1 to complete the 1st star.
Regular Star (the image below shows exact locations): Insert hook into the ch 1 space that you just created (the eye of the star) and pull through loop (2 loops on hook). The star you just created has 6 “spikes,” with the 1st spike being closest to the top. Insert your hook in between the 5th and 6th spike and pull through loop (3 loops on hook). The 6th spike is attached to the next st. Insert your hook into the st attached to 6th spike and pull through loop (4 loops on hook). Insert hook into next st and pull through loop (5 loops on hook). Insert hook into next st and pull through loop (6 loops on hook). YO and pull yarn through all 6 loops. Ch 1 to complete the star.
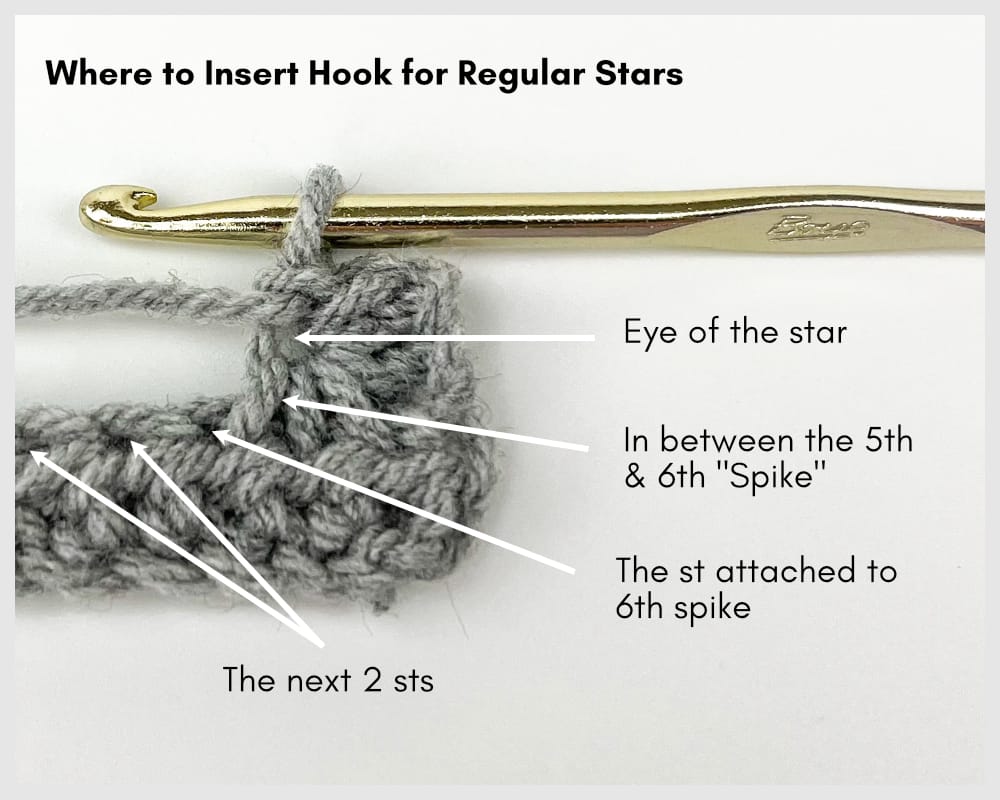
Repeat Regular Star instructions 10 more times across row (12 stars made in total – 1 starting star and 11 regular stars). 2 hdc in the last st.
Row 3: Ch 1 and turn. Hdc in the 1st st. 2 hdc into the eye of the each star across. Hdc into the last st (26 sts).
Rows 4, 6 & 8: Repeat Row 2.
Rows 5, 7 & 9: Repeat Row 3.
Fasten off and weave in loose ends.
Flap Border
With the front of the purse body facing down and the flap up (with the right side facing up), attach a new strand of yarn with a sl st to the top left corner where the flap meets the purse body (into Row 1 of the Purse Flap – the row of hdc sts).
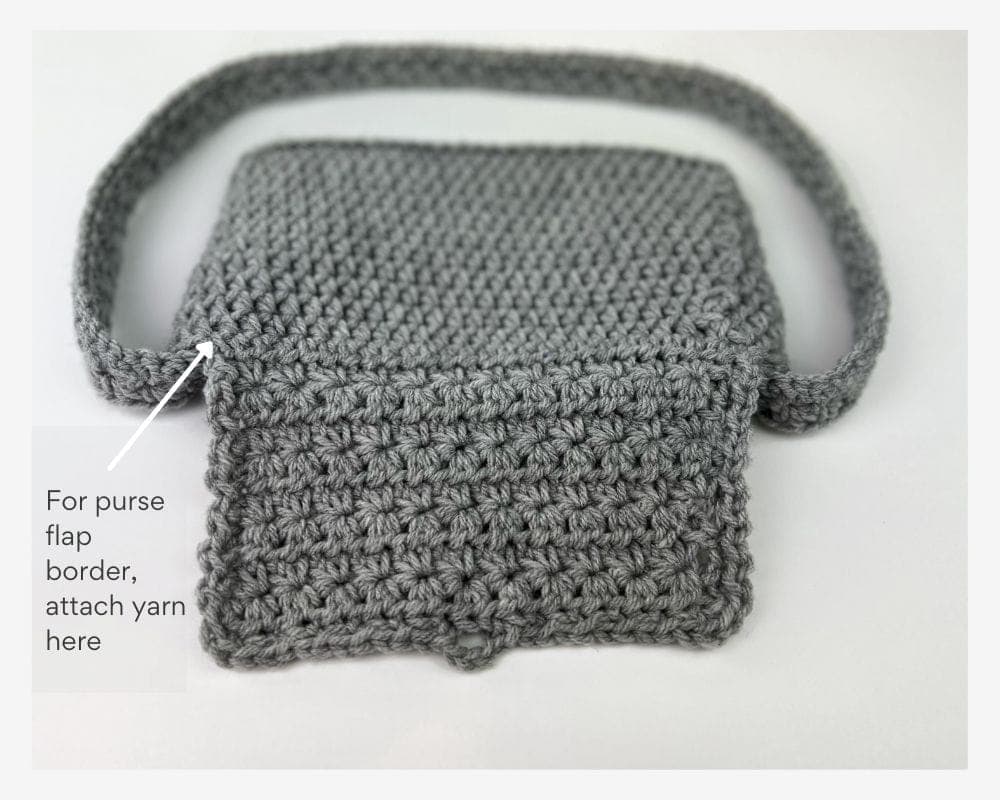
Left Side of Flap Border: Work down the side of the flap. Tip: make your stitches very loose. *In the space between the row of hdc and the star, (sc, sl st) into the same space. In the space after the star and before the row of hdc, (sc, sl st) into the same space.* Repeat from * to * a total of 4 times (16 sts). In the corner st, 3 sc into same st (ensure that it’s an hdc you are working in, not the sl st where you just fastened off). Do not fasten off.
Bottom of Flap Border: Work along the bottom. *Sk next st. (Sc, sl st) into next st.* Repeat from * to * a total of 6 times (12 sts). Ch 3 and sk next st. *(Sc, sl st) into next st. Sk next st.* Repeat from * to * a total of 5 times (10 sts). Sl st into next st. In corner st, 3 sc into same st. Do not fasten off.
Right Side of Flap Border: Work up side of flap. Do not work in the spaces. Work into one or two loops of the stitches (either chains or hdcs) along the ends evenly. (Sc, sl st) into same st up the side for a total of 8 times (2 per row). (16 sts). Sl st into row of hdc to join. Fasten off and weave in loose ends.
Purse Strap
Strap Notes
- Leave 12′′ before starting your chains (you will use that to attach the straps to the purse).
- You can make the strap any size you’d like by adjusting the number of starting chains in multiples of 2 + 1 (an odd number).
- Remember the strap will stretch when items are in the purse. The strap is attached 2′′ below the top of the purse body so whatever strap size you’d like to make, ensure you account for the extra 4′′ (2′′ on each side).
- The strap measurements after the first row will be significantly less then the measurements after both rows are completed.
Check your Strap Measurements (Optional)
The size of your strap will depend on your tension and your yarn. Because some have said their completed strap length is much shorter than mine, before you begin the strap, I recommend checking to see if your measurements match mine. If they don’t, you can adjust your number of starting chains to get the size you would like (example sizes and number of starting chains are provided below).
My Strap Measurements: ch 39 and followed the Strap Instructions for Row 1 & 2 (17 stars created) = 10” x 1.25”
How to Check and Calculate Strap Starting Chains:
- Ch 39 and follow the Strap Instructions for Row 1 & 2.
- Measure the length of your strap in inches and make note of this number.
- Determine your desired length strap length in inches (example sizes below) and make note of this number.
Use this Strap Calculator to determine how many starting chains you should make.
Purse Strap Sizing & Starting Chains
Remember to leave a 12″ tail before starting your chains.
Kid-Size Strap for Shoulder Bag: for a strap that’s 33′′ (measured before it’s attached), ch 121. (This size makes the purse land at the hip of a child who is 4′ tall when wearing on a shoulder (not cross-body)).
Adult-Size Strap for Shoulder Bag: for a strap that’s approx. 44″ (measured before it’s attached), ch 161. (This size makes the purse land at the hip of a woman who is 5.8′ tall when wearing on a shoulder (not cross body)).
Adult-Size Strap for Cross-Body Bag: for a strap that’s approx. 55″ (measured before it’s attached), ch 201. (This size makes the purse land at the hip of a woman who is 5.8′ tall when wearing it cross-body).
Purse Strap Instructions
Note: I recommend working in the back ridge loops of each ch for a nice strap edge.
Row 1: Starting Star: Insert hook into the back ridge loop of the 2nd ch from hook and pull through loop. Insert hook and pull through loops in each of the next 4 chains (you will have 6 loops on hook). YO and pull yarn through all 6 loops on hook. Ch 1.
Regular Star: Insert hook into the ch 1 space that you just created (the eye of the star) and pull through loop (2 loops on hook). Insert your hook in between the 5th and 6th spike and pull through loop (3 loops on hook). Insert your hook in the ch attached to 6th spike and pull through loop (4 loops on hook). Insert hook into back ridge loop of next ch and pull through loop (5 loops on hook). Insert hook into back ridge loop of next ch and pull through loop (6 loops on hook). YO and pull through all 6 loops. Ch 1 to complete the star.
Continue making regular stars all the way down the chain. Hdc in the last st.
Row 2: Ch 1 and turn. 2 hdc into the eye of each star across. Hdc in the last st.
Fasten off leaving a 12′′ tail.
How to Attach the Strap to the Purse/Bag
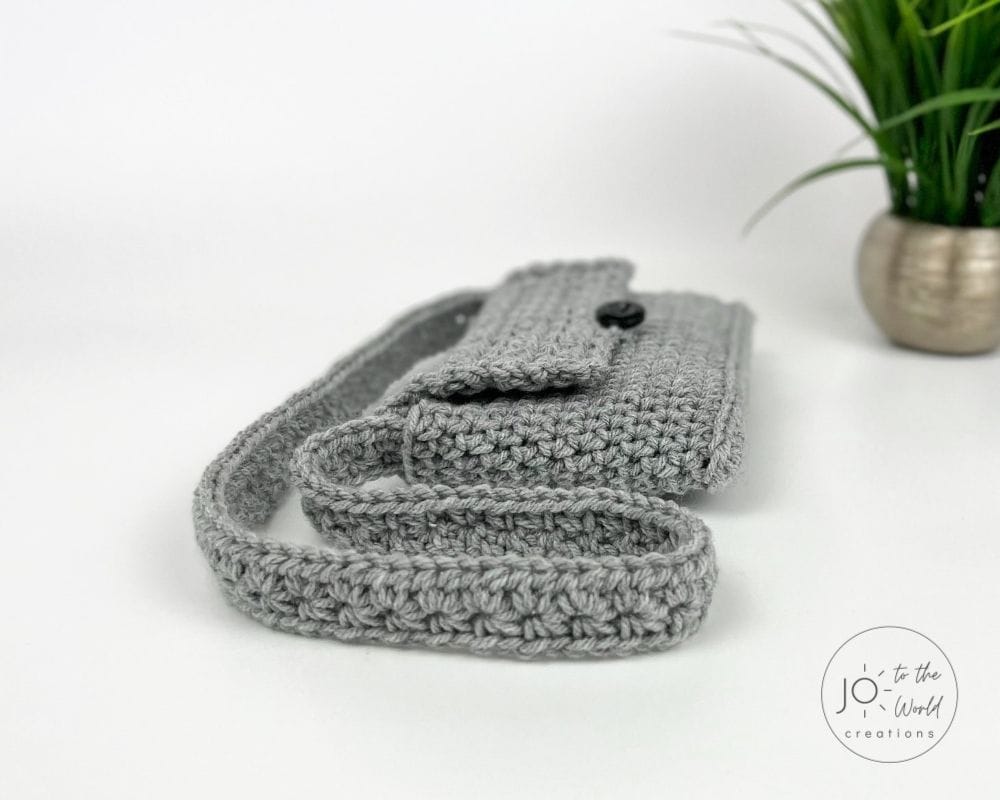
Ensure that the right side of the strap is facing up. Using a yarn needle and the tails, attach the straps on both sides approx 2″ away from the top of the purse body. Weave in and out along the outsides and across the top where the strap is attached to the purse body. Weave into the inside of the purse only (ensure your stitches don’t go through to the outside). I recommend always going through two loops when attaching to the inside of the purse to ensure the strap doesn’t pull stitches. Weave in loose ends.
Sew on Button
With thread and a sewing needle, attach button in the center of the 5th row of hdc sts (counted from the bottom).
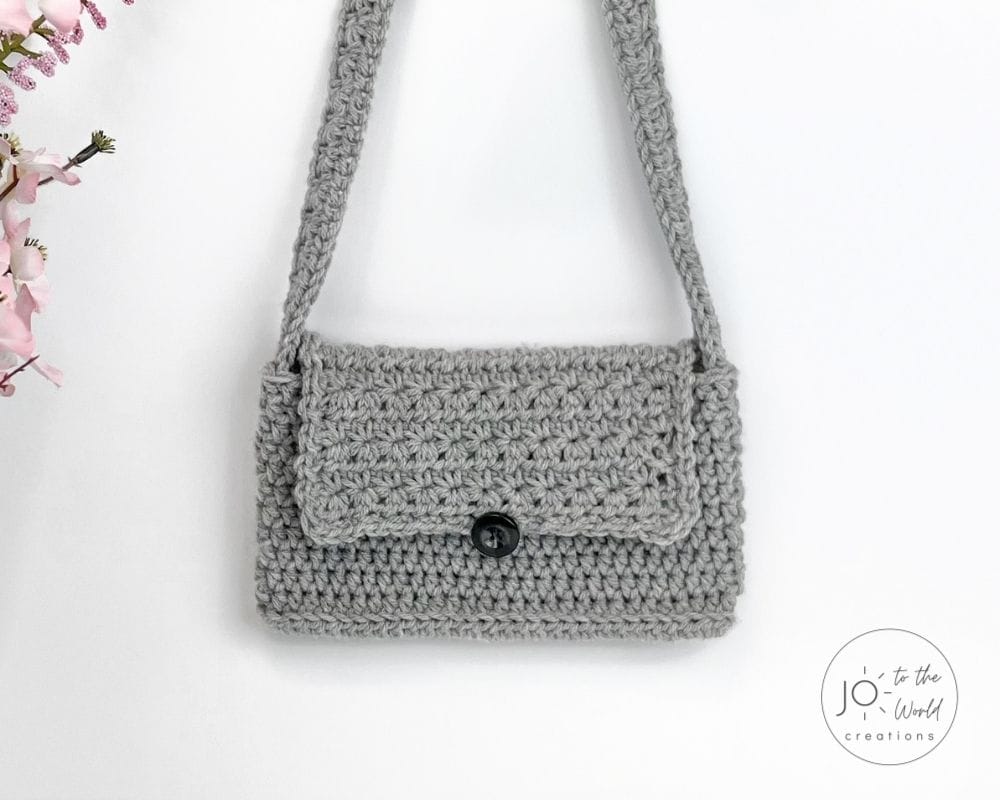
And that’s it! Now you have a delightful new purse! I hope you enjoyed making this crochet purse pattern.
More Crochet Bag Patterns
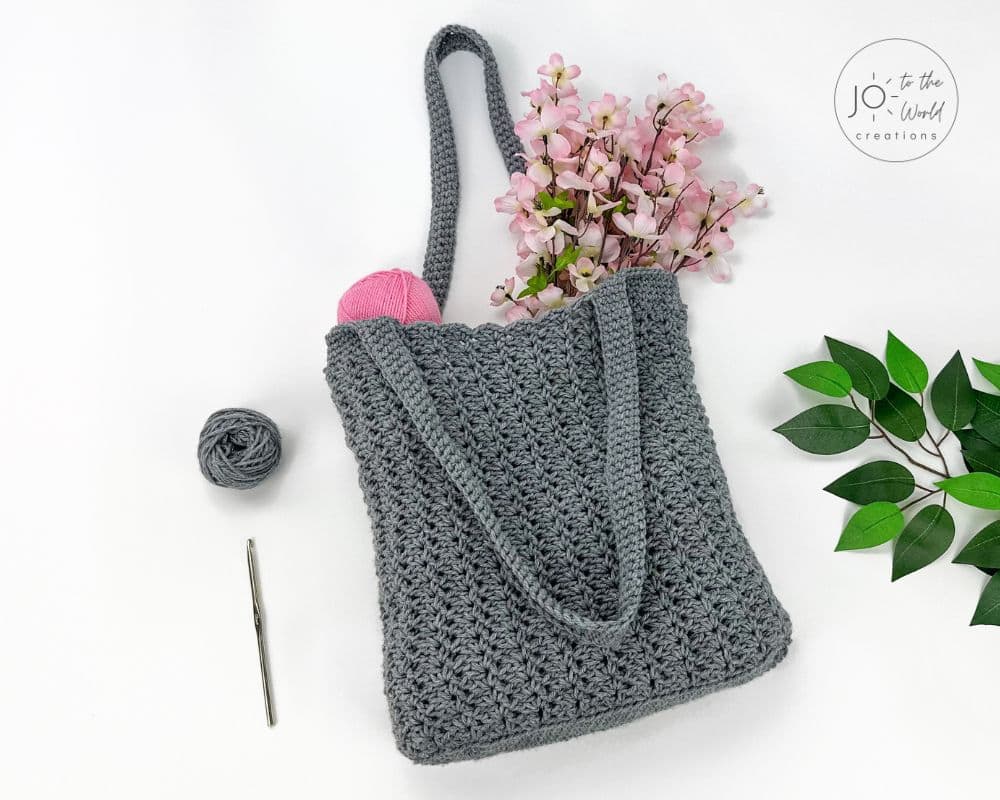
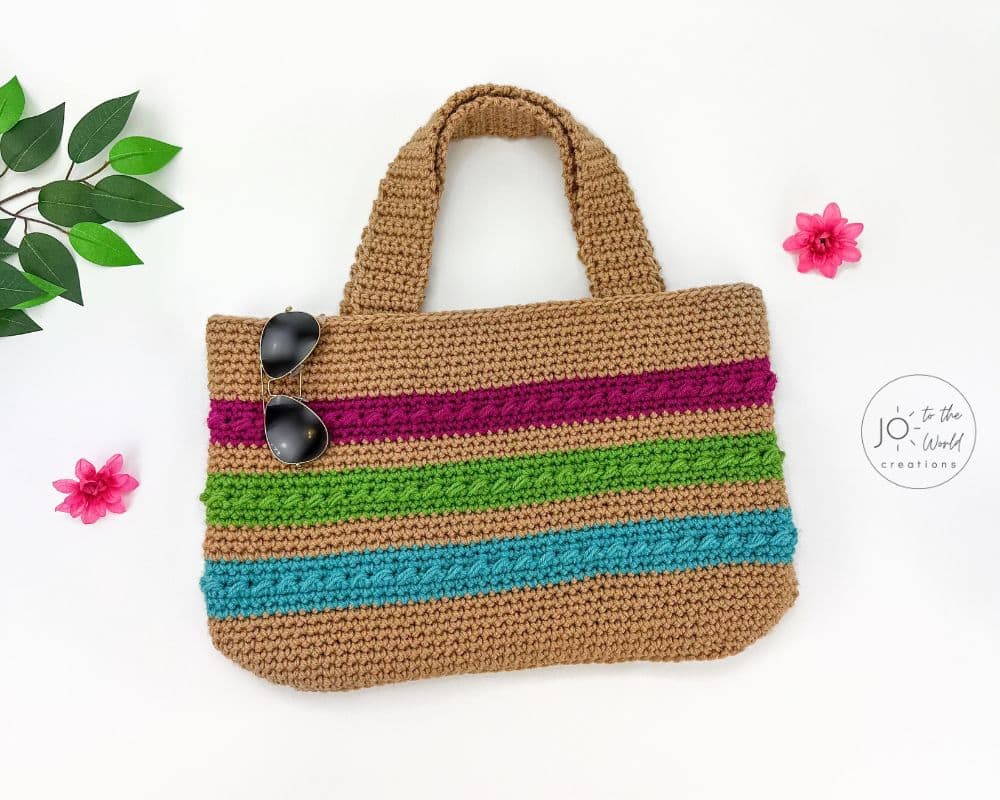
Here are more crochet bag patterns you might like:

I’m Jo, the designer behind Jo to the World Creations, and I’m dedicated to helping you make the perfect crochet gift! I love designing and sharing free crochet patterns that you can make for every gift occasion.
About →Let’s Connect
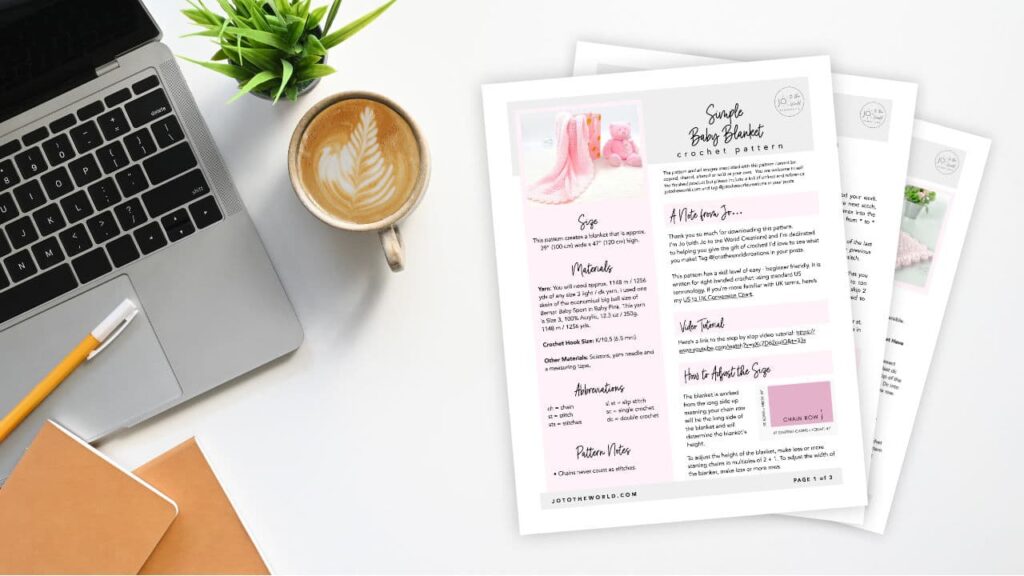
Download. Print. Keep.
Get Instant Access to ALL Printable Patterns
Make your crocheting more enjoyable, relaxing and productive with printable PDF patterns.
- 180+ premium crochet patterns.
- Download, save and print from any device.
- No ads or popups!
Not sure yet? Take a look at the Pattern Library and see all the patterns you can download once you’re a member.
Save with Pattern Bundles
For a limited time, I’ve grouped some of my most popular crochet patterns and I’m offering them as pattern bundles where you can get the printable versions for one low, discounted price. Check out these incredible Crochet Pattern Bundles.
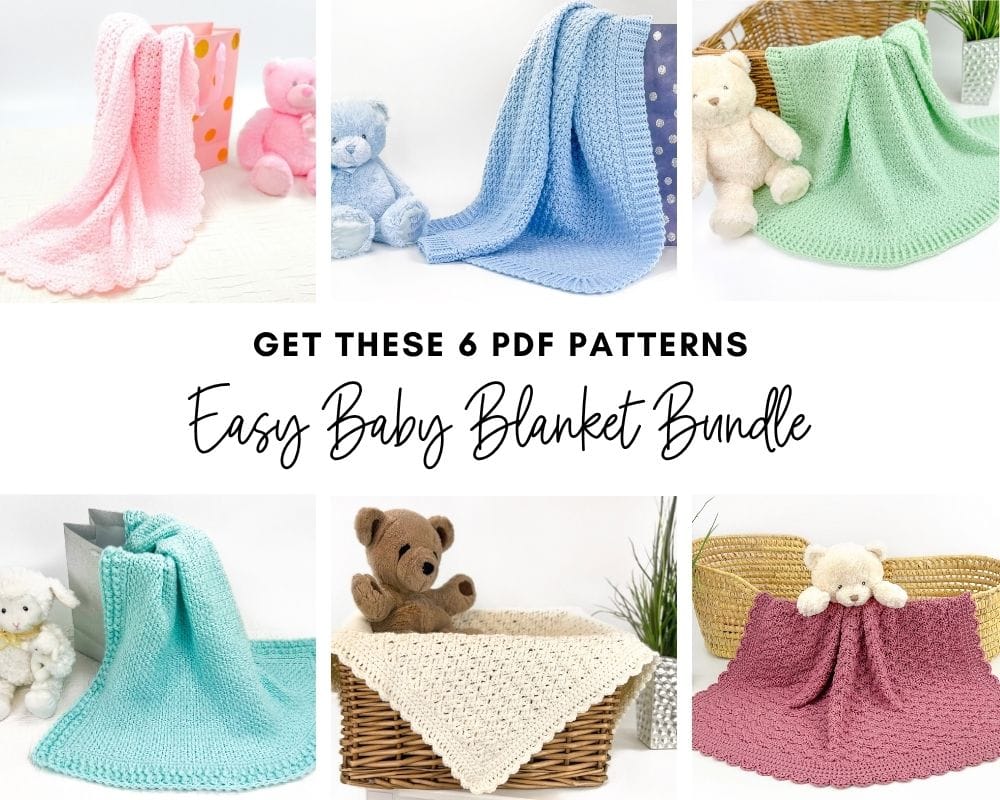
Easy Baby Blanket Bundle
With this Easy Baby Blanket Bundle, you’ll get SIX easy crochet baby blankets as printable downloads. Each pattern includes step-by-step instructions and a full video tutorial.
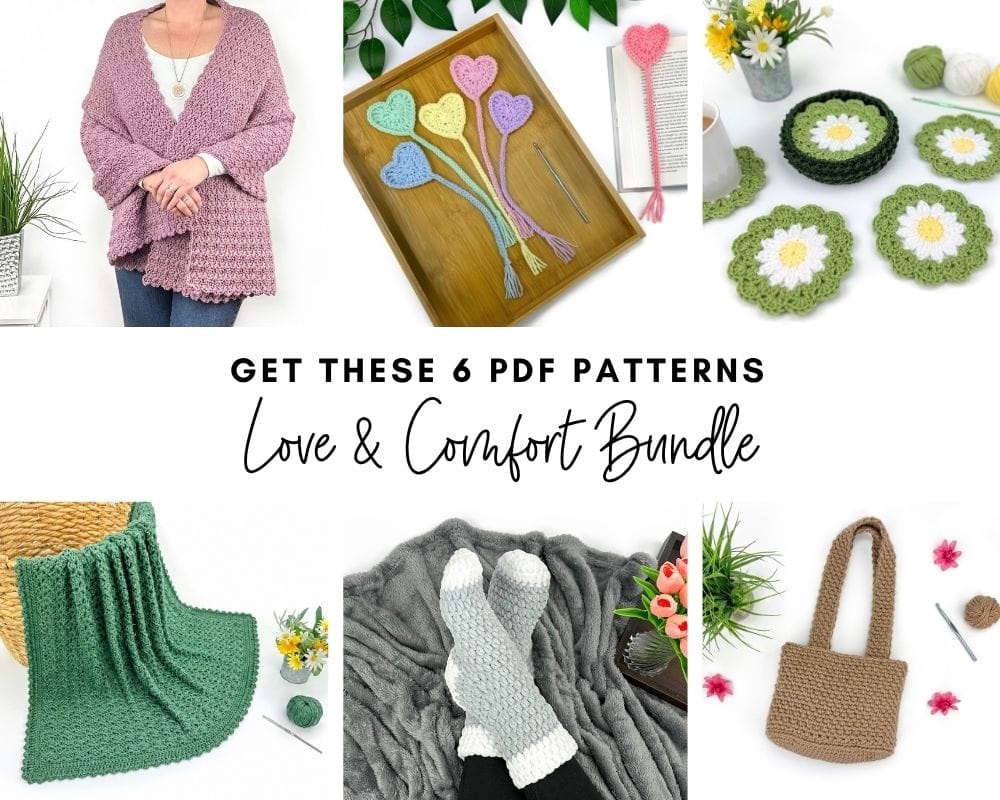
Love and Comfort Bundle
The Love and Comfort Bundle includes SIX meaningful patterns designed to comfort a loved one, brighten someone’s day or simply remind someone they’re loved.
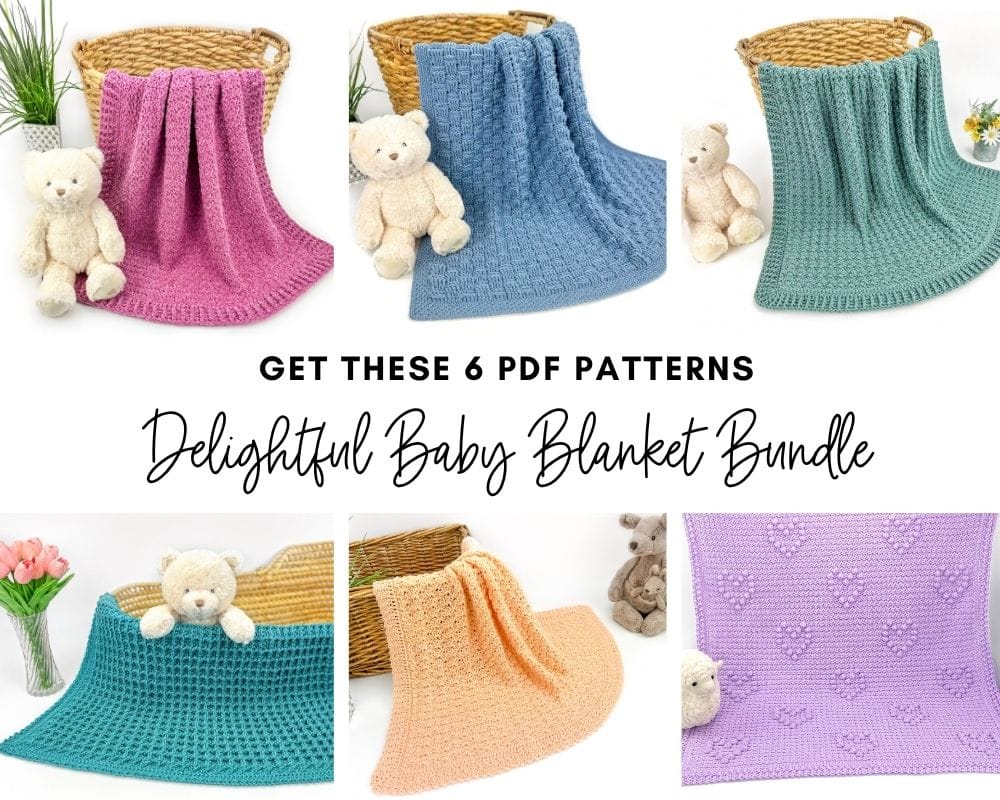
Delightful baby blanket Bundle
All your favorite baby blanket patterns in one bundle! This collection features SIX blankets (all with video tutorials) that are a delight to crochet and will be cherished forever.
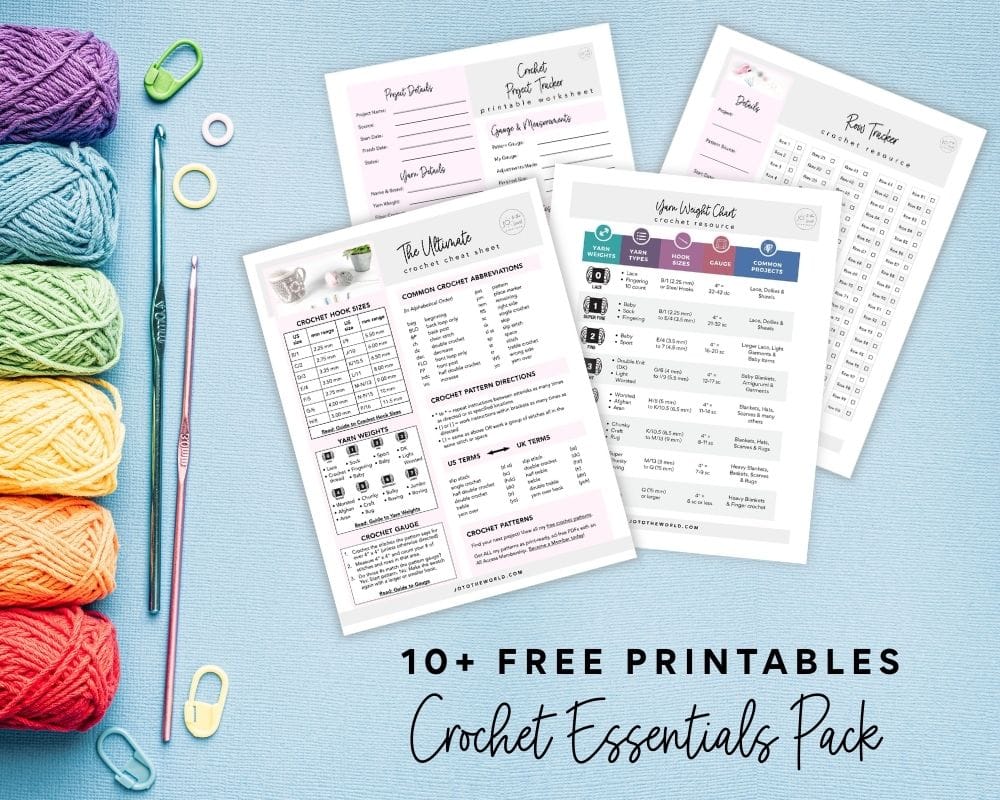
Free Crochet Printables
Subscribe to my emails and get 3 free printable crochet patterns as well as 10+ free printable crochet cheat sheets, guides and progress trackers.
Plus, you’ll receive free patterns for crochet gifts delivered right to your inbox!
Featured Crochet Patterns
Pattern Collections
Free Patterns for Crochet Gifts
Never miss a pattern! Get all my secrets to making incredible crochet gifts as well as new free crochet patterns and exclusive deals when you sign up for my newsletter (it’s free!).