
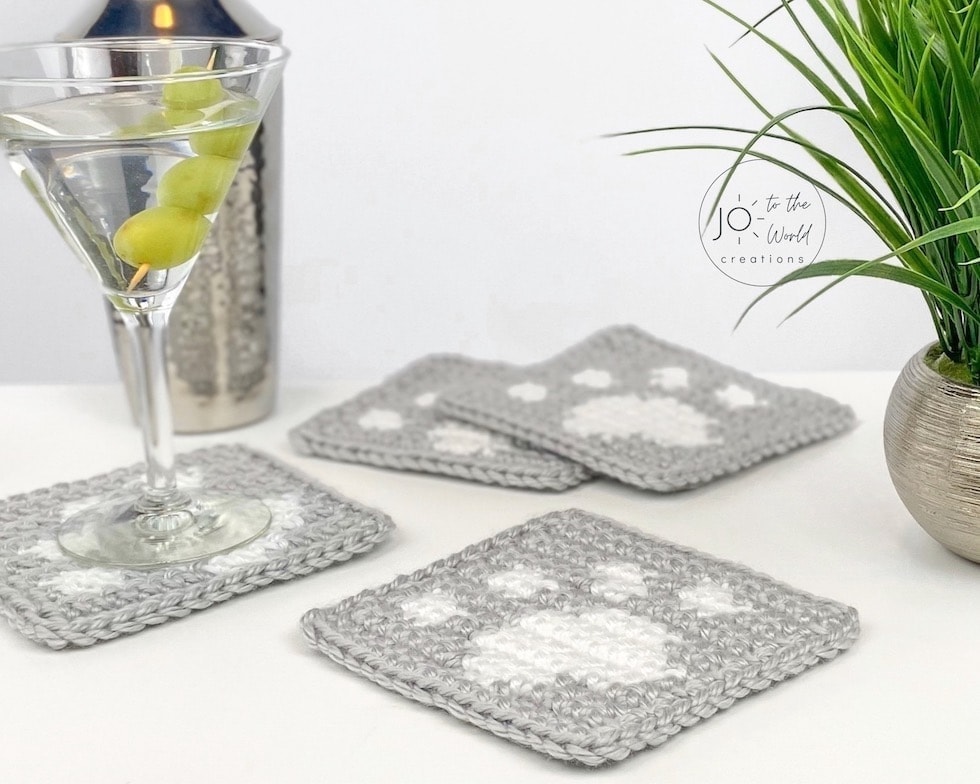
Paw Print Coasters – Free Crochet Pattern
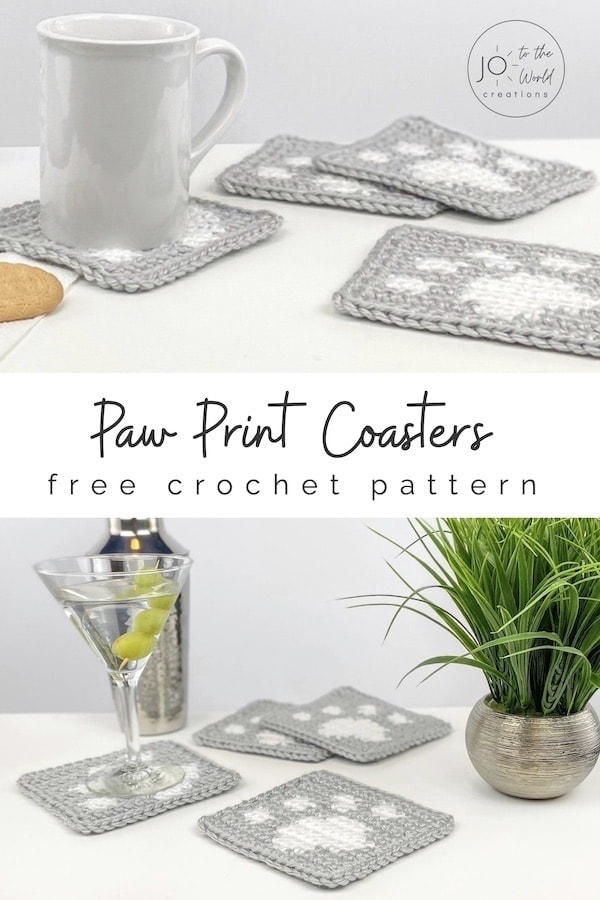
Here’s a paw-fect crochet gift idea: Paw Print Crochet Coasters! This fun square coaster set is quick to make, easy to customize, and a wonder-fur DIY gift for any dog, cat, or animal lover. Learn how to crochet paw print coasters that are both practical and irresistibly cute.
Before we begin, I would like to thank you for visiting Jo to the World Creations, a site dedicated to helping you give the gift of crochet.
More free patterns (that make incredible crochet gifts) are on the way! Sign up for my emails using the form below and never wonder “What should I make for…” again!
Free Email Series
GET 3 FREE PDF CROCHET PATTERNS
Subscribe to my emails and get a free printable PDF crochet pattern emailed to you every day for the next 3 days!
You’ll also receive new crochet patterns and helpful resources to help you make the best crochet gifts for everyone in your life.
Crochet Paw Print Coasters
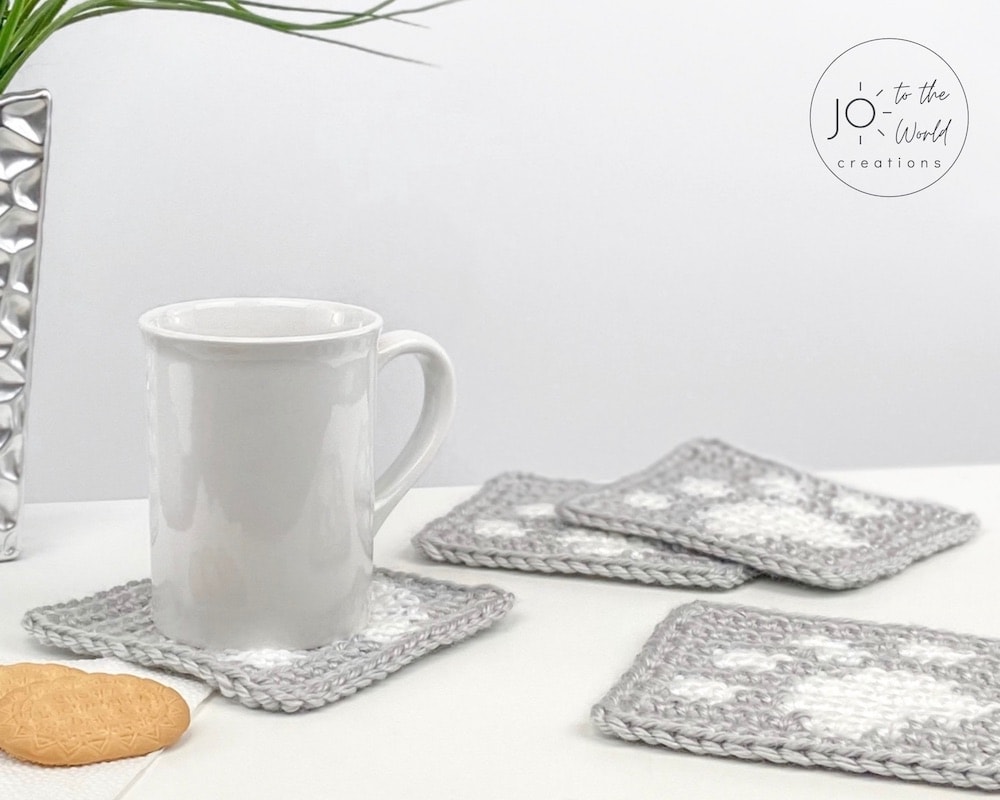
These paw print coasters are a fun and adorable crochet project for any pet lover. The pattern uses simple stitches to create a cute paw-print design that works up quickly and looks great in any color combination.
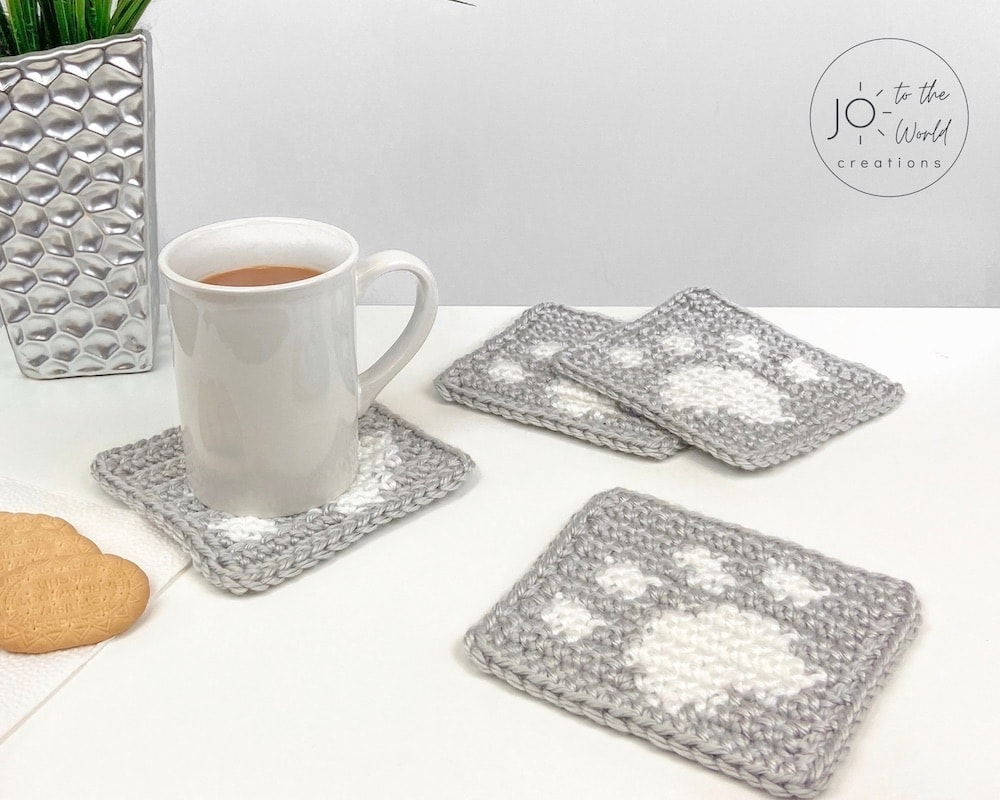
They’re perfect for protecting your tables, adding a touch of personality to your home, or gifting to the dog and cat lovers in your life. Whether you’re making a set for everyday use or creating themed coasters for special occasions, these easy crochet paw-print coasters are both practical and irresistibly charming.
It’s a crochet gift idea that every-paw-dy will love!
Use the Table of Contents below to jump to any section of this pattern or keep scrolling down for all the details and the written instructions.
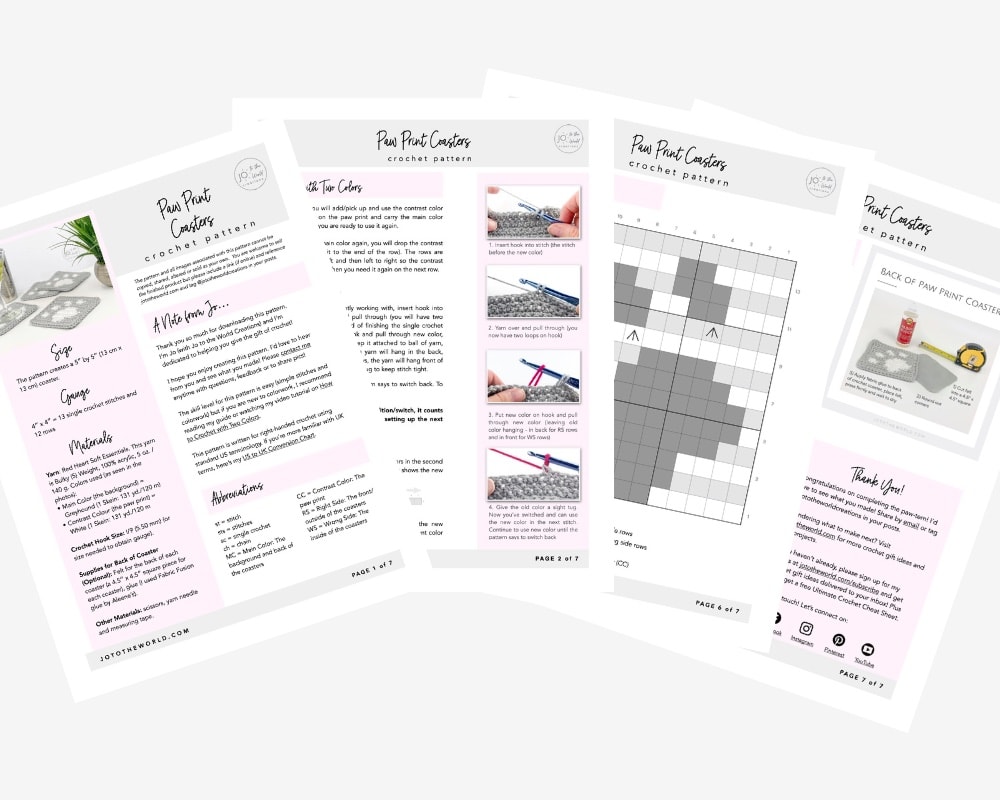
Get the Printable PDF!
Purchase the printer-friendly, ad-free PDF of this pattern that you can instantly download! It includes everything from this free pattern but you can easily save, print and access it anytime!
All-Access Membership
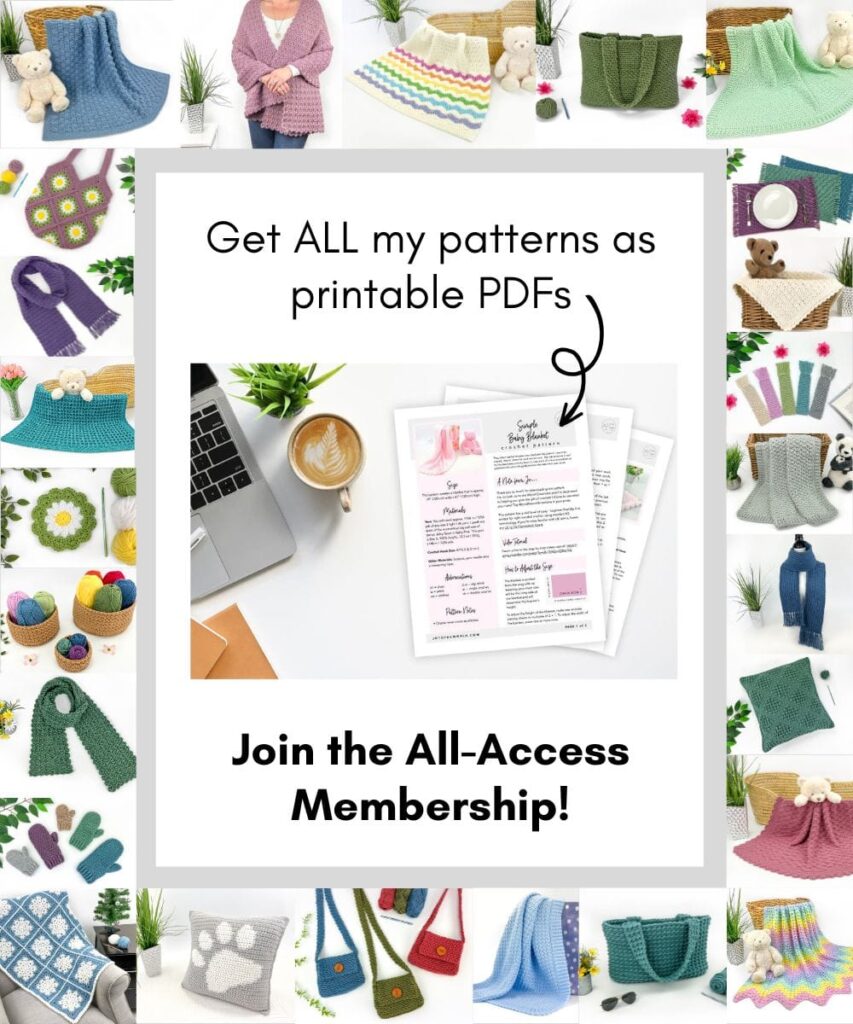
For only $0.14 a day, you can get this pattern as a PDF and my entire library of 180+ print-ready, ad-free PDF crochet patterns!
Pattern Details
Skill Level
Easy – Colorwork & Simple Stitches
Size
The pattern creates a 5″ by 5″ (13 cm x 13 cm) coaster.
Materials
Yarn: Red Heart Soft Essentials. This yarn is Bulky (5) Weight, 100% acrylic, 5 oz. / 140 g
Colors used (as seen in the photos):
Main Color (the background) = Greyhound (1 Skein: 131 yd./120 m)
Contrast Color (the paw print) = White (1 Skein: 131 yd./120 m)
Crochet Hook Size: I/9 (5.50 mm) (or size needed to obtain gauge).
Supplies for Back of Coaster (Optional): Felt for the back of each coaster (a 4.5″ x 4.5″ square piece for each coaster), glue (I used Fabric Fusion glue by Aleene’s).
Other Materials: scissors, yarn needle and measuring tape.
Gauge
4″ x 4″ = 13 single crochet stitches and 12 rows
Need help understanding gauge? Check out my Complete Guide to Crochet Gauge.
Terminology
This pattern is written in English for right-handed crochet using standard US crochet terminology. If you are more familiar with UK terminology, check out my US to UK Conversion Chart.
Abbreviations
- st = stitch
- sts = stitches
- sc = single crochet: insert hook into stitch, yarn over, pull through (2 loops on hook), yarn over and pull yarn through both loops
- ch = chain: yarn over, pull though loop on hook
- MC = Main Color: The background and back of the coasters
- CC = Contrast Color: The paw print
- RS = Right Side: The front/outside of the coasters
- WS = Wrong Side: The inside of the coasters
Make More Paw Prints!
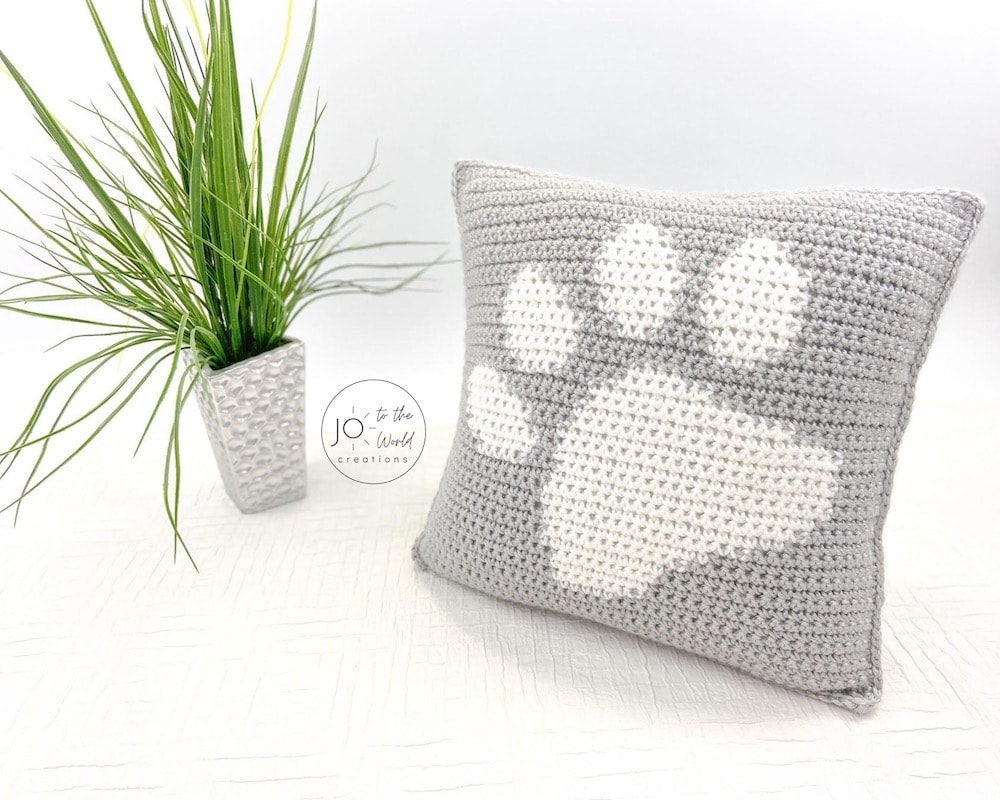
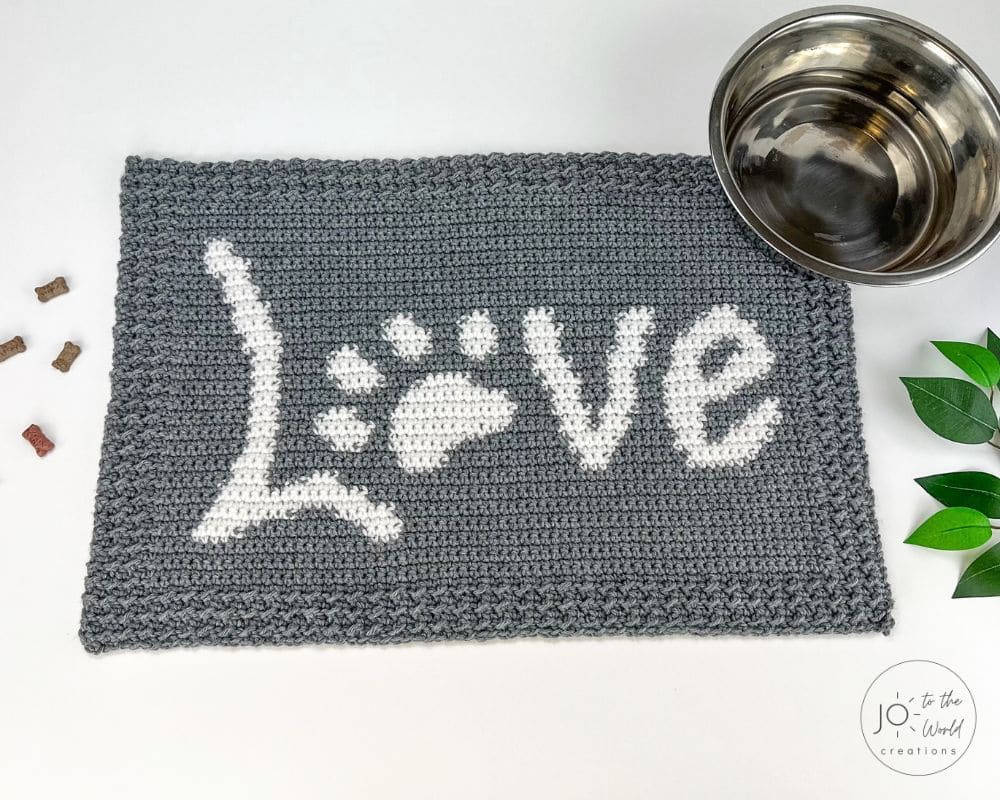
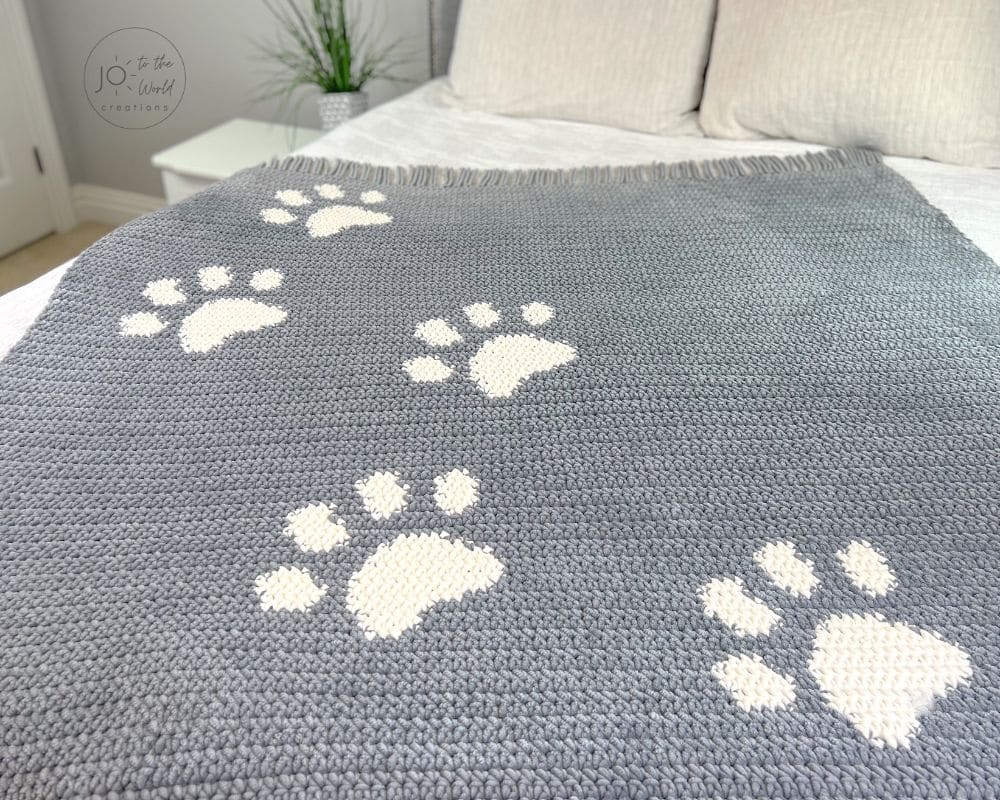
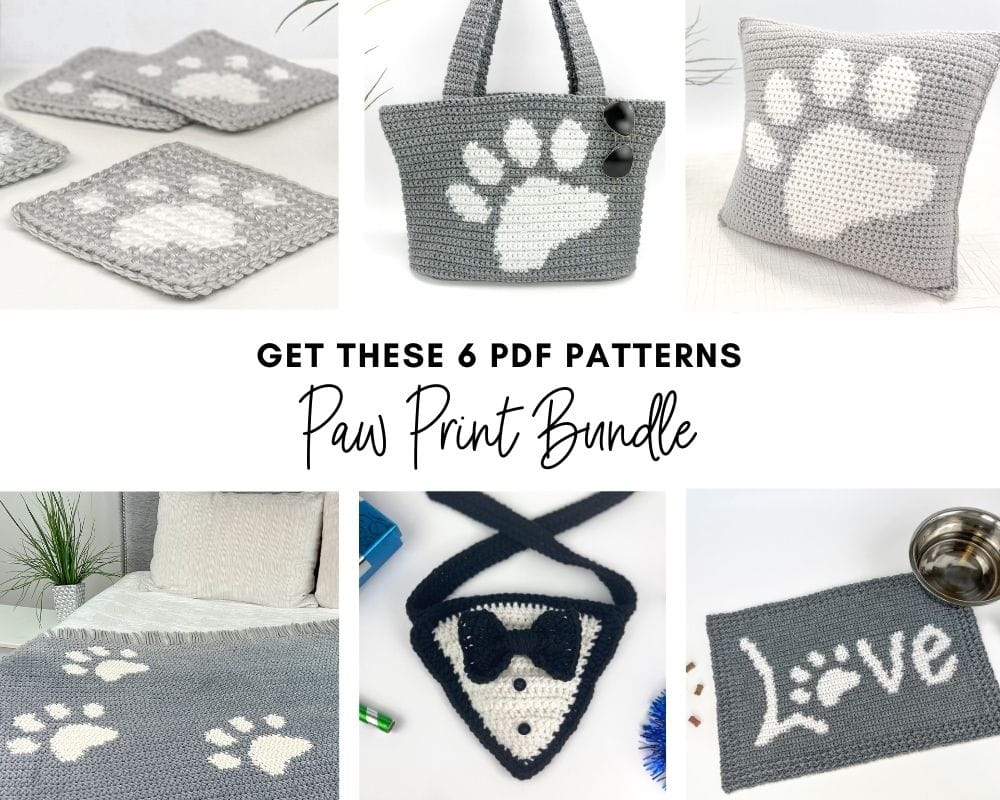
This Paw Print Coaster Pattern is included in the Paw Print Bundle! Get six wonderful paw print patterns that you can download and print for only $9.97!
Get the Paw Print Bundle Today!
Working with Two Colors
New to colorwork? Read my step-by-step guide: How to Crochet with Two Colors. You’ll be a pro in colorwork in no time!
For this pattern, you will add/pick up and use the contrast color only when working on the paw print and carry the main color along the back until you are ready to use it again.
Once you get to the main color again, you will drop the contrast color (you don’t carry it to the end of the row). The rows are worked from right to left and then left to right so the contrast color will be right there when you need it again on the next row.
How to Add/Change Colors:
With the color you are currently working with:
1) Insert hook into the next stitch. With current color, yarn over.
2) Still with the current color, pull yarn through stitch (you will have two loops on your hook) but instead of finishing the single crochet stitch…
3) Put the new color on your hook.
4) Pull through new color the two loops on your hook. Leaving the old color hanging (keep it attached to ball of yarn, don’t cut).
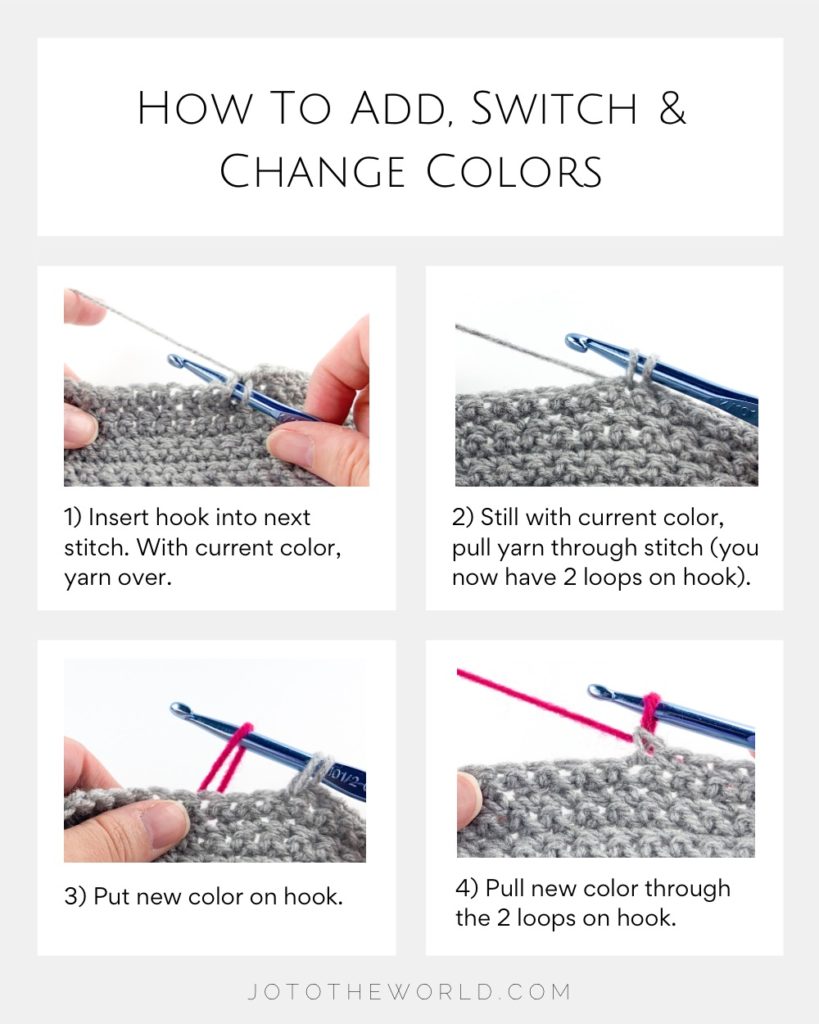
On right side rows, the yarn will hang in the back, behind the work. For wrong side rows, the yarn will hang front of you. Give the previous color a slight tug to keep stitch tight.
Now use the new color until the pattern says to change back. To change back, repeat the same steps.
Note: When you complete the color addition/switch, it counts as a stitch with the old color as you are setting up the next stitch with the new color.
Where to Change Color
When following the chart: always change color in the second half of the single crochet stitch (when you have two loops on your hook with the old color) BEFORE the chart shows the new color.
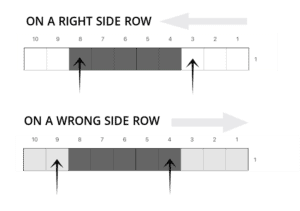
When following the written instructions: always add the new color in the second half of the last sc stitch of the current color (when you have two loops on your hook with the old color) BEFORE the written patterns says to use the new color.
Right & Wrong Sides in Crochet
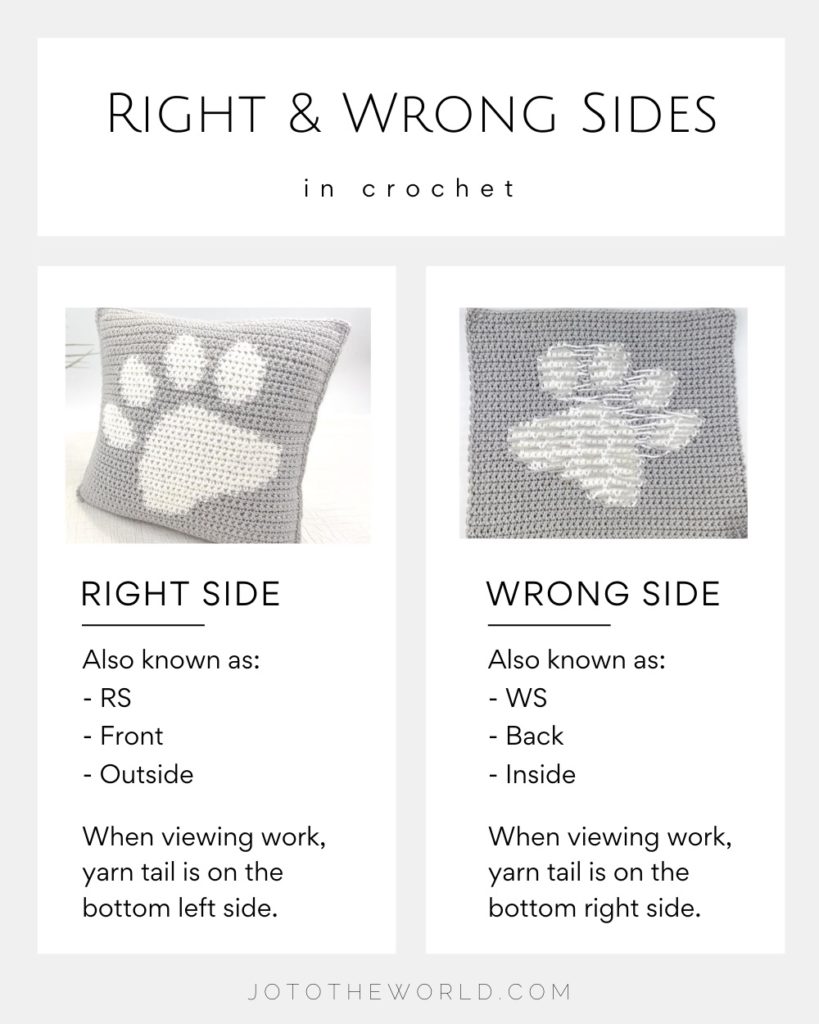
When working with two colors in crochet, especially on a flat project (like this pattern), right sides and wrong sides are very important. The right side is often referred to as RS, the front, or outside. The wrong side is often referred to as WS, the back or inside.
Catching Floats
When working on the paw print with the contrast color, you will be carrying the main color along the back (the wrong side). These strands of yarn are “floating.” To prevent these pieces of carried yarn from becoming too long, we “catch” or trap them and incorporate them into the back of a stitch every 2-3 stitches.
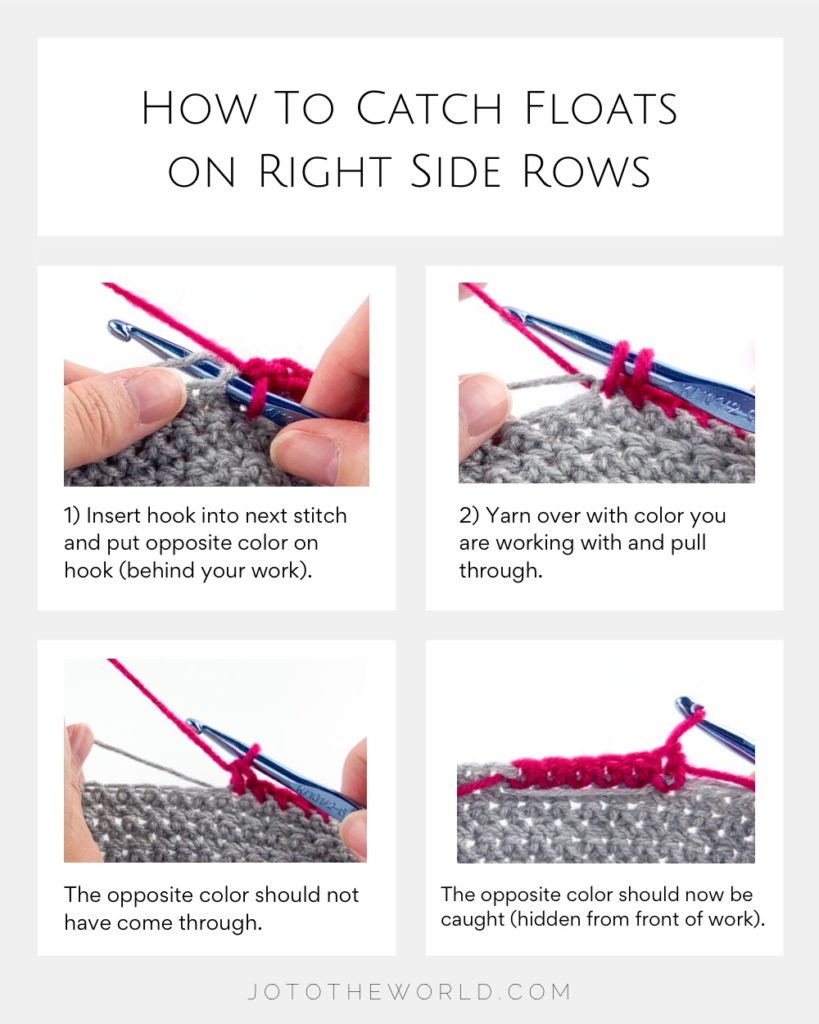
Catching Floats on Right Side Rows:
Insert your hook into the stitch and take the strand of the opposite color and place it on the hook (behind the stitch). Yarn over with the color you are working with and pull through. The opposite color should not have come through but instead be caught in the stitch (hidden from the front of the work). Give the opposite color a little tug.
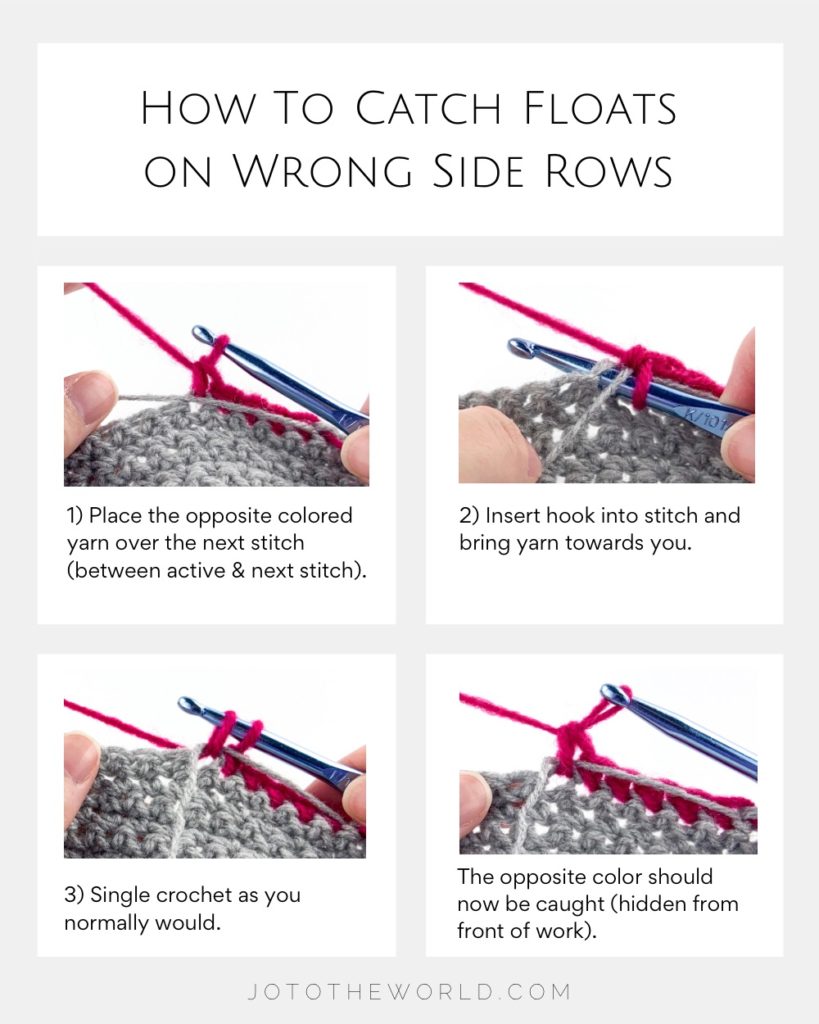
Catching Floats on Wrong Side Rows:
Take the strand of yarn you are trying to catch (the opposite color) and put it over the next stitch. Simply place it there (in the middle between your active stitch and the next stitch). Insert your hook into the next stitch. Take that piece of yarn that you just placed and bring it towards you. That puts the yarn in the middle between the yarn on your hook and your new stitch. Single crochet as you normally would. Give the opposite colour a little tug.
Catching Floats Notes:
- The pattern does not indicate when to catch floats. You need to remember to do this every 2-3 stitches.
- There are three times when you need to catch the contrast color (normally you just catch the main color). These three times are indicated on the written pattern and on the chart.
- Check each “catch” to ensure the opposite colored yarn is not visible from the front.
How to Follow the Pattern Chart
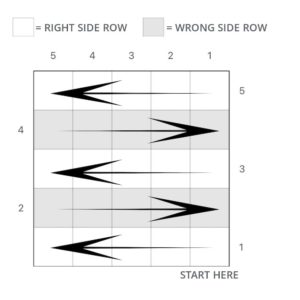
Read the chart from right to left when working on right side rows and left to right when working on the wrong side. The chart is lightly shaded on wrong sides to help you remember. (The written instructions lists everything in the correct order).
Pattern Notes
- Each row has 15 stitches.
- Chain 1 does not count as a stitch.
- Catch your float every 2-3 stitches.
- Stretch your coaster wide after each row.
- Ensure all strands are always kept on the wrong side of the work.
- Add/switch color when you have two loops of the old color on the sc stitch BEFORE the new color stitch.
- There are three times when you need to catch the contrast color (normally just you catch the main color). These three times are indicated on the chart and written instructions.
Important Notes About Pattern:
Every stitch is a single crochet (sc). The pattern does not say to sc because it gets too jumbled with all the back and forth between MC (Main Color) and CC (Contrast Color). Instead it says something like: MC 3, CC 4, which means: using the main color, single crochet for 3 stitches, add the contrast color on the last stitch of the main color and now using the contrast color, single crochet for 4 stitches.
Just a Reminder!
This pattern is also available as a PDF, which includes everything listed below but as a printer-friendly PDF that you can instantly download, save, print, make notes on and keep forever.
Get ALL my PDF Patterns!
Only $0.14 a day!
Join the All-Access Membership and instantly download the printable version of this pattern and ALL my 180+ easy-to-follow PDF crochet patterns.
Paw Print Coasters Pattern
Written Instructions
(Pattern Chart is below)
With MC Chain: 16
After trying many different variations, I found the coasters turned out the best when you sc into the back ridge loops.
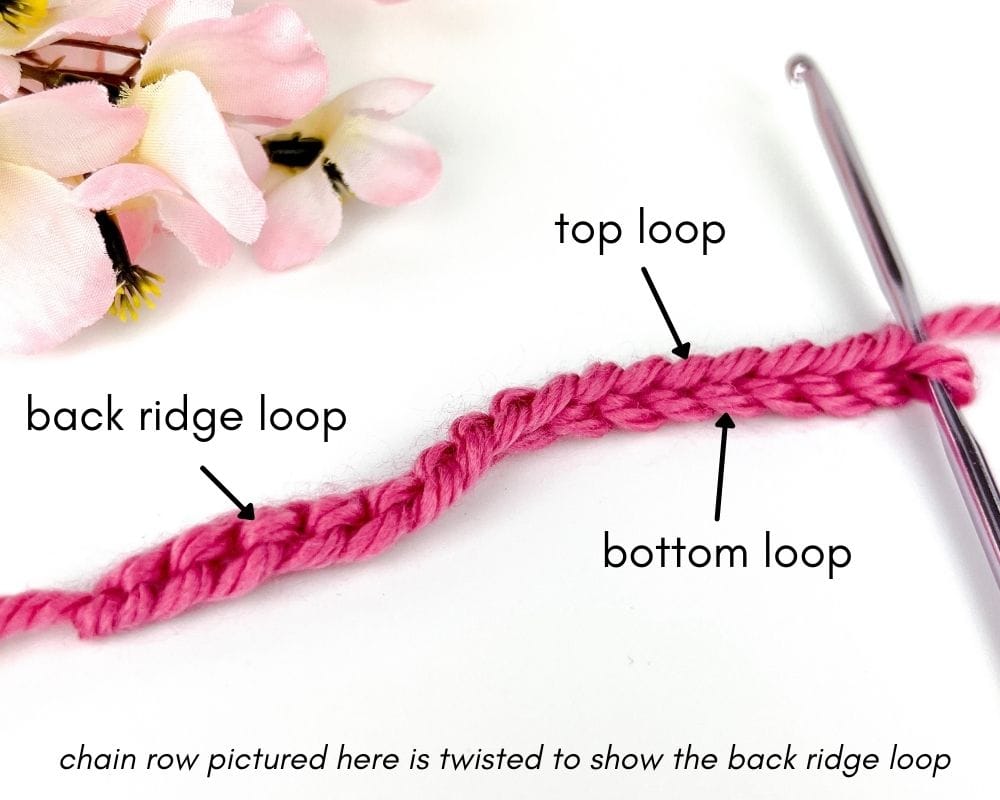
I recommend sc into the back ridge loops across all of Row 1.
Row 1 (RS): With MC, sc in the 2nd chain from hook. MC 4. CC 2. MC 8. Ch 1 and turn.
What this means: With your main color, single crochet in the 2nd chain from hook. Sc with main color across the next 3 stitches. On the 4th stitch, add the contrast color and sc. Make sure that the hanging yarn is in the back.
Sc with the new color for 1 stitch. On the 2nd stitch, switch back to the main color. Make sure that the hanging yarn is in the back. This now concludes the 2 stitches in the contrast color.
With the main color, sc 8 to the end of the row.
This is how it looks from right to left: 5 stitches in the main color, 2 stitches in the contrast color and 8 stitches in the main color. Ch 1 and turn.
Now work on the wrong side and ensure all strands of yarn are facing you. If you’re reading the chart, remember to follow it from left to right (the written instructions list everything in the correct order).
Row 2 (WS): MC 7, CC 4, MC 4. Ch 1 and turn.
Row 3 (RS): MC 4, CC 5, MC 2, CC 2, MC 2. Ch 1 and turn.
Row 4 (WS): MC 1, CC 3, MC 2, CC 7, MC 2. Ch 1 and turn.
Row 5 (RS): MC 1, CC 8, MC 3, CC 2, MC 1. Ch 1 and turn.
Row 6 (WS): MC 6 (on the 4th st, catch CC), CC 8, MC 1. Ch 1 and turn.
Row 7 (RS): MC 2, CC 6, MC 2, CC 2, MC 3. Ch 1 and turn.
Row 8 (WS): MC 2, CC 3, MC 3, CC 4, MC 3. Ch 1 and turn.
Row 9 (RS): MC 11 (on the 8th st, catch CC), CC 2, MC 2. Ch 1 and turn.
Row 10 (WS): MC 6, CC 2, MC 7 (on the 4th st, catch CC). Ch 1 and turn.
Row 11 (RS): MC 3, CC 2, MC 2, CC 3, MC 5. Ch 1 and turn.
Row 12 (WS): MC 5, CC 2, MC 2, CC 3, MC 3. Ch 1 and turn.
Row 13 (RS): MC 4, CC 2, MC 9. Ch 1 and turn. Fasten off CC ONLY, leaving tail to weave in ends.
Row 14 (WS): With MC, sc across. Ch 1 and turn.
Row 15 (RS): With MC, sc across. At corner, sc 3 times into corner st. Continue to sc around coaster. At each corner st, sc 3 times. At the last corner, sc into last corner st twice. Sl st into next st. Fasten off and weave in loose ends. On last st, sc twice. Slip st into next st.
Pattern Chart
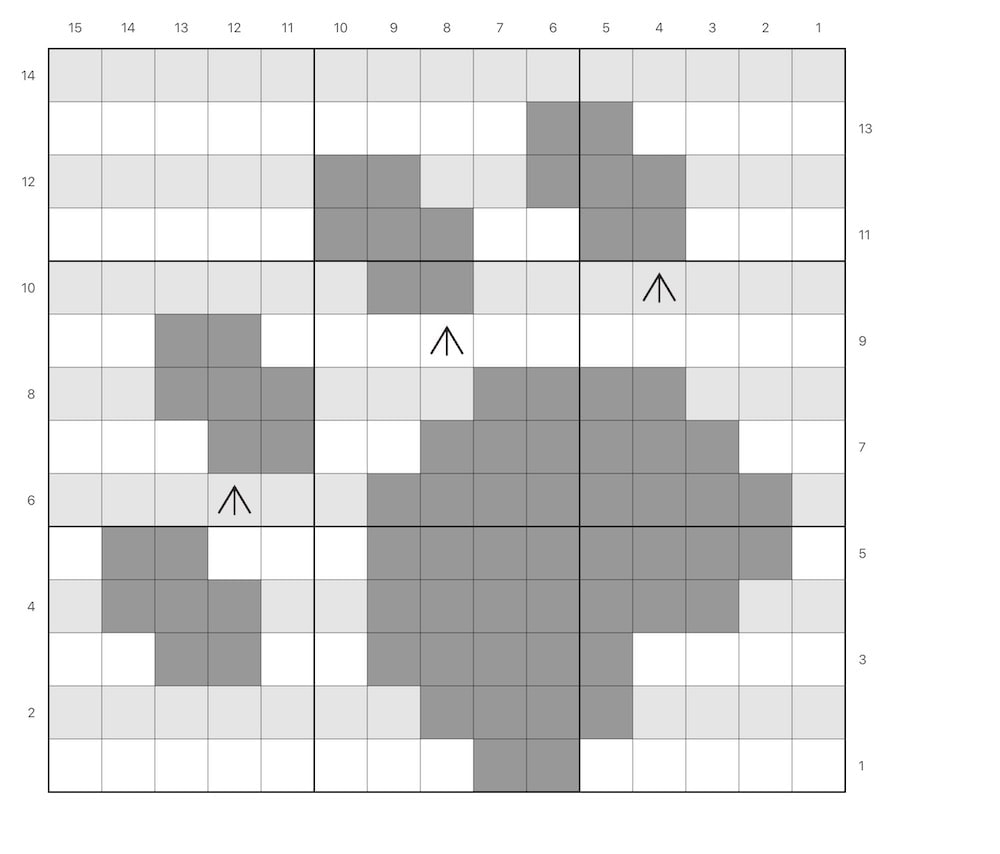
Pattern Chart Legend
- White square = sc with Main Color (MC) on right side rows
- Light grey square = sc with Main Color (MC) on wrong side rows
- Dark grey square = sc with Contrast Color (CC)
- Upwards arrow = Catch the float of the Contrast Color (CC)
Finishing
Blocking
I would recommend blocking these coasters by pinning them down and spraying with water and leaving them to dry. I did try ironing one and while it made the coaster flat, it really squished the stitches (they looked almost melted) so I would caution against that. Blocking helps the ends of the coasters not curl up, ensures the coaster lies flat and holds the square shape.
Felt Backs
I attached felt backs to the coasters to make them have a smooth bottom, hide the carried yarn and for a more polished look.
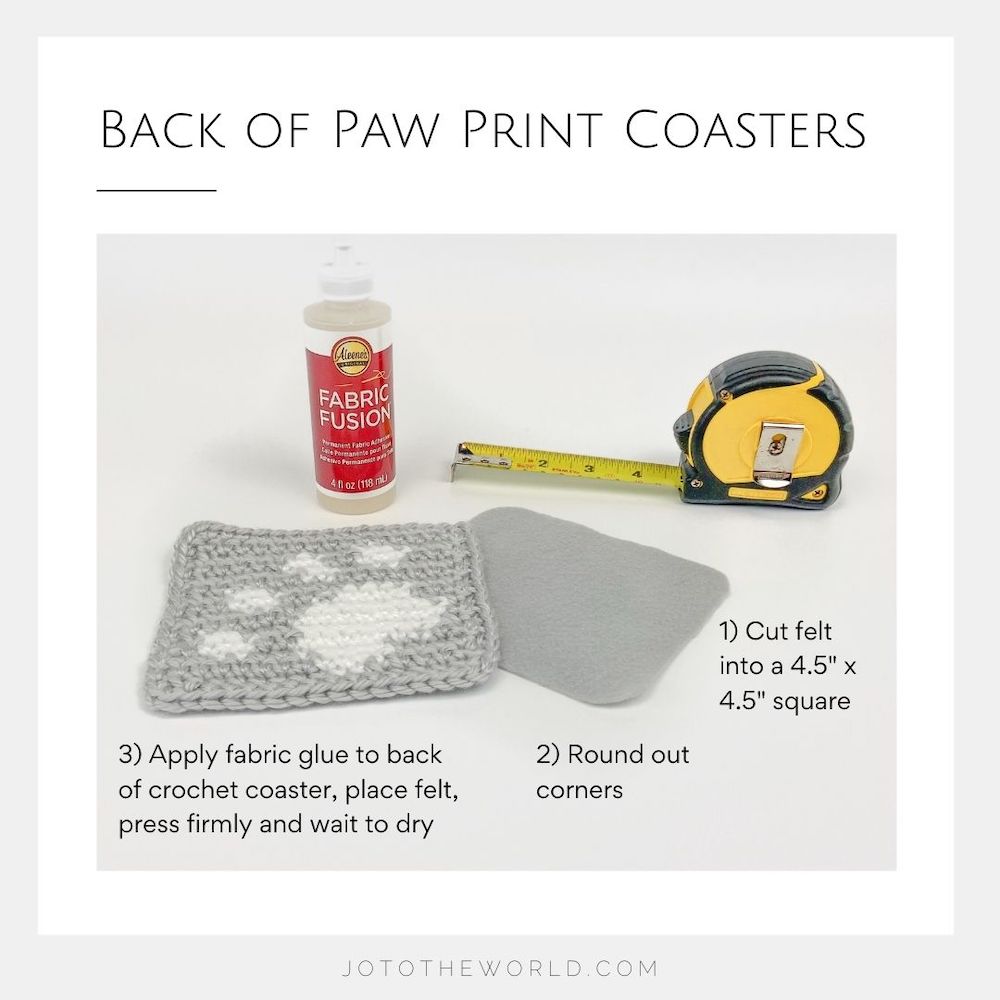
I attached the felt to the back of the coasters with Aleene’s Fabric Fusion glue and followed these steps:
- Cut your felt into a 4.5” x 4.5” square
- Round out the corners (I found this made the back look nicer)
- Put the fabric glue all around (approximately .75” away from edge).
- Flatten the glue to ensure there isn’t a big bump when it dries (I used a piece of cardboard to spread it)
- Lay your felt square onto the back and press down. Leave to dry completely.
And ta-da! Look at your paw-some new crochet coasters!
Congratulations on completing the paw-tern!
More Patterns You Might Like

I’m Jo, the designer behind Jo to the World Creations, and I’m dedicated to helping you make the perfect crochet gift! I love designing and sharing free crochet patterns that you can make for every gift occasion.
About →Let’s Connect
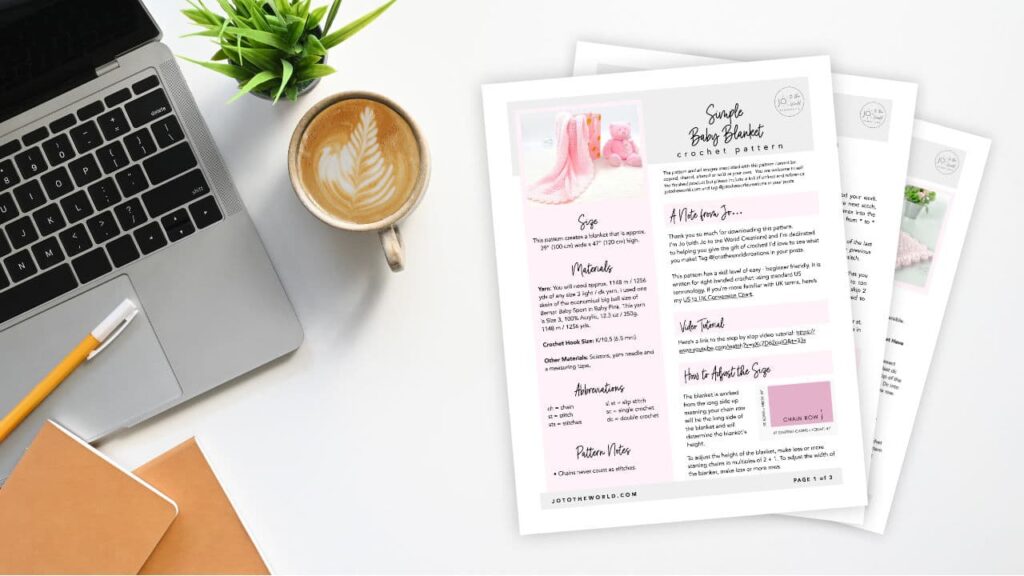
Download. Print. Keep.
Get Instant Access to ALL Printable Patterns
Make your crocheting more enjoyable, relaxing and productive with printable PDF patterns.
- 180+ premium crochet patterns.
- Download, save and print from any device.
- No ads or popups!
Not sure yet? Take a look at the Pattern Library and see all the patterns you can download once you’re a member.
Save with Pattern Bundles
For a limited time, I’ve grouped some of my most popular crochet patterns and I’m offering them as pattern bundles where you can get the printable versions for one low, discounted price. Check out these incredible Crochet Pattern Bundles.
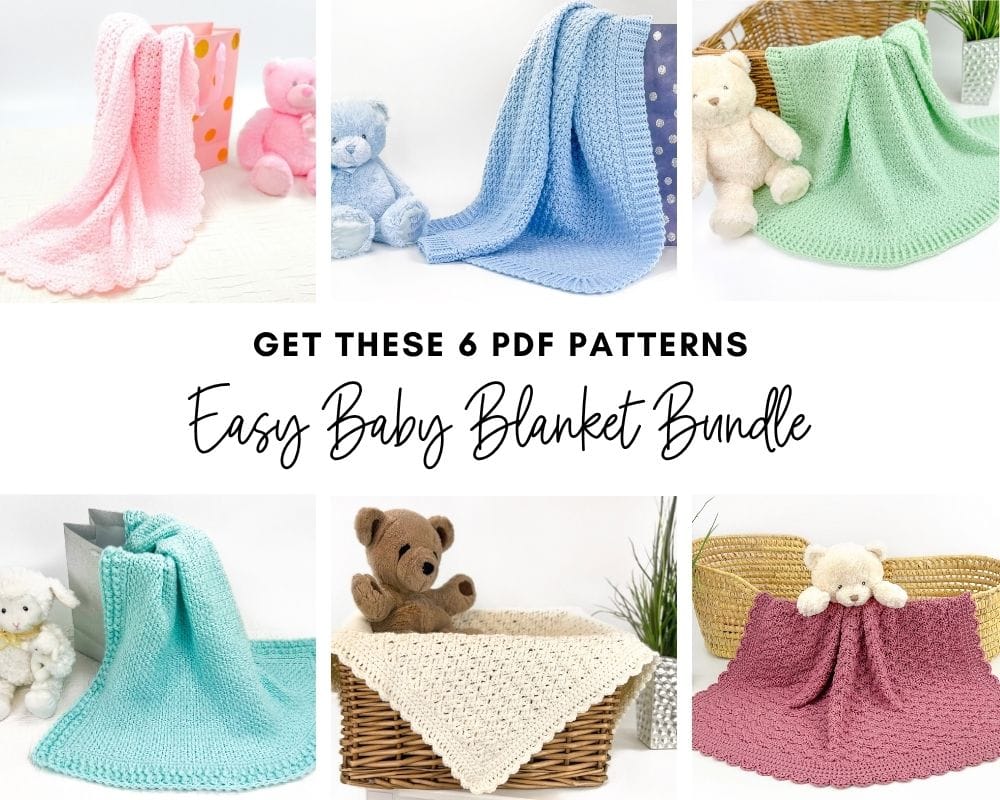
Easy Baby Blanket Bundle
With this Easy Baby Blanket Bundle, you’ll get SIX easy crochet baby blankets as printable downloads. Each pattern includes step-by-step instructions and a full video tutorial.
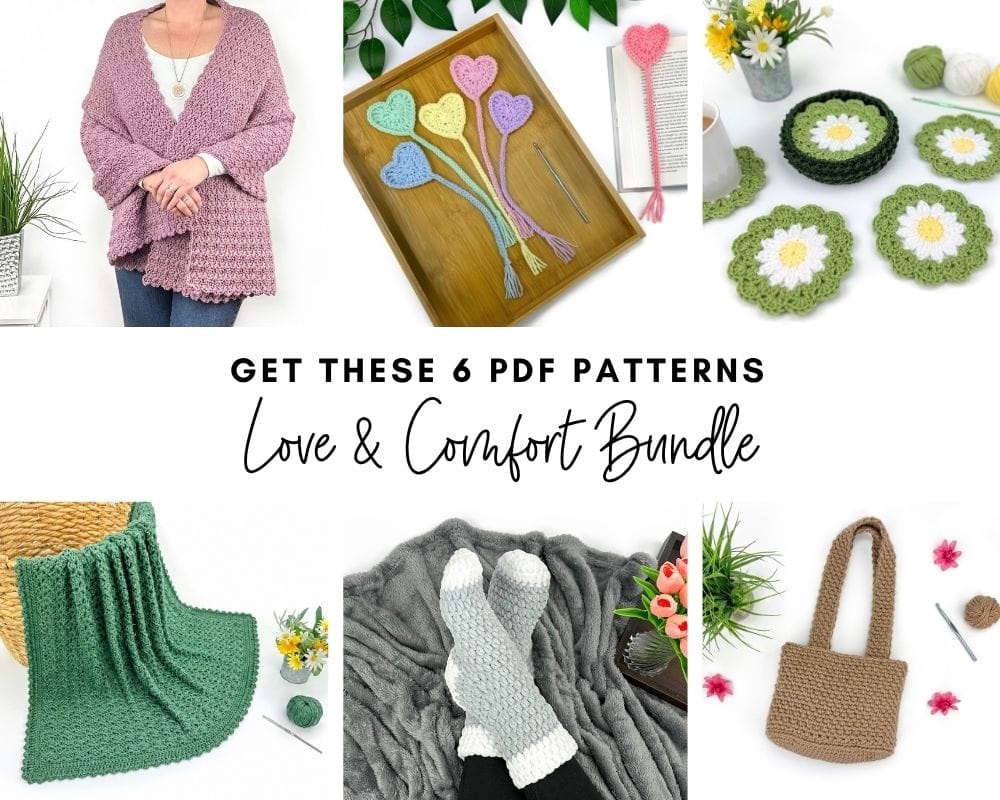
Love and Comfort Bundle
The Love and Comfort Bundle includes SIX meaningful patterns designed to comfort a loved one, brighten someone’s day or simply remind someone they’re loved.
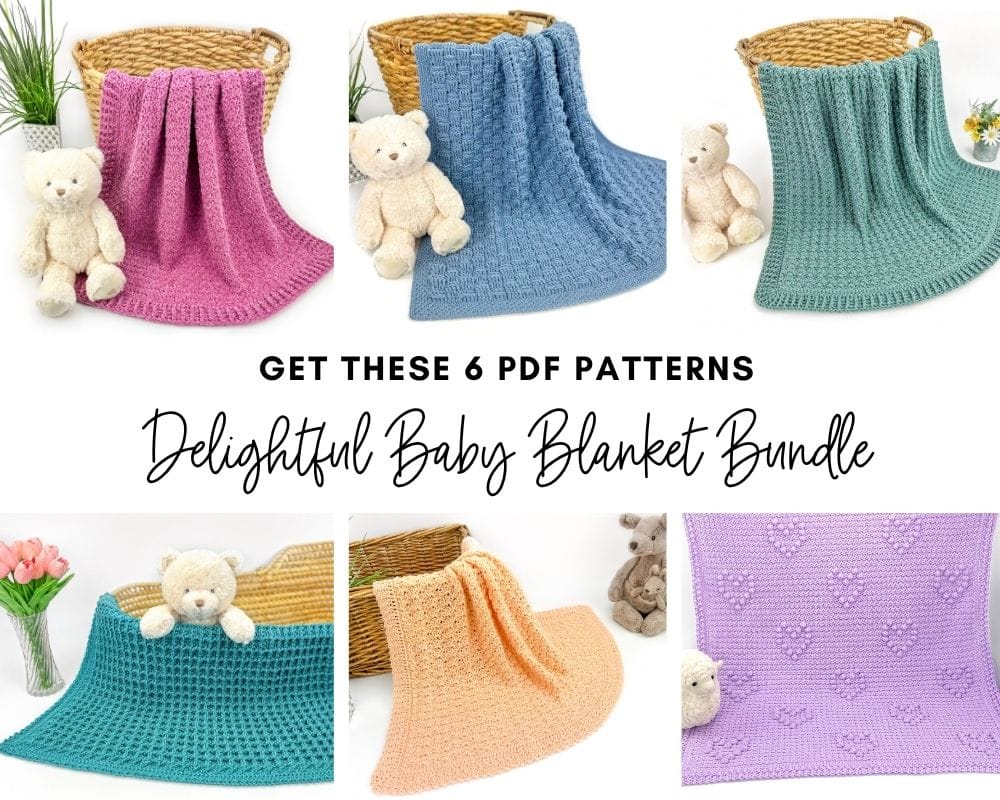
Delightful baby blanket Bundle
All your favorite baby blanket patterns in one bundle! This collection features SIX blankets (all with video tutorials) that are a delight to crochet and will be cherished forever.
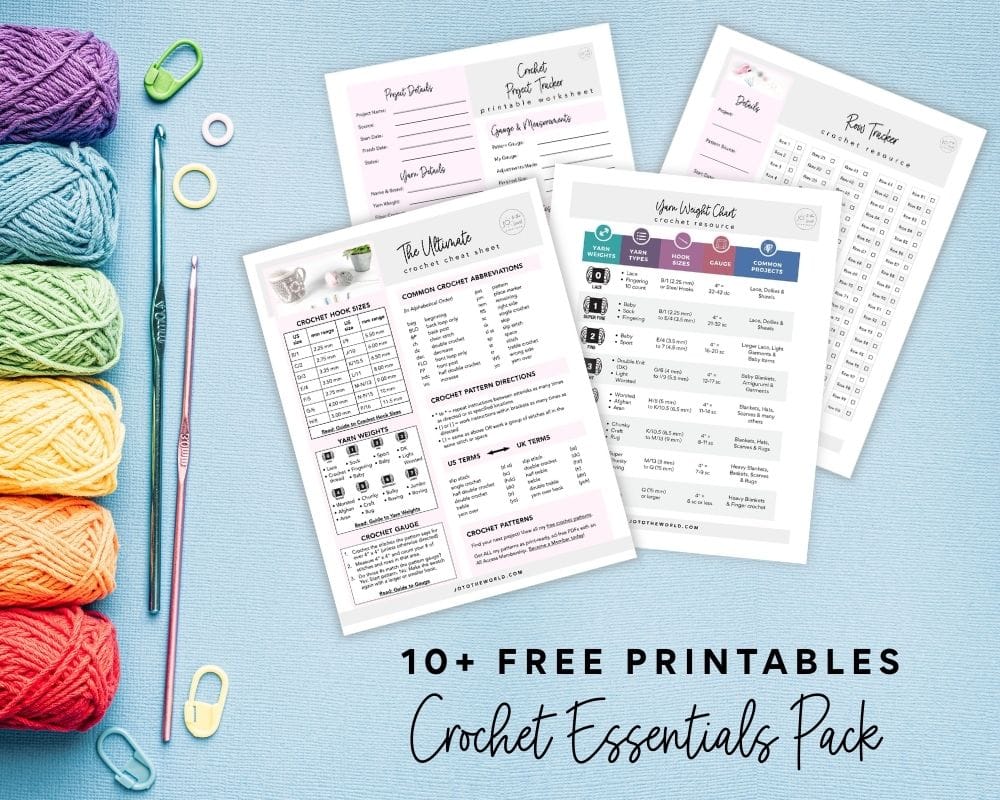
Free Crochet Printables
Subscribe to my emails and get 3 free printable crochet patterns as well as 10+ free printable crochet cheat sheets, guides and progress trackers.
Plus, you’ll receive free patterns for crochet gifts delivered right to your inbox!
Featured Crochet Patterns
Pattern Collections
Free Patterns for Crochet Gifts
Never miss a pattern! Get all my secrets to making incredible crochet gifts as well as new free crochet patterns and exclusive deals when you sign up for my newsletter (it’s free!).