
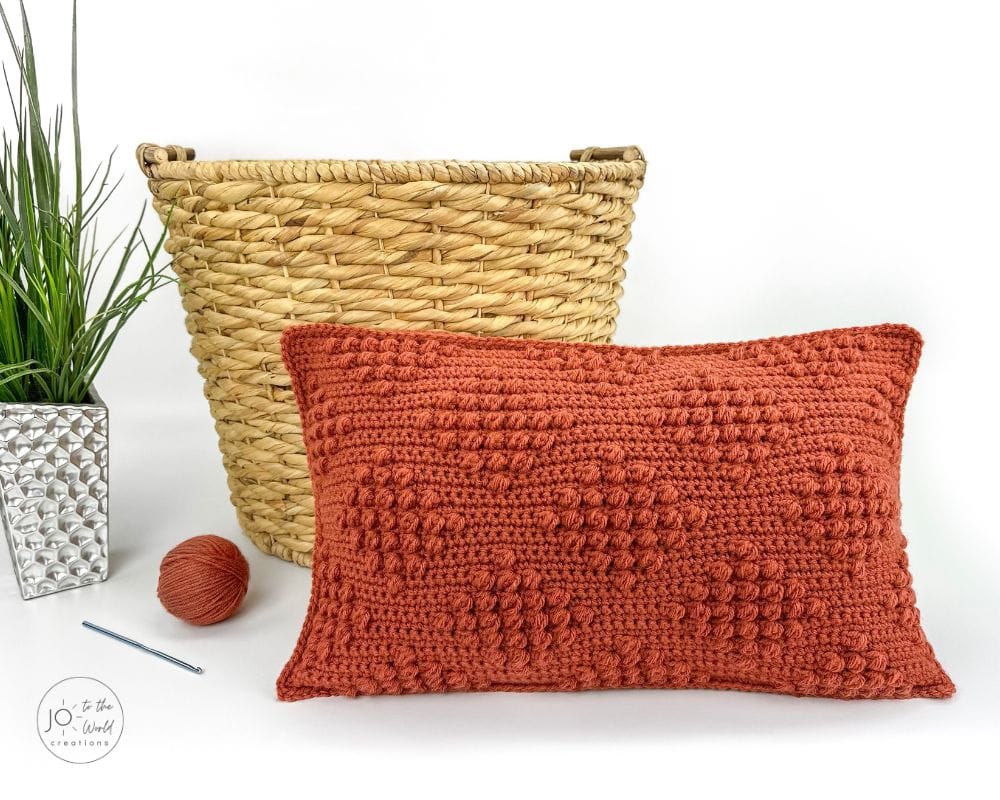
Modern Rectangle Pillow – Free Crochet Pattern
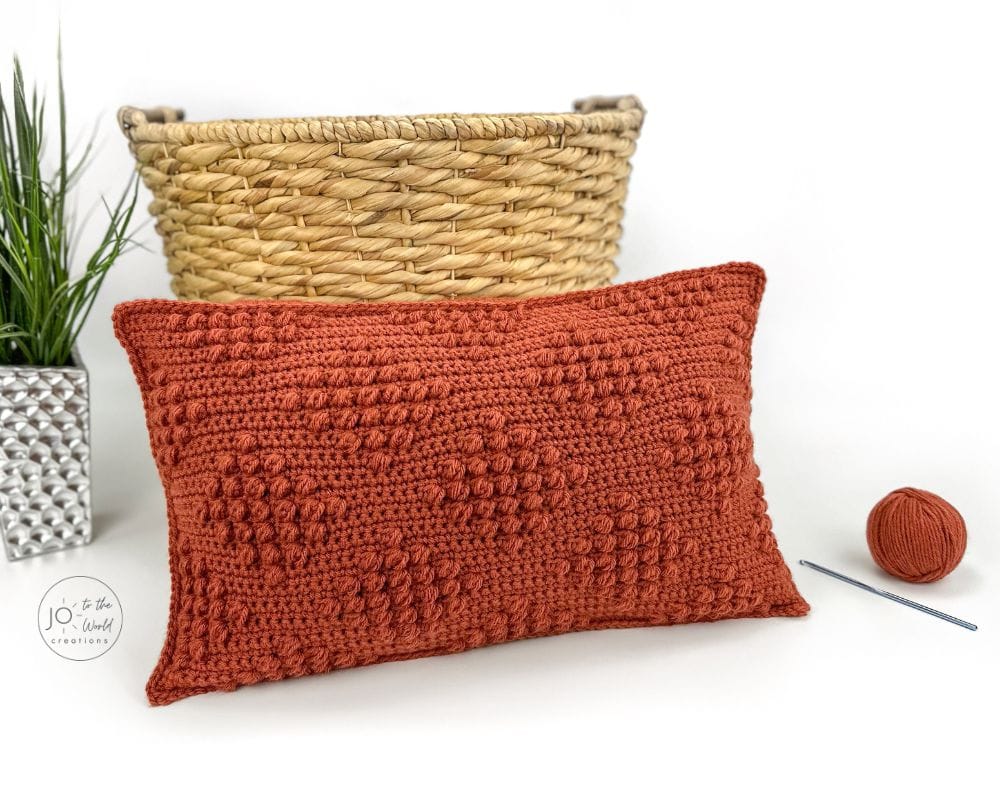
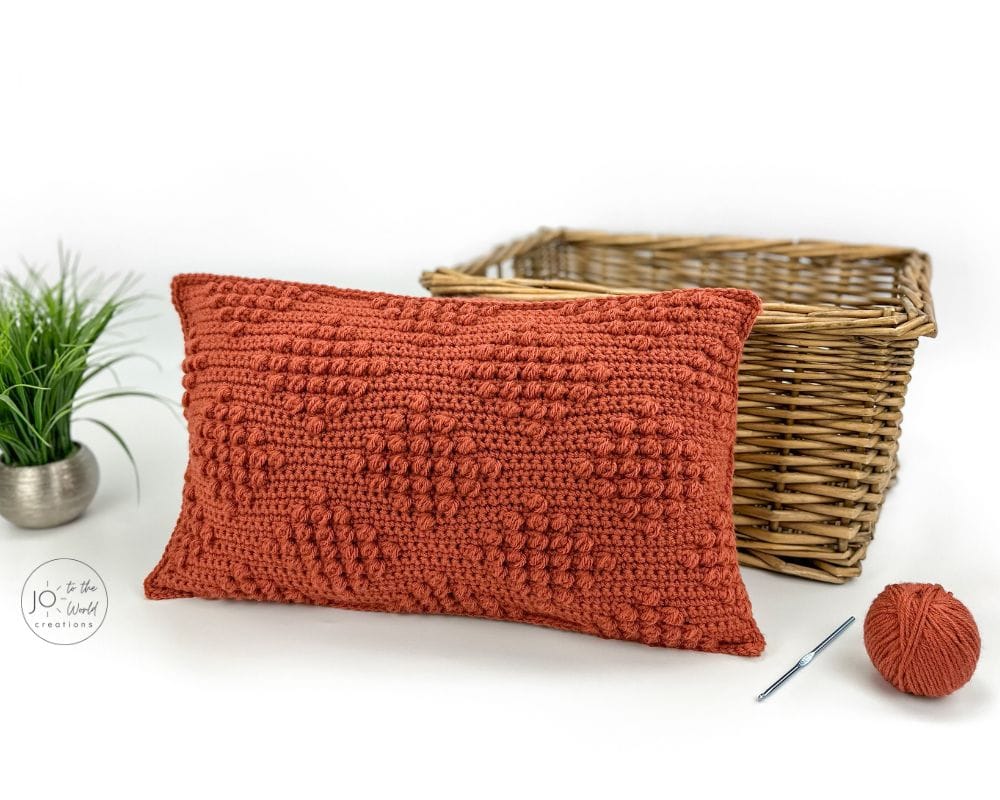
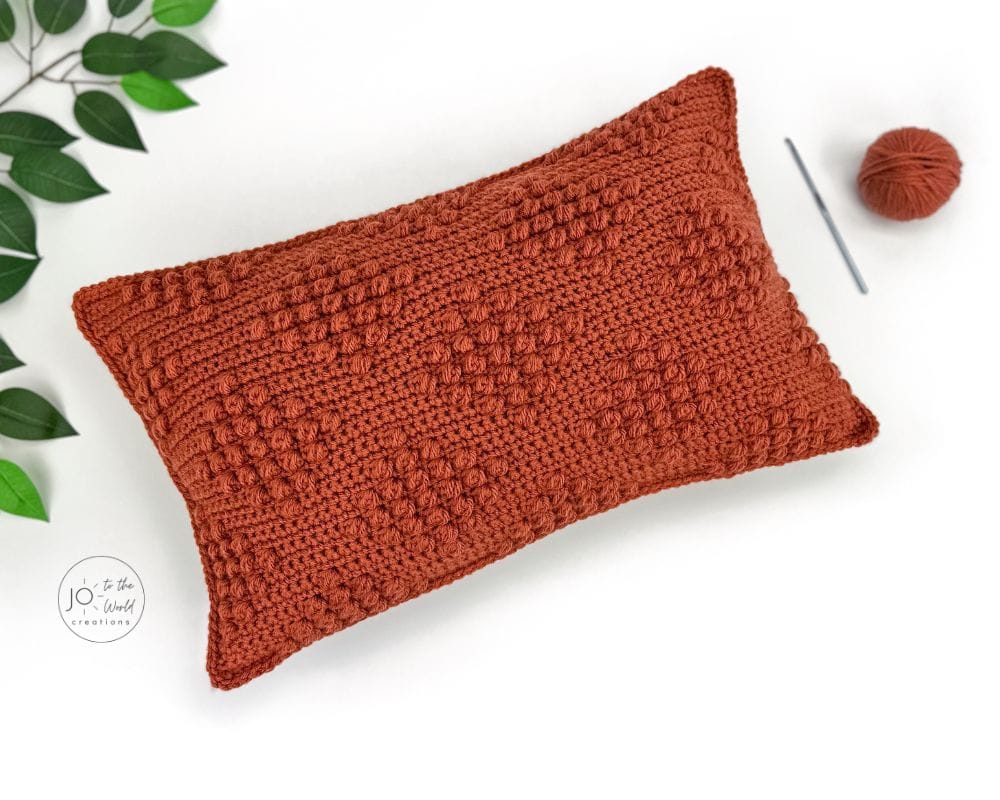
This easy-to-follow modern crochet cushion cover pattern (free!) creates a stunning and trendy 12″ x 20″ removable crochet pillowcase. It’s a perfect rectangle accent pillow to enhance any room.
Before we begin, I would like to thank you for visiting Jo to the World Creations, a site dedicated to helping you give the gift of crochet.
More free patterns (that make incredible crochet gifts) are on the way! Sign up for my emails using the form below and never wonder “What should I make for…” again!
Free Email Series
GET 3 FREE PDF CROCHET PATTERNS
Subscribe to my emails and get a free printable PDF crochet pattern emailed to you every day for the next 3 days!
You’ll also receive new crochet patterns and helpful resources to help you make the best crochet gifts for everyone in your life.

Modern Crochet Cushion Cover
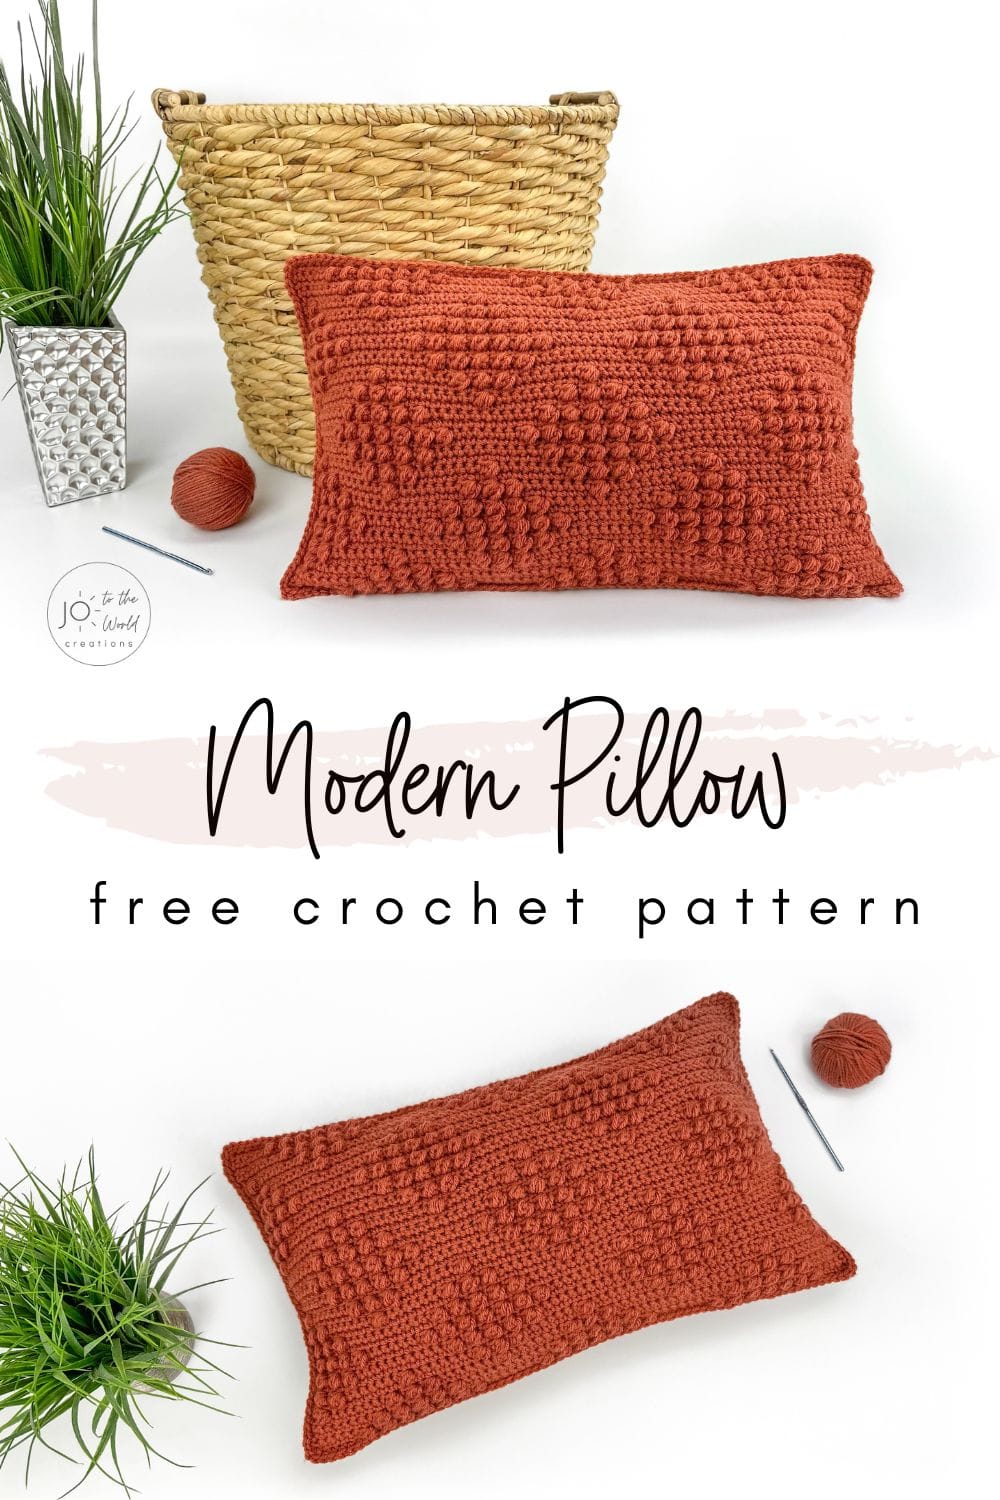
This modern crochet cushion cover pattern blends a sleek design with a cozy texture, perfect for elevating your living space. The pattern creates a removable pillow cover that fits over a 12″ high by 20″ wide pillow insert, which is an ideal size for a rectangle accent pillow that will add a pop of color and style to any room.
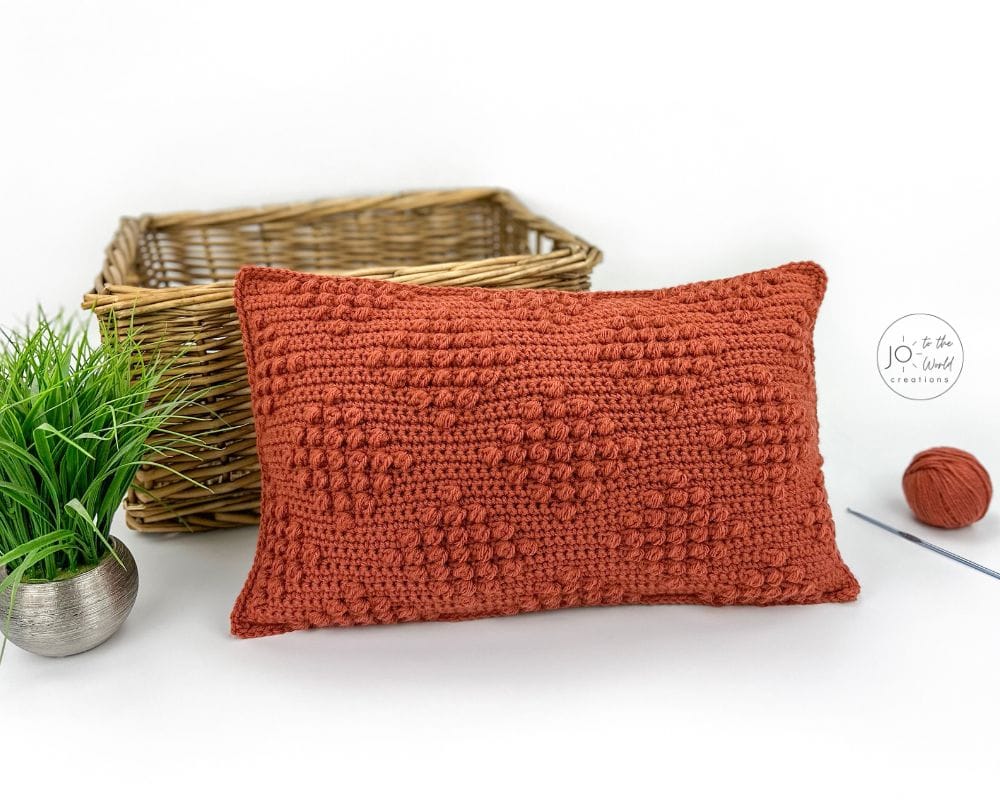
It’s an easy-to-follow crochet pillow pattern that features a stunning geometric pattern for a stylish look to match your modern home. With step-by-step instructions, you’ll be able to breeze through this rectangle pillowcase pattern and be proud to show off your trendy new pillow or give it as a gift.
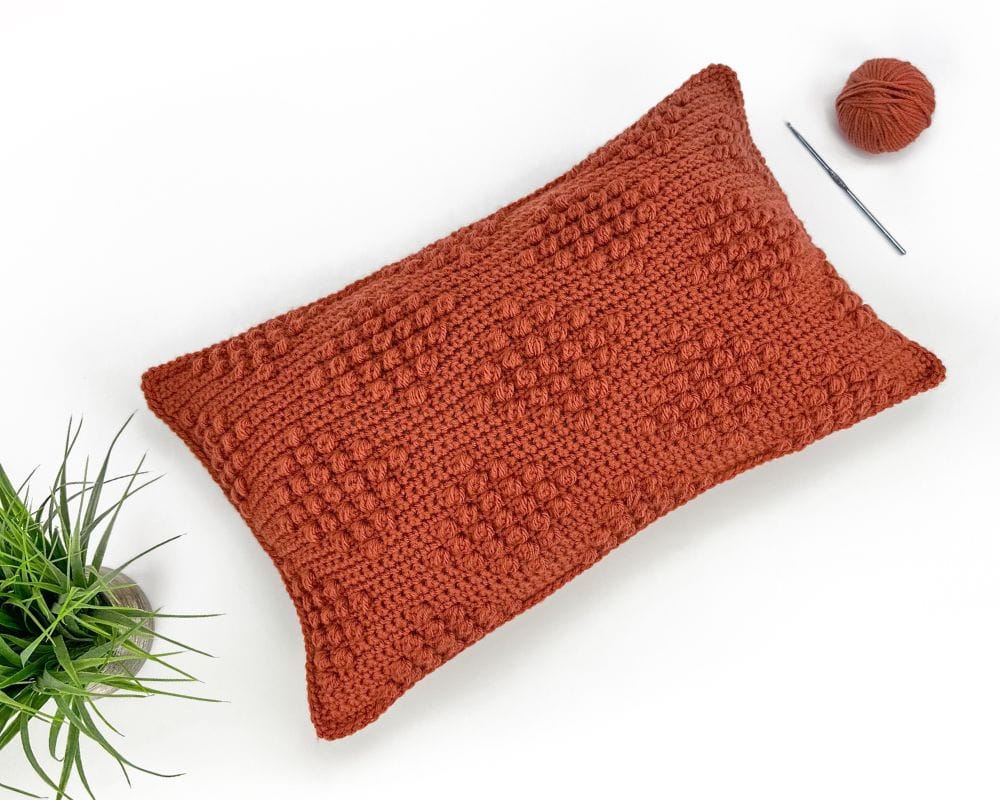
Use the Table of Contents below to jump to any section of the pattern or keep scrolling down to view all the details, the written instructions and the pattern chart.
Make a Matching Square Pillow!
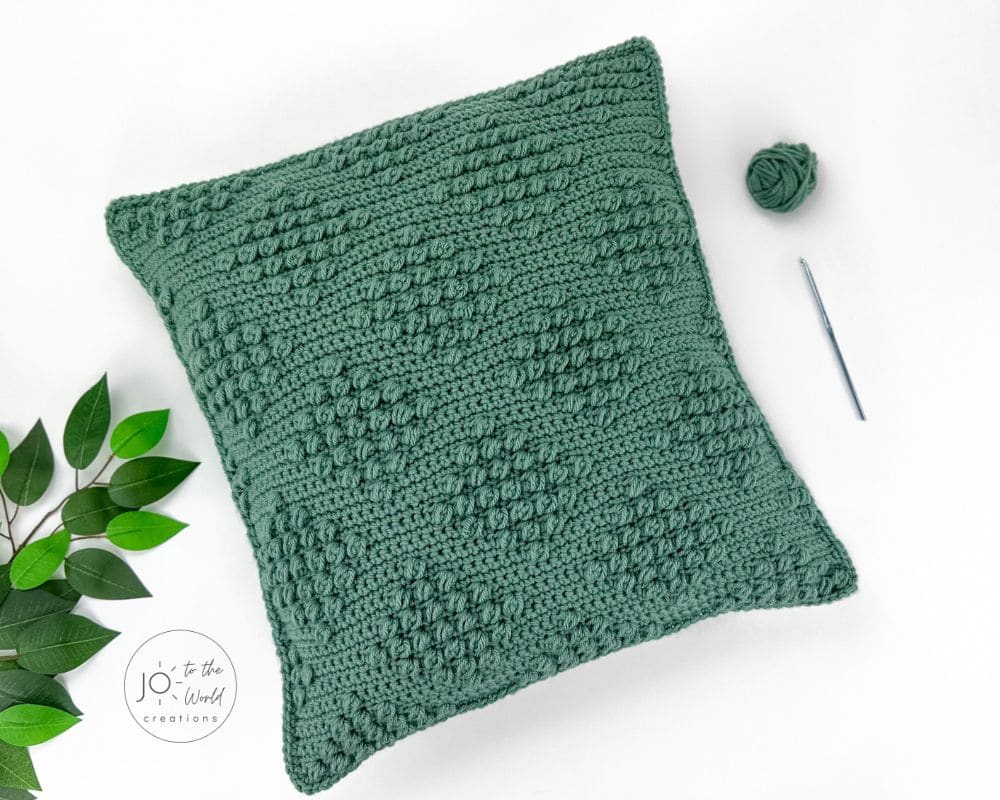
After making this rectangle pillow, make a matching square pillow! Check out my Bohemian Pillow Crochet Pattern, which features a similar design but fits over a square pillow insert.
Make a Matching Wall Decoration!
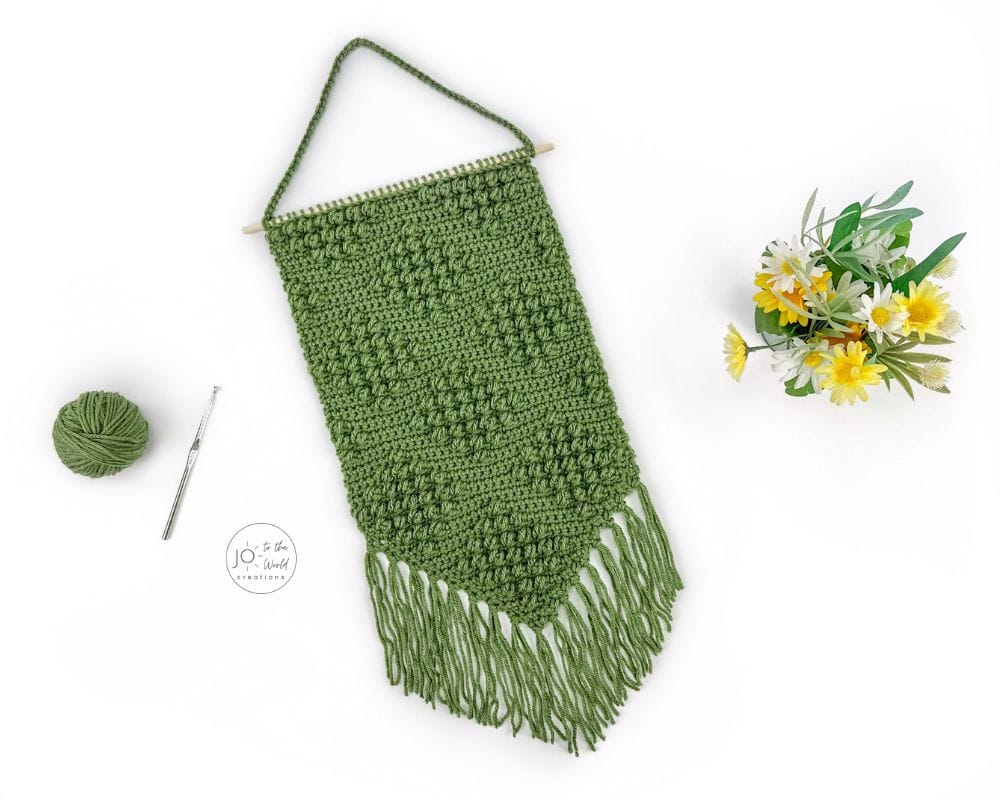
You can also make a complementary wall decoration with this Boho Wall Hanging Crochet Pattern. It’s an easy-to-follow pattern that you can complete in just one afternoon — an affordable, modern and stylish alternative to store-bought wall art!
Get the PDF!
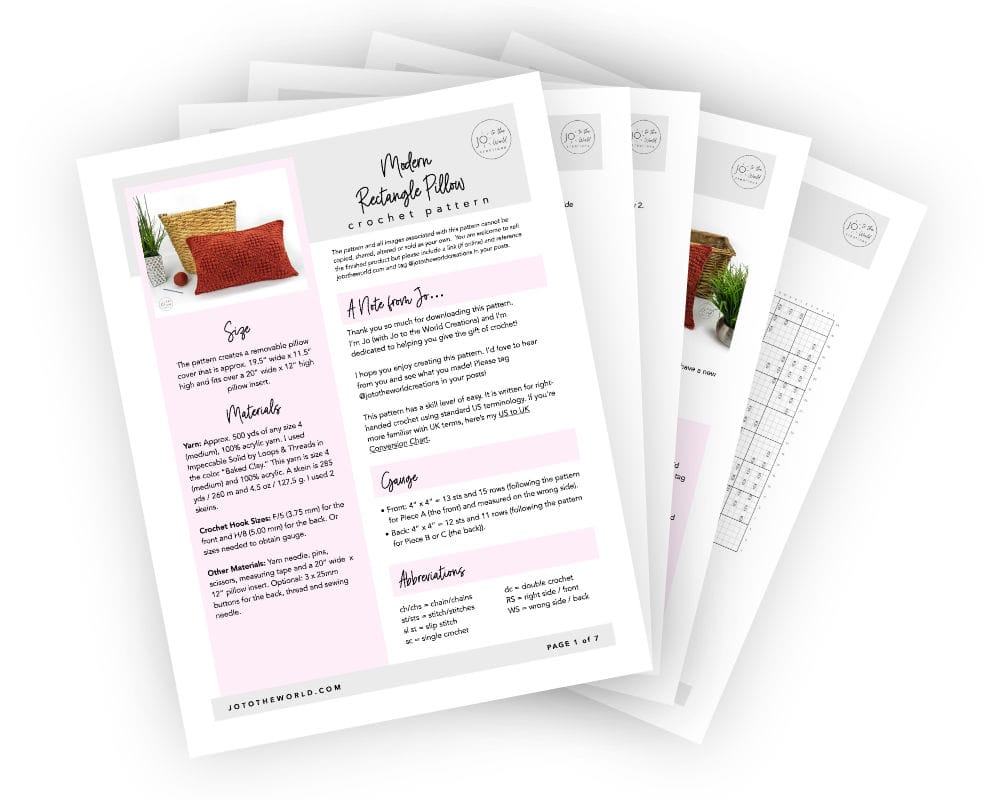
Purchase the printer-friendly, ad-free PDF of this pattern that you can instantly download! It includes everything from this free pattern but you can easily save, print and access it anytime!
All-Access Membership
For only $0.14 a day, you can get this pattern as a PDF and my entire library of 180+ print-ready, ad-free PDF crochet patterns!
Pattern Details
Skill Level
Easy
Size
The pattern creates a removable pillow cover that is approx. 19.5” wide x 11.5” high and fits over a 20” wide x 12” high pillow insert.
Materials
Yarn: Approx. 500 yds of any size 4 (medium), 100% acrylic yarn. I used Impeccable Solid by Loops & Threads in the color “Baked Clay.” This yarn is size 4 (medium) and 100% acrylic. A skein is 285 yds / 260 m and 4.5 oz / 127.5 g. I used 2 skeins.
Crochet Hook Sizes: F/5 (3.75 mm) for the front and H/8 (5.00 mm) for the back. Or sizes needed to obtain gauge.
Other Materials: Yarn needle, pins, scissors, measuring tape and a 20” wide x 12” pillow insert. Optional: 3 x 25mm buttons for the back, thread and sewing needle.
Terminology
This pattern is written for right-handed crochet using standard US terminology. If you’re more familiar with UK terms, here’s my US to UK Conversion Chart.
Abbreviations
- ch/chs = chain/chains
- st/sts = stitch/stitches
- sl st = slip stitch
- sc = single crochet
- dc = double crochet
- RS = right side / front
- WS = wrong side / back
Gauge
- Front: 4” x 4” = 13 sts and 15 rows (following the pattern for Piece A (the front) and measured on the wrong side).
- Back: 4” x 4” = 12 sts and 11 rows (following the pattern for Piece B or C (the back)).

Pattern Notes
- Always work in the first stitch, the stitch attached to the chain.
- Chains never count as stitches.
Special Stitch
Puff = A Puff stitch in this pattern is an hdc3tog (half double crochet three together) in the same stitch.
Here’s how to make a Puff: Yarn over. Insert hook into the designated stitch. Yarn over and pull through a loop (3 loops on hook). Yarn over and insert hook into the same stitch. Yarn over and pull through a loop (5 loops on hook). Yarn over and insert hook into the same stitch. Yarn over and pull through a loop (7 loops on hook). Yarn over and pull yarn through all 7 loops. This completed Puff counts as 1 stitch.
Here’s a video tutorial showing how to do this stitch.
Just a Reminder!
This pattern is also available as a PDF, which includes everything listed here but as a printer-friendly, ad-free PDF that you can instantly download, save, print, make notes on and keep forever.
Get ALL my PDF Patterns!
Only $0.14 a day!
Join the All-Access Membership and instantly download the printable version of this pattern and ALL my 180+ easy-to-follow PDF crochet patterns.
How to Crochet the Modern Rectangle Pillow (Pattern Instructions)
Piece A: Front Pillow Panel
Front Pillow Panel Notes:
- Each row has 63 stitches.
- Your work may curl or look misshaped. This will be corrected once the pillow is assembled.
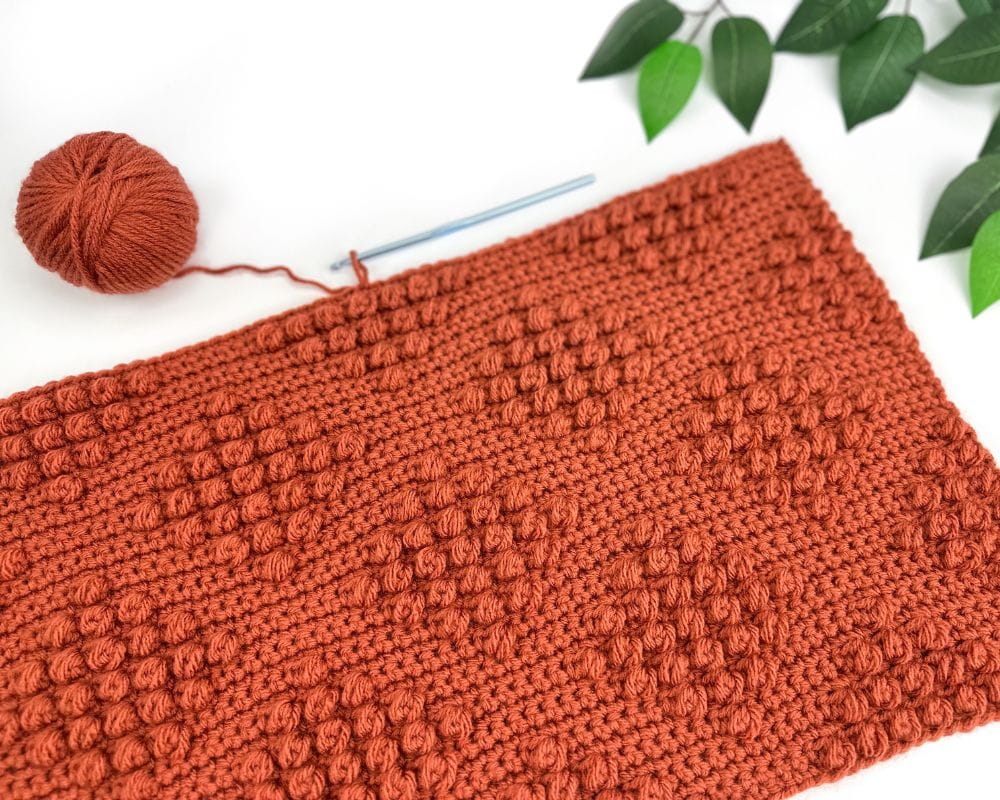
Start: With a F/5 (3.75 mm) hook (or size needed to obtain gauge), ch 64.
For Row 1 (only) work into the back ridge loops.
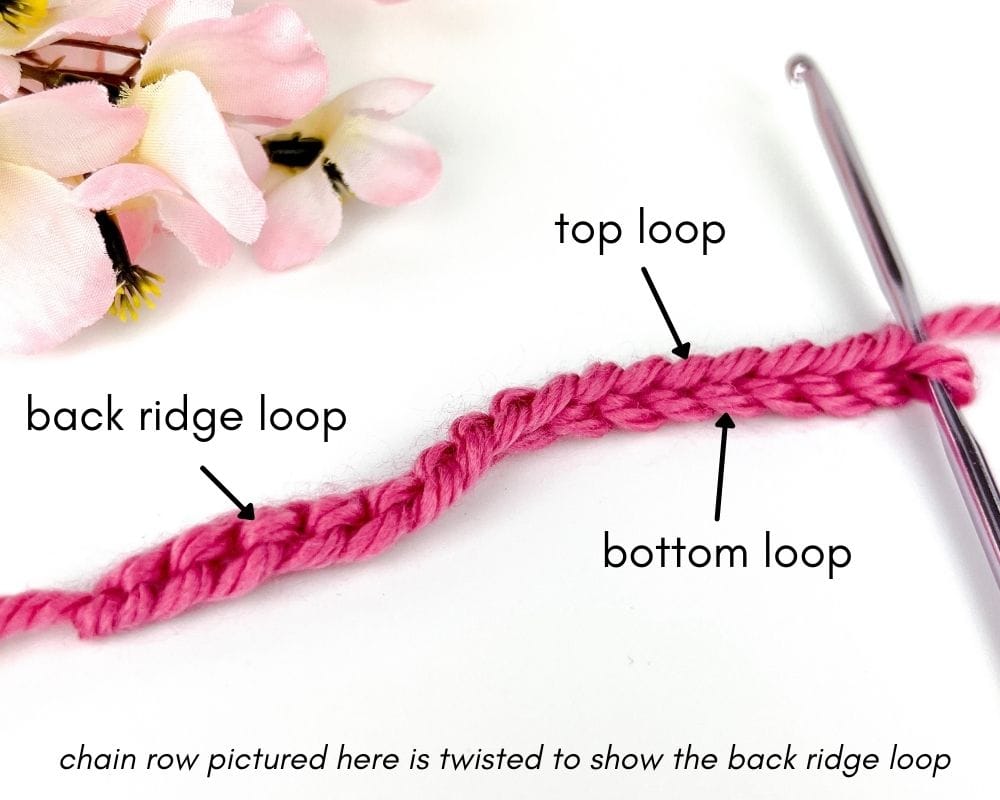
Row 1 (RS): In the second ch from hook, sc. Sc in each ch across. (Reminders: each row has 63 sts. Chs never count as sts).
Row 2 (WS): Ch 1 and turn. (Reminder: always work in the first st – the st attached to the ch).
Sc in the next 5 sts.
[Puff in the next st. Sc in the next st.] x 6 (meaning to complete the instructions in brackets a total of 6 times).
Puff in the next st.
Sc in the next 7 sts.
[Puff in the next st. Sc in the next st.] x 6.
Puff in the next st.
Sc in the next 7 sts.
[Puff in the next st. Sc in the next st.] x 6.
Puff in the next st.
Sc in the next 5 sts.
Row 3 (RS): Ch 1 and turn. Sc in each st across.
After Row 3, work should measure 19” wide (it should grow to 19.5” wide after Row 7).
Row 4 (WS): Ch 1 and turn. Sc in the next 7 sts.
[Puff in the next st. Sc in the next st.] x 4.
Puff in the next st.
Sc in the next 11 sts.
[Puff in the next st. Sc in the next st.] x 4.
Puff in the next st.
Sc in the next 11 sts.
[Puff in the next st. Sc in the next st.] x 4.
Puff in the next st.
Sc in the next 7 sts.
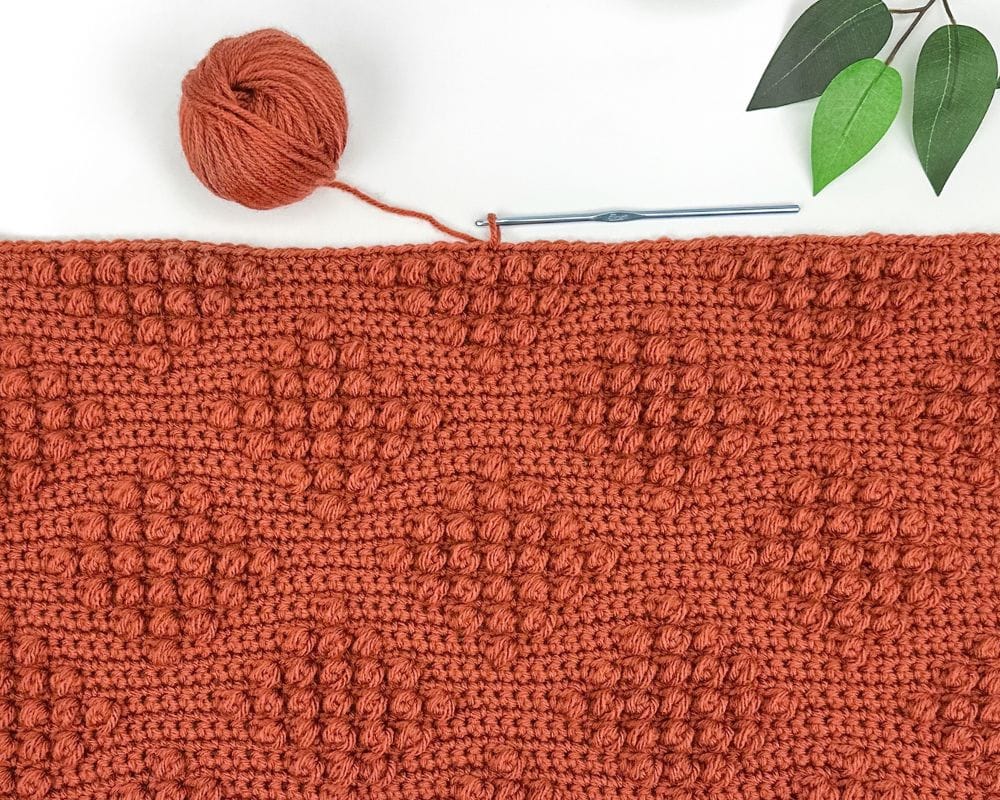
Row 5 (RS): Repeat Row 3.
Row 6 (WS): Ch 1 and turn. Sc in the first st.
Puff in the next st.
Sc in the next 7 sts.
[Puff in the next st. Sc in the next st.] x 2.
Puff in the next st.
Sc in the next 7 sts.
Puff in the next st.
Sc in the next 7 sts.
[Puff in the next st. Sc in the next st.] x 2.
Puff in the next st.
Sc in the next 7 sts.
Puff in the next st.
Sc in the next 7 sts.
[Puff in the next st. Sc in the next st.] x 2.
Puff in the next st.
Sc in the next 7 sts.
Puff in the next st.
Sc in the last st.
Row 7 (RS): Repeat Row 3.
After Row 7, work should measure 19.5” wide and 2” high.
Row 8 (WS): Ch 1 and turn.
[Sc in the next st. Puff in the next st.] x 2.
Sc in the next 7 sts.
Puff in the next st.
Sc in the next 7 sts.
[Puff in the next st. Sc in the next st.] x 2.
Puff in the next st.
Sc in the next 7 sts.
Puff in the next st.
Sc in the next 7 sts.
[Puff in the next st. Sc in the next st.] x 2.
Puff in the next st.
Sc in the next 7 sts.
Puff in the next st.
Sc in the next 7 sts.
[Puff in the next st. Sc in the next st.] x 2.
Row 9 (RS): Repeat Row 3.
Row 10 (WS): Ch 1 and turn.
[Sc in the next st. Puff in the next st.] x 3.
Sc in the next 11 sts.
[Puff in the next st. Sc in the next st.] x 4.
Puff in the next st.
Sc in the next 11 sts.
[Puff in the next st. Sc in the next st.] x 4.
Puff in the next st.
Sc in the next 11 sts.
[Puff in the next st. Sc in the next st.] x 3.
Row 11 (RS): Repeat Row 3.
Row 12 (WS): Ch 1 and turn.
[Sc in the next st. Puff in the next st.] x 4
Sc in the next 7 sts.
[Puff in the next st. Sc in the next st.] x 6.
Puff in the next st.
Sc in the next 7 sts.
[Puff in the next st. Sc in the next st.] x 6.
Puff in the next st.
Sc in the next 7 sts.
[Puff in the next st. Sc in the next st.] x 4.
Row 13 (RS): Repeat Row 3.
Row 14 (WS): Repeat Row 10.
Row 15 (RS): Repeat Row 3.
After Row 15, work should measure 19.5” wide and 4” high.
Row 16 (WS): Repeat Row 8.
Row 17 (RS): Repeat Row 3.
Row 18 (WS): Repeat Row 6.
Row 19 (RS): Repeat Row 3.
Row 20 (WS): Repeat Row 4.
Row 21 (RS): Repeat Row 3.
After Row 21, work should measure 19.5” wide and 6” high.
Rows 22 – 41: Repeat Rows 2 – 21.
After Row 41, work should measure 19.5” wide and 11” high.
Row 42 (WS): Repeat Row 2.
Row 43 (RS): Repeat Row 3.
Fasten off and weave in loose ends.
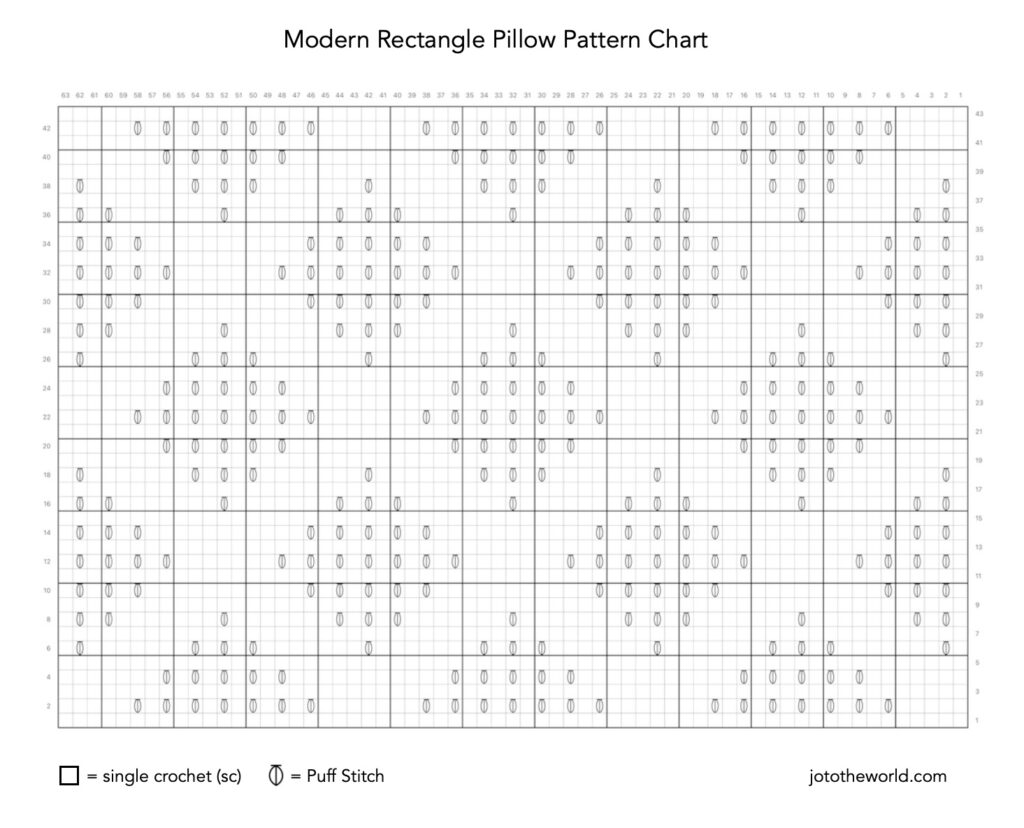
Pattern Chart
Piece B: Bottom Back Pillow Panel
Start: With an H/8 (5.00 mm) hook, ch 57.
For Row 1 (only) work into the back ridge loops.
Row 1 (RS): In the second ch from hook, sc.
In the next ch, dc.
*In the next ch, sc. In the next ch, dc.*
Repeat from * to * across. (56 sts).
Row 2 (WS): Ch 1 and turn.
Sc in the first st (the dc from the previous row).
Dc in the next st (the sc from the previous row).
*Sc in the next st. Dc in the next st.*
Repeat from * to * across. (56 sts).
After Row 2, work should measure 19” wide. (It should grow to 19.5” after Row 6).
Rows 3 – 28: Repeat Row 2.
After Row 28 work should measure 19.5” wide and 10” high.
Fasten off and weave in loose ends.
Piece C: Top Back Pillow Panel
Follow instructions for Piece B from Start – Row 2.
Rows 3 – 12: Repeat Row 2 (of Piece B).
After Row 12, work should measure 19.5” wide and 4.25” high.
Row 13 (RS): Ch 1 and turn.
Sc in each st across. (56 sts).
Row 14 (WS): Ch 2 and turn.
Dc in each st across. (56 sts).
After Row 14, work should measure 19.5” wide and 5” high.
Fasten off and weave in loose ends.
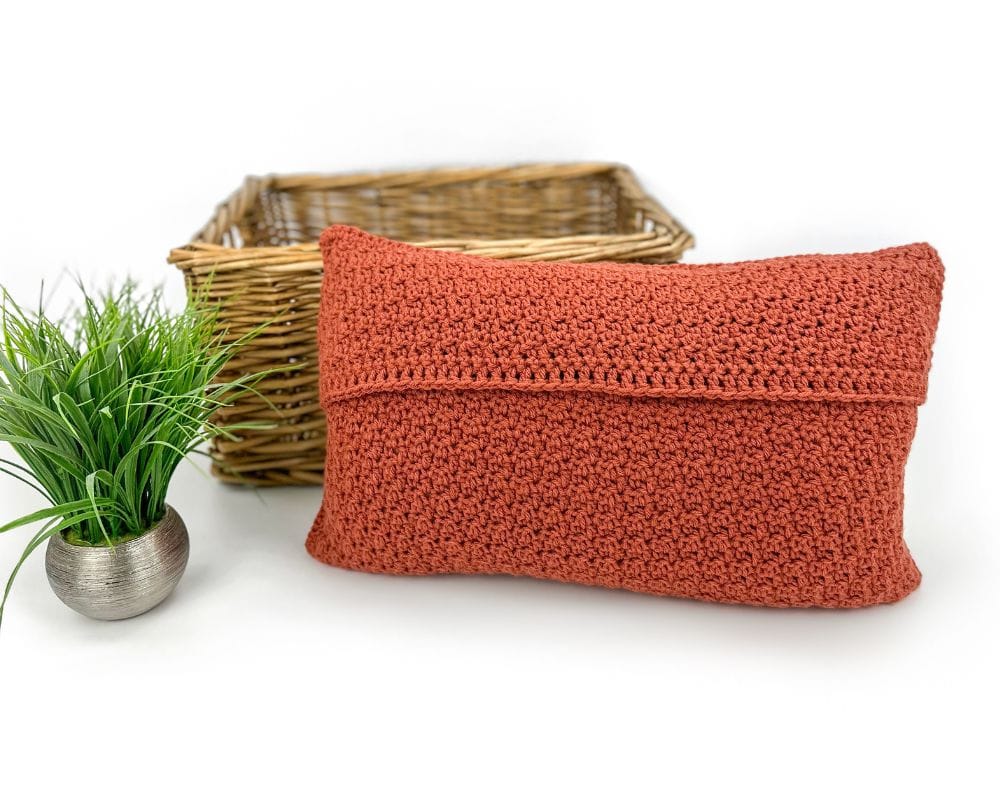
While not pictured here, you could sew buttons onto Piece B and have them go through the dc sts made on Piece C.
The buttons would make the back more secure and look lovely!
Pillow Assembly
Place Piece A (the front) wrong side up, with the Puff sts facing down. Place Piece B (bottom of back) wrong side down directly over Piece A, with the ch row at the bottom. Place Piece C wrong side down directly over Piece A, with the row of dc sts at the bottom.
Note: Piece C will slightly overlap Piece B.
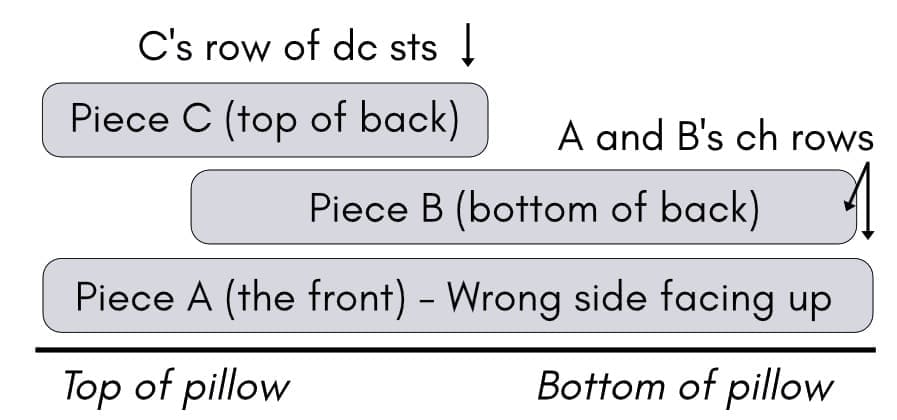
Pin the three pieces in place. Flip the pinned pieces over so the Puff stitches are now facing up/you.
Single crochet the panels together:
With an H/8 (5.00 mm) hook, attach yarn to the bottom left corner st (of both panels) with a sl st. Make 2 sc in the same corner st. Sc all around the pillow cover, single crocheting the panels together. At each corner, make 3 sc in the same st.
When arriving back where you started, sl st into the first sc to join (don’t make 3 sc in the last/fourth corner).
Fasten off and weave in all loose ends.
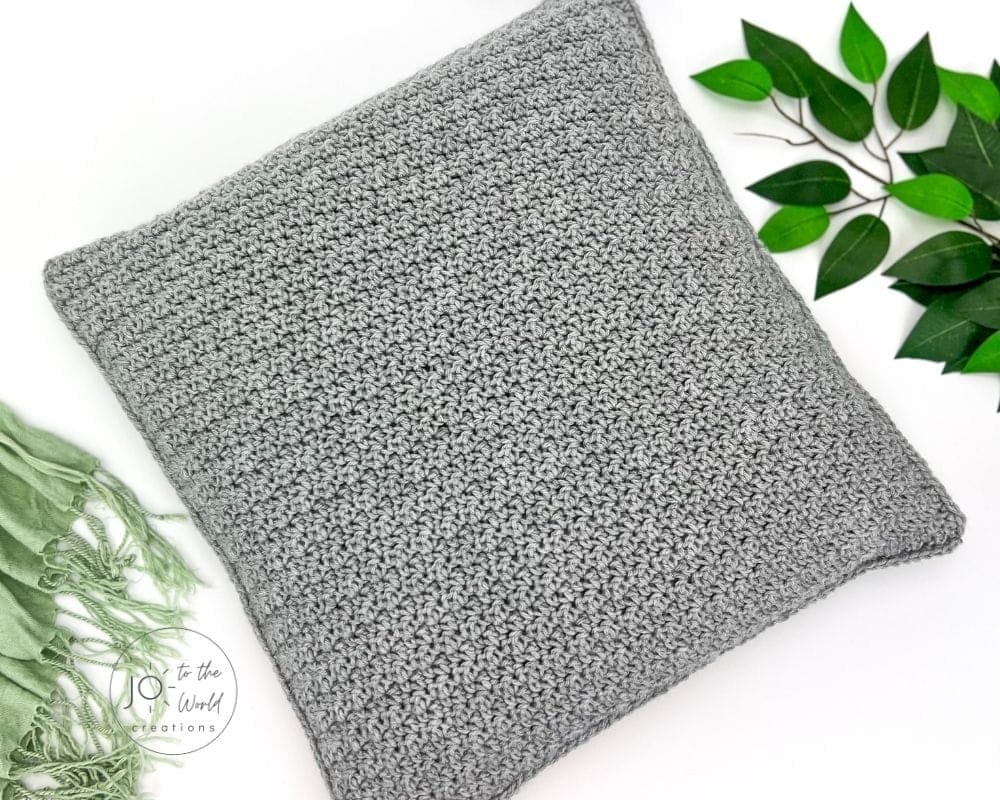
Once assembled, the pillow cover should be 19.5” wide and 11.5” high.
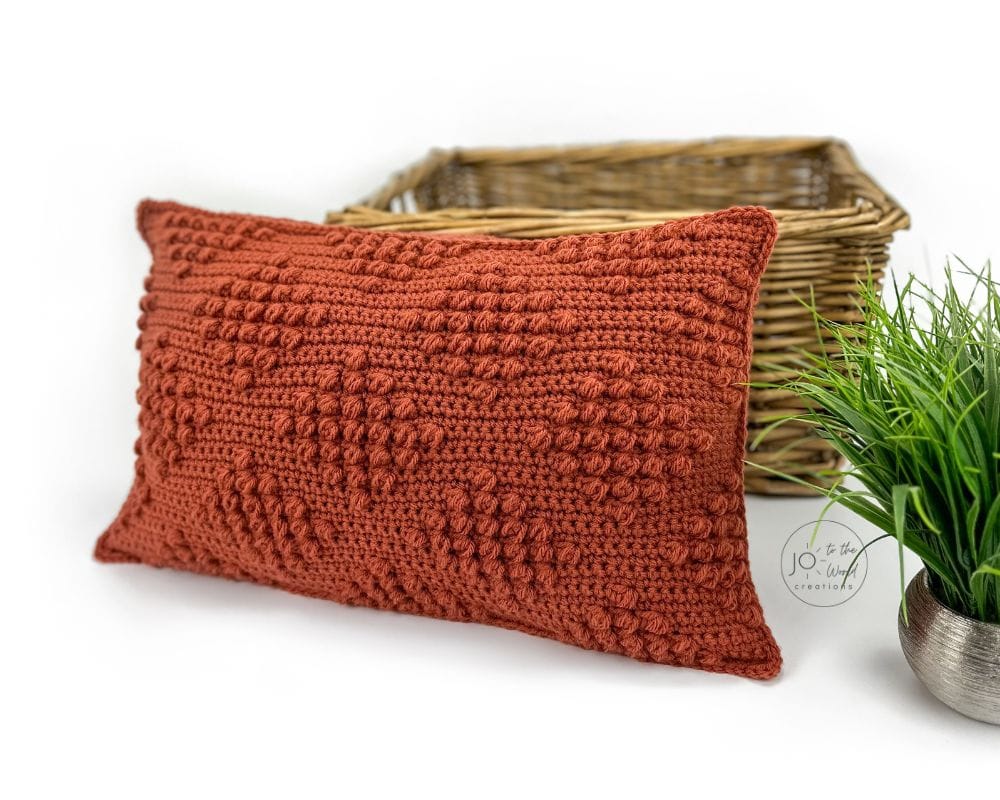
Put your pillow insert inside and now you have a new modern rectangle pillow cover!
More Crochet Pillow Patterns
View more crochet pillow patterns


I’m Jo, the designer behind Jo to the World Creations, and I’m dedicated to helping you make the perfect crochet gift! I love designing and sharing free crochet patterns that you can make for every gift occasion.
About →Let’s Connect
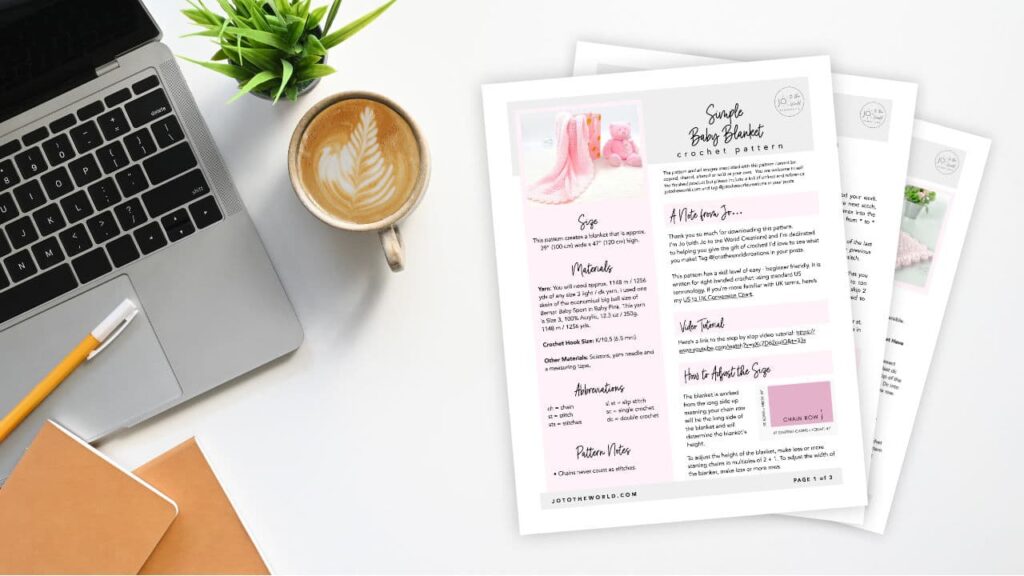
Download. Print. Keep.
Get Instant Access to ALL Printable Patterns
Make your crocheting more enjoyable, relaxing and productive with printable PDF patterns.
- 180+ premium crochet patterns.
- Download, save and print from any device.
- No ads or popups!
Not sure yet? Take a look at the Pattern Library and see all the patterns you can download once you’re a member.
Save with Pattern Bundles
For a limited time, I’ve grouped some of my most popular crochet patterns and I’m offering them as pattern bundles where you can get the printable versions for one low, discounted price. Check out these incredible Crochet Pattern Bundles.
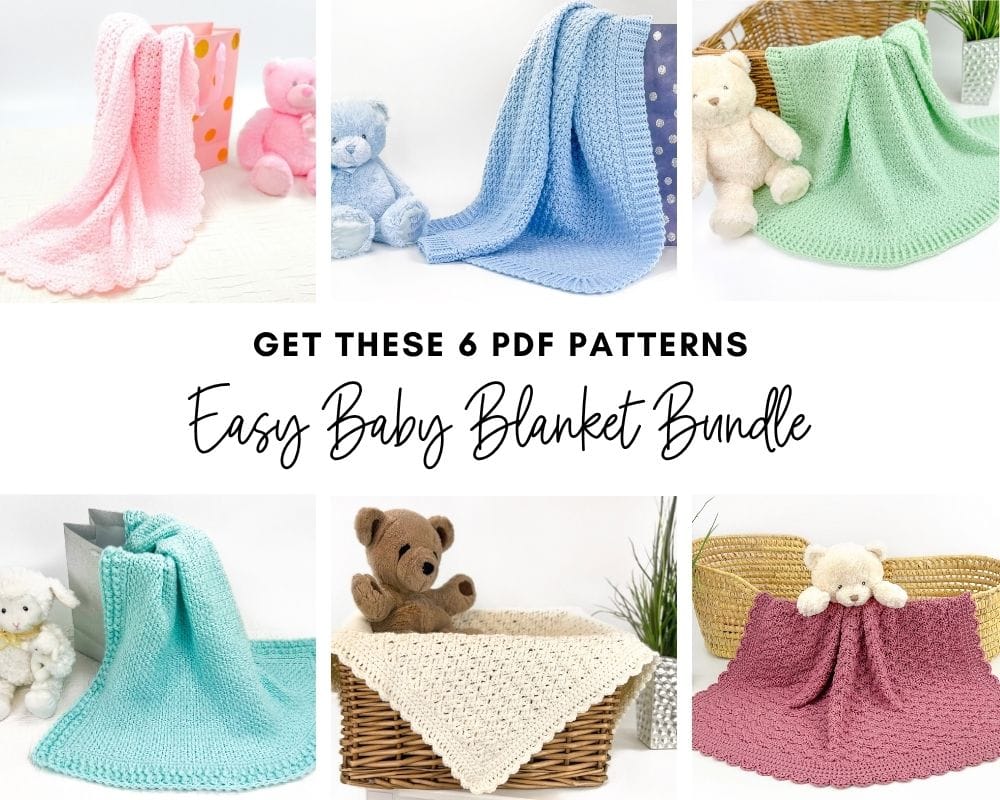
Easy Baby Blanket Bundle
With this Easy Baby Blanket Bundle, you’ll get SIX easy crochet baby blankets as printable downloads. Each pattern includes step-by-step instructions and a full video tutorial.
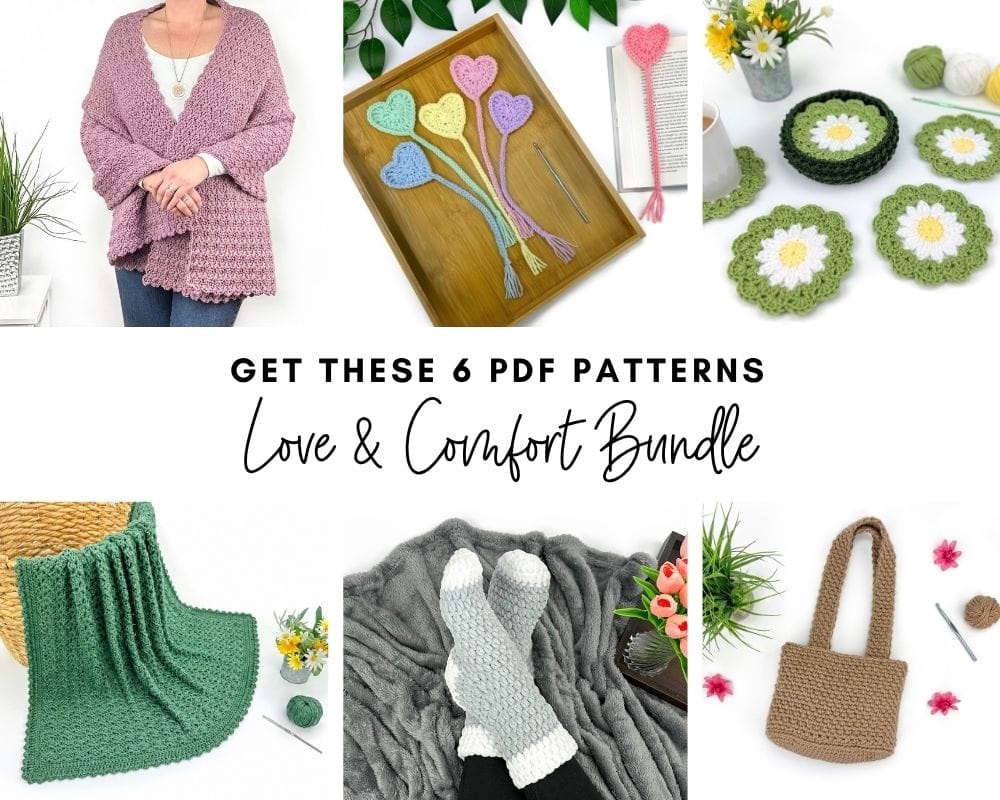
Love and Comfort Bundle
The Love and Comfort Bundle includes SIX meaningful patterns designed to comfort a loved one, brighten someone’s day or simply remind someone they’re loved.
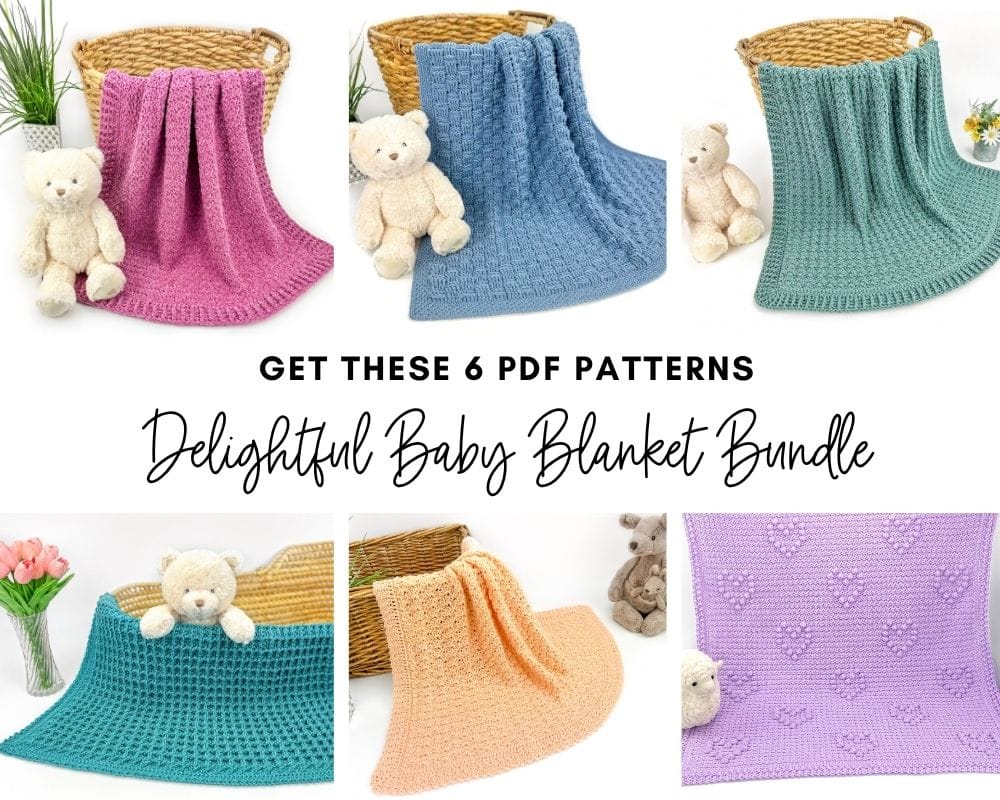
Delightful baby blanket Bundle
All your favorite baby blanket patterns in one bundle! This collection features SIX blankets (all with video tutorials) that are a delight to crochet and will be cherished forever.
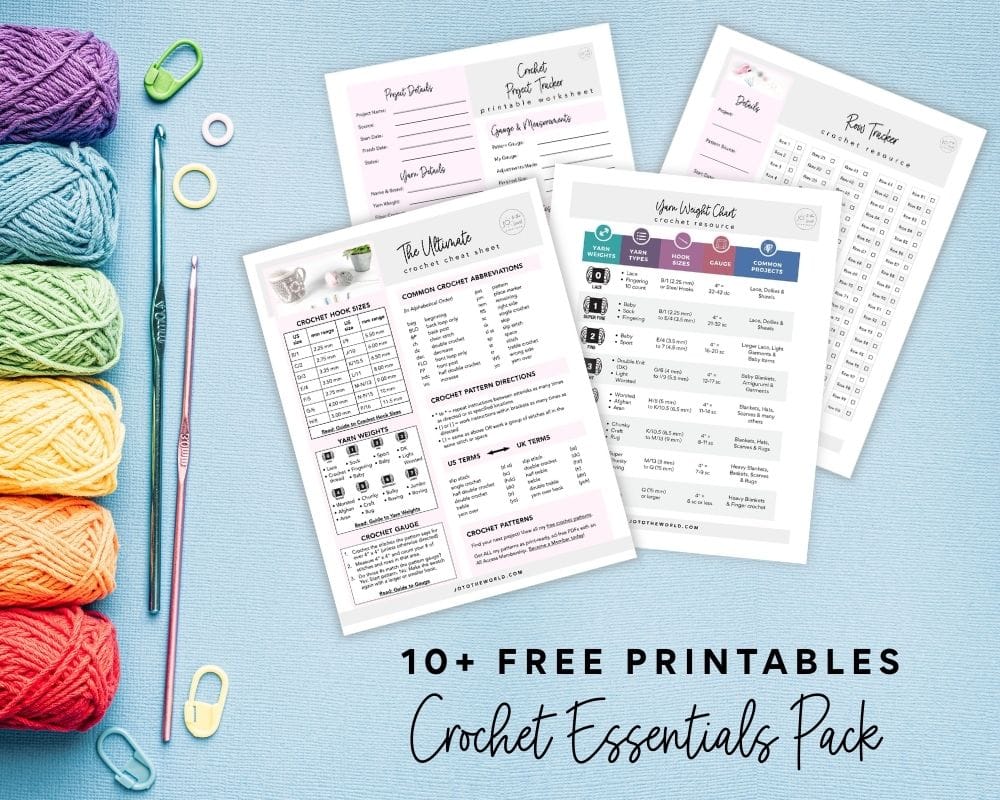
Free Crochet Printables
Subscribe to my emails and get 3 free printable crochet patterns as well as 10+ free printable crochet cheat sheets, guides and progress trackers.
Plus, you’ll receive free patterns for crochet gifts delivered right to your inbox!
Featured Crochet Patterns
Pattern Collections



Free Patterns for Crochet Gifts
Never miss a pattern! Get all my secrets to making incredible crochet gifts as well as new free crochet patterns and exclusive deals when you sign up for my newsletter (it’s free!).